background image

http://www.instructables.com/id/ELEV-8/
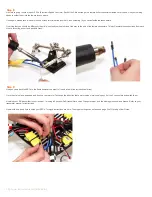
Step 12:


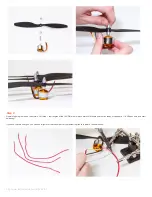
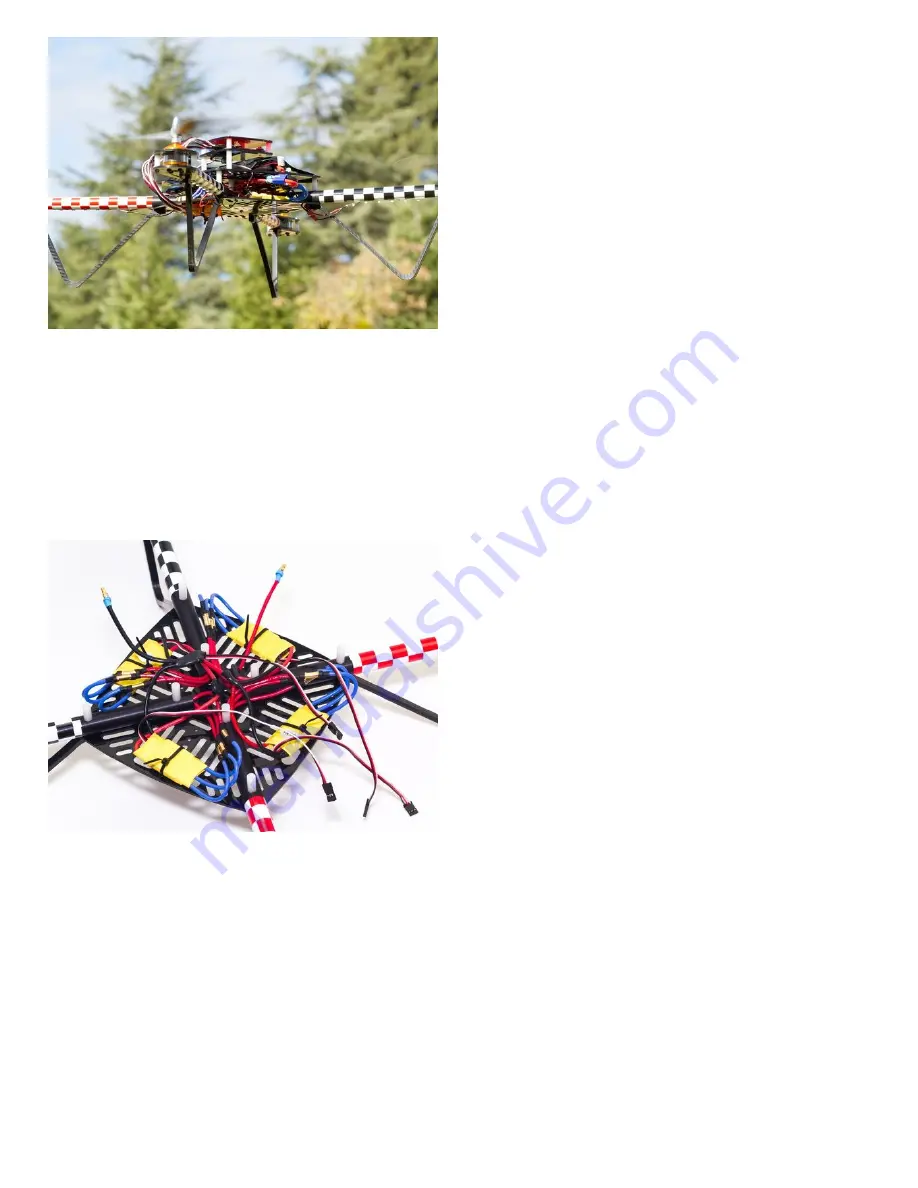
Now it's time for the wiring harness. Here's what needs to happen: each of the four power and ground wires from the ESCs need to converge on a single, wider wire,
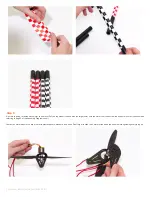
which will be hooked up to the battery. We're also going to wire in each of the four LED strips, so that makes eight power and eight ground wires.

Check out video number 5 of Hoverfly's tutorial video series for a great way to solder a wiring harness (skip to the 5:30 mark for wiring harness).

Make sure you give yourself enough room to make all the necessary connections! Err on the side of too much wire to start with, and trim as needed.

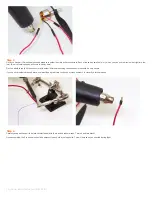
When it's all said and done, you should have just 2 wires with male bullet connectors on them, which will go to the battery. Everything else (other than the servo leads
coming from the ESCs and your receiver) should be soldered/connected.

My approach was to just jump right in and start soldering, but I would've done things differently if I'd seen Hoverfly's video…this step is largely up to you, but try to keep it
neat, and use plenty of heatshrink.
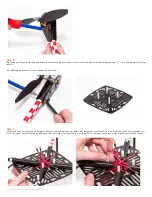
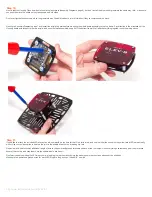
Step 13:


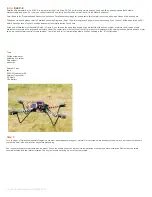
Now it's finally time to install the top frame! Refer to Assembly Diagrams page 7 again, and screw everything into place.

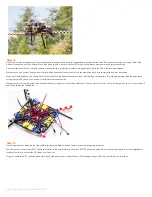
And now you can connect your ESC and Receiver wires to the board! Refer to Hoverfly's SPORT quick start guide (it's not the exact same board, but the installation is
the same for both) to connect the ESCs and your Receiver.

Plug your board into a PC, and download Hoverfly's Setup and Firmware Update Clients. Start reading at page 56 of the User Guide for instructions.

Summary of Contents for ELEV-8

Page 1: ...rkshop ELEV 8 by eissaselem on November 22 2012 Table of Contents ELEV 8 1 Intro ELEV 8 2 Step 1 2 Step 2 3 Step 3 4 Step 4 4 Step 5 5 Step 6 6 Step 7 6 Step 8 7 Step 9 7 Step 10 8 Step 11 8 Step 12 9...

Page 2: ...ehind flying multirotors with an even number of motors the direction of spin alternates to counteract the torque and automatic yaw of the copter this is the function of the tail rotor on normal helico...

Page 3: ...the motors Cut three 1 foot lengths of the 16 AWG wire for each motor Get some heat shrink ready strip about a 1 4 off each end and start soldering If you don t have a heat gun you can use a lighter...

Page 4: ...n t be afraid to really fill the connector with solder After heatshrinking these connectors should be very secure If you ve never soldered these before now would be a great time to check out video num...

Page 5: ...nt the one with the larger hole onto the motor first then screw the bottom mount on you should be referring to page 2 of the Assembly Diagrams now Fasten the motor mounts to each other with plastic sp...

Page 6: ...After attaching the 4 spacers set the top frame aside for later Step 7 Now refer to page 4 of the Assembly Diagrams but don t install the top frame yet Before that attach each boom assembly to the bo...

Page 7: ...onnectors This will insulate the connections from each other preventing a short and possible crash Step 9 Now you can attach the ESCs to the frame however you want to I used a few of the included cabl...

Page 8: ...sembled keep it off the bottom frame We ll attach everything together once the wiring s done Step 11 If you d like to attach the included LEDs to your quad now would be the time for that One strip is...

Page 9: ...2 wires with male bullet connectors on them which will go to the battery Everything else other than the servo leads coming from the ESCs and your receiver should be soldered connected My approach was...

Page 10: ...t least 3 or 4 feet off the ground To prevent your quad from accidently losing power in mid air secure your battery and ensure that it won t come unplugged on its own You will crash so buy a few extra...

Page 11: ...d Instructables The Incredible Amazing Stick For elevator buttons by DarkRubyMoon Elevator by coreyturcotte How to take in the elevator backwards by Maritabellomal Hack an Elevator by possum888 Keep y...

Page 12: ...http www instructables com id ELEV 8 Advertisements...

Reviews: