25
Network Camera User Manual
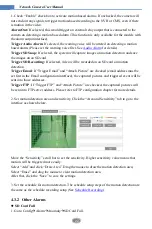
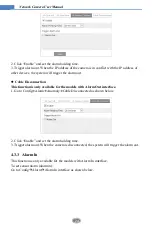
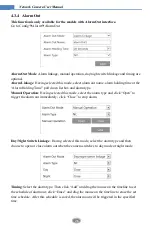
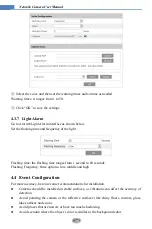
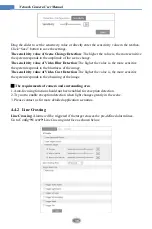
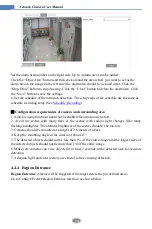
1. Click “Enable” and set the alarm type, alarm holding time and sensor name.
2. Set alarm trigger options.
Alarm Out:
If selected, this would trigger an external relay output that is connected to the
camera when the sensor alarm is triggered (
This function is only available for the models
with Alarm Out interface).
Trigger Audio Alarm
: If selected, the warning voice will be uttered when the sensor alarm is
triggered. (Please set the warning voice first. See
Trigger Light Alarm
: If selected, the light of the camera will flash when the sensor alarm is
triggered. (Please set the light flashing time and frequency first. See
for details).
Trigger SD Snap:
If selected, the system will capture images when the sensor alarm is
triggered and save the images on an SD card.
Trigger SD Recording:
If selected, video will be recorded on an SD card when the sensor
alarm is triggered.
Trigger Email
: If “Trigger Email” and “Attach Picture” are checked (email address must be
set first in the Email configuration interface), the captured pictures and triggered event will be
sent into those addresses.
Trigger FTP
: If “Trigger FTP” and “Attach Picture” are checked, the captured pictures will
be sent into FTP server address. Please refer to FTP configuration chapter for more details.
3. Click “Save” button to save the settings.
4. Set the schedule of the sensor alarm. The setup steps of the schedule are the same as the
schedule recording setup. (See


