38
Network Camera User Manual
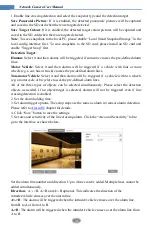
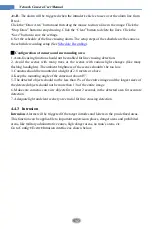
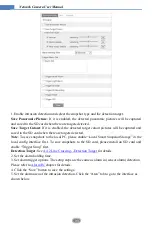
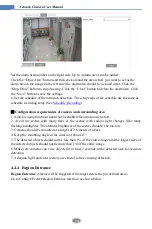
Set the alarm area number on the right side. Up to 4 alarm areas can be added.
Click the “Draw Area” button and then click around the area where you want to set as the
alarm area in the image on the left side (the alarm area should be a closed area). Click the
“Stop Draw” button to stop drawing. Click the “Clear” button to delete the alarm area. Click
the “Save” button to save the settings.
6. Set the schedule of the region exiting detection. The setup steps of the schedule are the
same as schedule recording setup (See
* The configuration requirements of camera and surrounding area are the same as intrusion
detection.
4.5
Network Configuration
4.5.1
TCP/IP
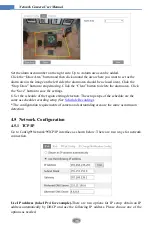
Go to Config
Network
TCP/IP interface as shown below. There are two ways for network
connection.
Use IP address (take IPv4 for example)-
There are two options for IP setup: obtain an IP
address automatically by DHCP and use the following IP address. Please choose one of the
options as needed.

