background image


21 


BATTERY HANDLING 

Rescue Guardian Rechargeable Li-ion Battery with Protection Circuit 

The Rescue Guardian uses lithium-ion protected circuit 18650 batteries. 
Fully charged Rescue Guardian batteries will typically last one week, depending on settings. 
Keep batteries away from fire or other sources of heat above 80° C. 
Storage Temperature: -10° C to 40° C 
 

Hot Swapping 

Batteries may be replaced one by one while the Rescue Guardian is operating. To do this, remove the 
Rescue Guardian Battery Lid and begin to replace each battery one at a time with a fully charged 
replacement. Once complete, make sure to correctly re-install the Rescue Guardian Battery Lid. 


ALTERNATE POWER 

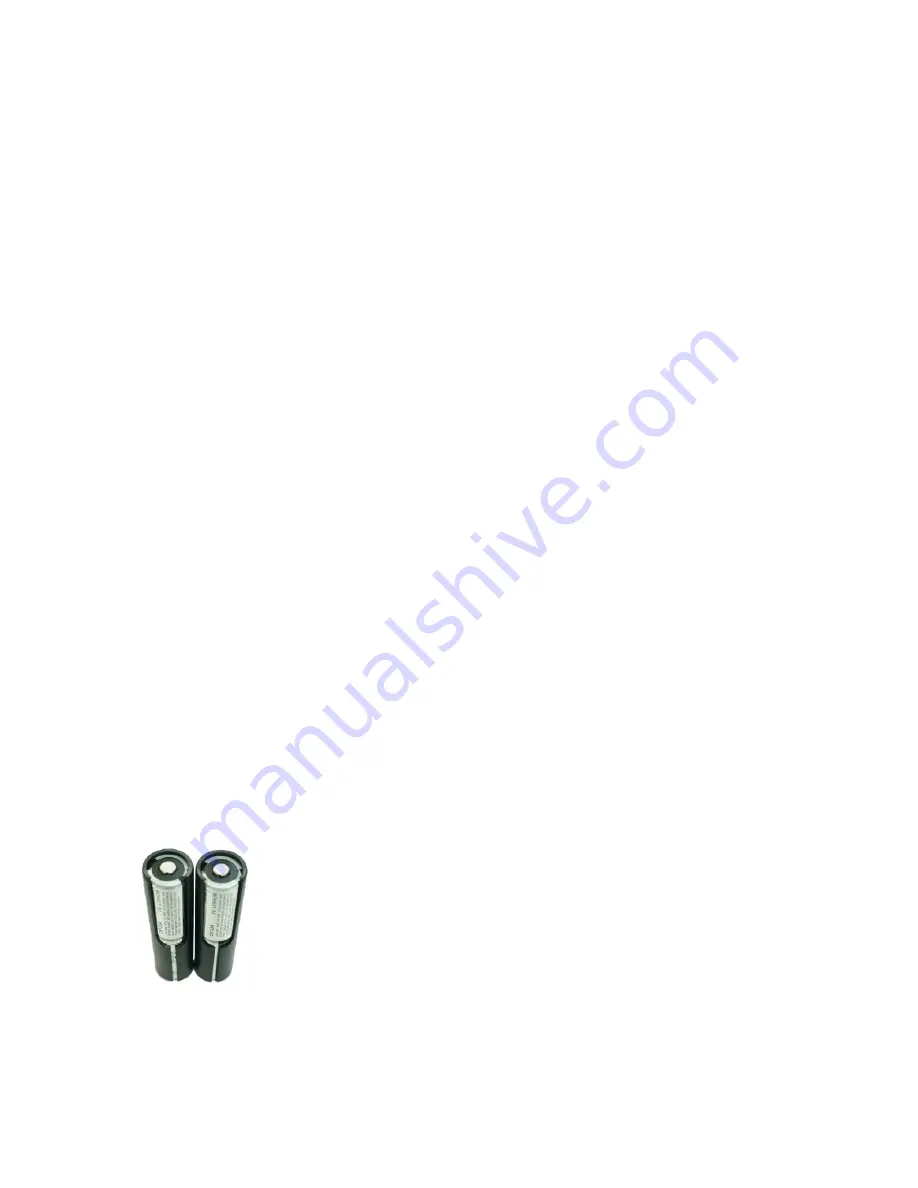
CR123A Lithium Batteries - Adapter Tubes  

The Rescue Guardian will operate using four (4) CR123A lithium batteries as an alternative 
emergency power source. Paratech has available adapter tubes. Each tube holds two (2) 
CR123A batteries (fig 2). 
 

CAUTION

: when putting the CR123A lithium batteries in the adapter tubes, make sure that the 

batteries are correctly orientated and observe correct polarity. Make sure that polarity 
markings on the adapter tube, batteries and Rescue Guardian Battery compartment markings 
are aligned. 
 

WARNING:

 DO NOT USE CR123 lithium-ion batteries. Please note that the higher voltage of the 

lithium-ion cells could damage Rescue Guardian circuitry. Make sure to check the battery type 
before using the adaptor tubes. Understand the difference between lithium and lithium-ion 
batteries. Physical cell size is the same, but the chemistry is very different. 

BEWARE

: Use of lithium-ion batteries will void warranty. 


Figure 2: Four CR123A lithium 
batteries inserted into two 
adapter tubes.


Summary of Contents for 22-796RG1

Page 1: ...Box 174 5260 Odense S Denmark Customer Service 800 435 9358 www paratech com Email Paratech paratech dk Phone 815 469 3911 Fax 815 469 7748 www paratech com E mail paratech paratech us OPERATION PREVE...

Page 2: ...DIAN LED Functional Overview 7 DISPLAY 7 BATTERY LID 8 CHARGING PROCEDURES 8 INSTALLING THE APPLICATION OR YOUR DEVICE 9 CONNECTING TO THE RESCUE GUARDIAN 10 RESCUE GUARDIAN APP OVERVIEW 11 BATTERY HA...

Page 3: ...use and has a vast array of applications Monitors Load Vibration Incline Movement Wirelessly Transmits Load change Vibration Incline data movement alarms Warning System 6 high powered amber LEDs 95dBA...

Page 4: ...and built to withstand harsh conditions it can be damaged if not properly handled and stored FCC Compliance Statement TBA CAN ICES 3 A NMB 3 A Canada TBA EUROPEAN TBA Contains FCC ID TBA Usage Precaut...

Page 5: ...en appropriately trained or have insufficient experience should not attempt activities that could result in injury to themselves or others Electrical Safety The Rescue Guardian will conduct electricit...

Page 6: ...batteries 18650 in or near objects that will produce a static electric charge Very quick pressure changes can cause 18650 batteries to malfunction Always charge on a fireproof surface Charge only in a...

Page 7: ...6 RESCUE GUARDIAN...

Page 8: ...ill enter a self calibration mode so it is imperative to NOT to move the unit for approximately 10 seconds as it powers up Threshold Settings Definition The point at which a sensor reading exceeds the...

Page 9: ...eal The Battery Lid is held in place by two captive 5MM Hex stainless steel screws and must be securely and hand tightened into place using a Battery Compartment Tool like the one shown below WARNING...

Page 10: ...internet connection Please use the following steps to connect to a Wi Fi network 1 Open Settings by tapping on the gear icon fig 1 2 Tap Connections Wi Fi 3 Turn Wi Fi on 4 Tap on a network to connec...

Page 11: ...uld be inserted on top of the yellow ribbon to allow for easy battery removal Tuck the excess ribbon back in between the batteries to avoid interference with the sealing gasket of the battery lid Step...

Page 12: ...11...

Page 13: ...12 Step 7 Once you select a Rescue Guardian to monitor it will show in the connected screen To Disconnect a Rescue Guardian Unit Press the Red X at the corner of the active tile...

Page 14: ...d and Incline readings Press the Incline tile and Vibration levels will show if activated Battery Level On PRG Nickname Serial Number Live Load Data Signal Strength Back to Dashboard Alarm On Off Sett...

Page 15: ...CD Display Time out This setting is used to conserve battery power You can set to time out or dim the front light of the display on the Rescue Guardian unit Note pressing one of the buttons on the Res...

Page 16: ...ds These out of the box settings will be updated from time to time for best practices out in the field 2 Set Thresholds Manually Load Incline Vibration for application specific needs 3 Customized Crea...

Page 17: ...der yellow dot to the desired level and pressing Set If you wish to remove the Alarm press Remove Pressing Back will take to the Live Screen An exact hertz vibration setting can be accessed and set It...

Page 18: ...hresholds activate the Visual Audible and Mobile alarms For Example Incline A strut is positioned at 45 degrees the Alarm threshold set at 2 degrees The Rescue Guardian is then armed The alarm will so...

Page 19: ...ings To add your own custom preset select the a dialogue box will open and you will be asked to name and save the preset To save the Pre set go to the individual sensor settings and move the sliders t...

Page 20: ...et Select Arm All on the Live Data Screen to activate Note If you want to modify any of the settings you must disarm or reset any alarms before changes will be saved If an alarm has been triggered and...

Page 21: ...ures and broadcasts events as they happen and stores them for future analysis or review Select the File you wish to review and the playback will be facilitated on the blackbox data screen If you wish...

Page 22: ...ill operate using four 4 CR123A lithium batteries as an alternative emergency power source Paratech has available adapter tubes Each tube holds two 2 CR123A batteries fig 2 CAUTION when putting the CR...

Page 23: ...y or rapid changes in humidity or temperature Places with large amounts of sand or dust Places where the Rescue Guardian will be in contact with chemicals Places where strong magnetism is emitted next...

Page 24: ...of the Rescue Guardian over the battery lid as shown below providing a point of attachment for the Magnet Assembly 22 796598 Clamp Clevis Assembly 22 796599 or Mini Clamp Assembly 22 796634 22 796598...

Page 25: ...e Rescue Guardian to be mounted to the tube of a Paratech Rescue Strut or other large diameter objects 22 796634 Mini Clamp Assembly Attaches to the Adapter Plate Assembly allowing the Rescue Guardian...

Page 26: ...surfaces that can accept a nail or screw allowing the Magnet Assembly or Suction Cup to be attached 22 796627 Suction Cup Attaches to smooth surfaces glass metal plastic etc and interfaces with the Mi...

Page 27: ...Pairing Passcode NFC Wireless Alarm Notification Mobile application notifications via BLE Push Button Actuation Force 3 5lbs momentary Push Button Mechanical Life 500 000 cycles Switch Boots Silicone...

Page 28: ...27 SERVICE Contact your local Paratech Dealer Or call us Paratech Incorporated P O Box 1000 Frankfort IL 60432 USA Phone 815 469 3911 Fax 815 469 7748 www paratech com E mail paratech paratech us...

Page 29: ...r obligations or liabilities in connection with the sale or use of this product Should there be any defects in the material or workmanship of the RESCUE GUARDIAN buyer should return the defective prod...

Reviews: