43
Installing
After the system has deployed, make sure to turn the power
switch to the OFF position.
Contact us at support@parazero.com for the deployment
analysis and repack procedures.
Important – The SafeAir Phantom System withstands
significant force during deployment. Systems that have been
deployed five times must not be repacked
and reused, and should be replaced.
Repacking
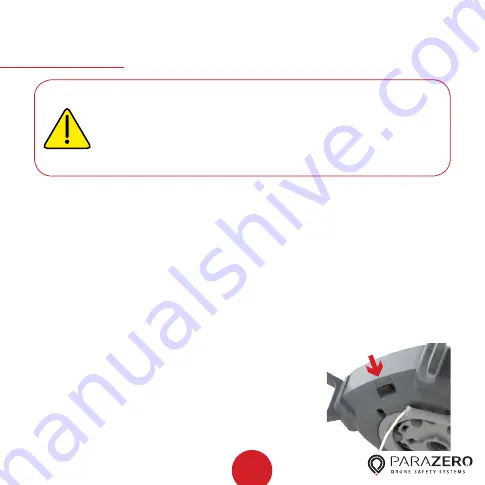
Caution
For professional SafeAir Phantom Systems that
comply with ASTM F3322-18 and are intended
for flight over people, parachutes must be packed
and repacked by ParaZero (or by an entity that has
been certified by ParaZero).
Summary of Contents for SAFEAIR Phantom ASTM
Page 1: ...Phantom Parachute Manual ASTM Version...
Page 8: ...8 SafeAir System Ports Switches LED USB C port System button Power switch ASTM port...
Page 12: ...12 Step Installation Remove the sticker cover from the placement stamp 3...
Page 17: ...17 Step Installation Remove the sticker cover from the Dual Lock placement stamp 8...
Page 22: ...22 Match plugs to sockets Installation...
Page 26: ...26 Step Installation Verify that the cord is not overlapping the placement stamp 16...
Page 27: ...27 Step Installation Unhook the elastic band on the Add on device 17...
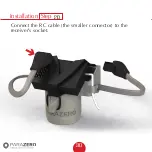
Page 30: ...30 Step Installation Connect the RC cable the smaller connector to the receiver s socket 20...
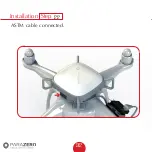
Page 32: ...32 Step Installation ASTM cable connected 22...
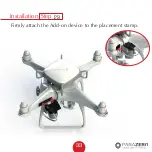
Page 33: ...33 Step Installation Firmly attach the Add on device to the placement stamp 23...
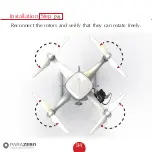
Page 34: ...34 Step Installation Reconnect the rotors and verify that they can rotate freely 24...
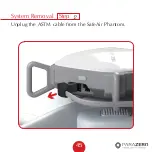
Page 45: ...System Removal 45 Step Unplug the ASTM cable from the SafeAir Phantom 2...
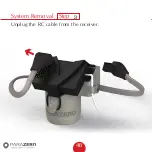
Page 46: ...System Removal 46 Step Unplug the RC cable from the receiver 3...
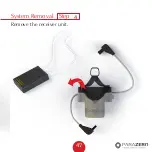
Page 47: ...System Removal 47 Step Remove the receiver unit 4...
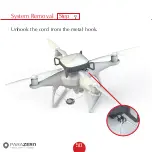
Page 50: ...System Removal 50 Step Unhook the cord from the metal hook 7...
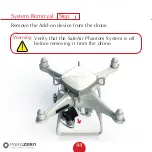
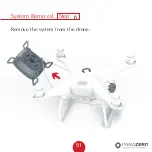
Page 51: ...System Removal 51 Step Remove the system from the drone 8...
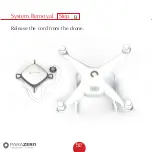
Page 52: ...System Removal 52 Step Release the cord from the drone 9...

