D-58
Programming
DC590+ DRV Series DC Digital Drive
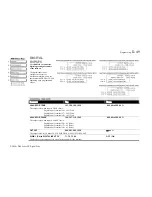
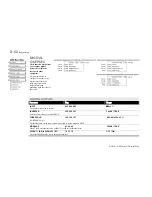
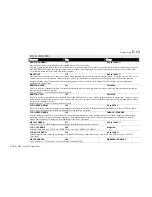
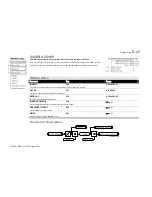
ENCODER
Parameter
Tag
Range
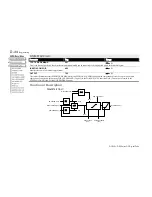
ENCODER TYPE
1267, 1268
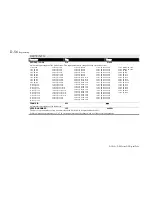
See below
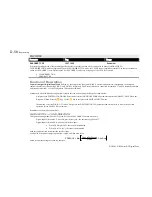
Selects the operating mode of the encoder input. Both of these encoder function blocks can be used in either QUADRATURE or
CLOCK/DIRECTION modes of operation. When in CLOCK/DIRECTION mode, the CLOCK input is applied to terminal A on the speed feedback
option (for ENCODER 1) or to Digital Input 2 (for ENCODER 2), and every rising edge of the CLOCK is counted.
0 : CLOCK/DIRECTION
1
:
QUADRATURE
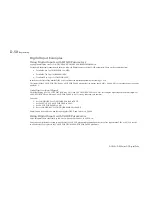
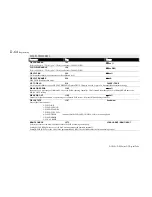
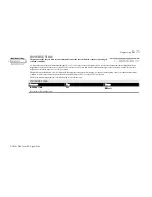
Functional Description
You must configure Digital Input 2 and 3
which, by default, provide "Ramp Hold" and "Current Demand Isolate" functionality. In the default
configuration they are linked using LINK 21 and LINK 22 respectively. The Encoder blocks are connected to terminals C7 and C8 internally and thus
don't require these links. Use the Configurator Tool to delete the links.
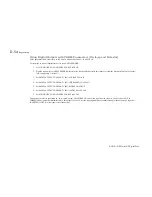
Alternatively when the default configuration is loaded, this can be done using the Keypad as shown below:
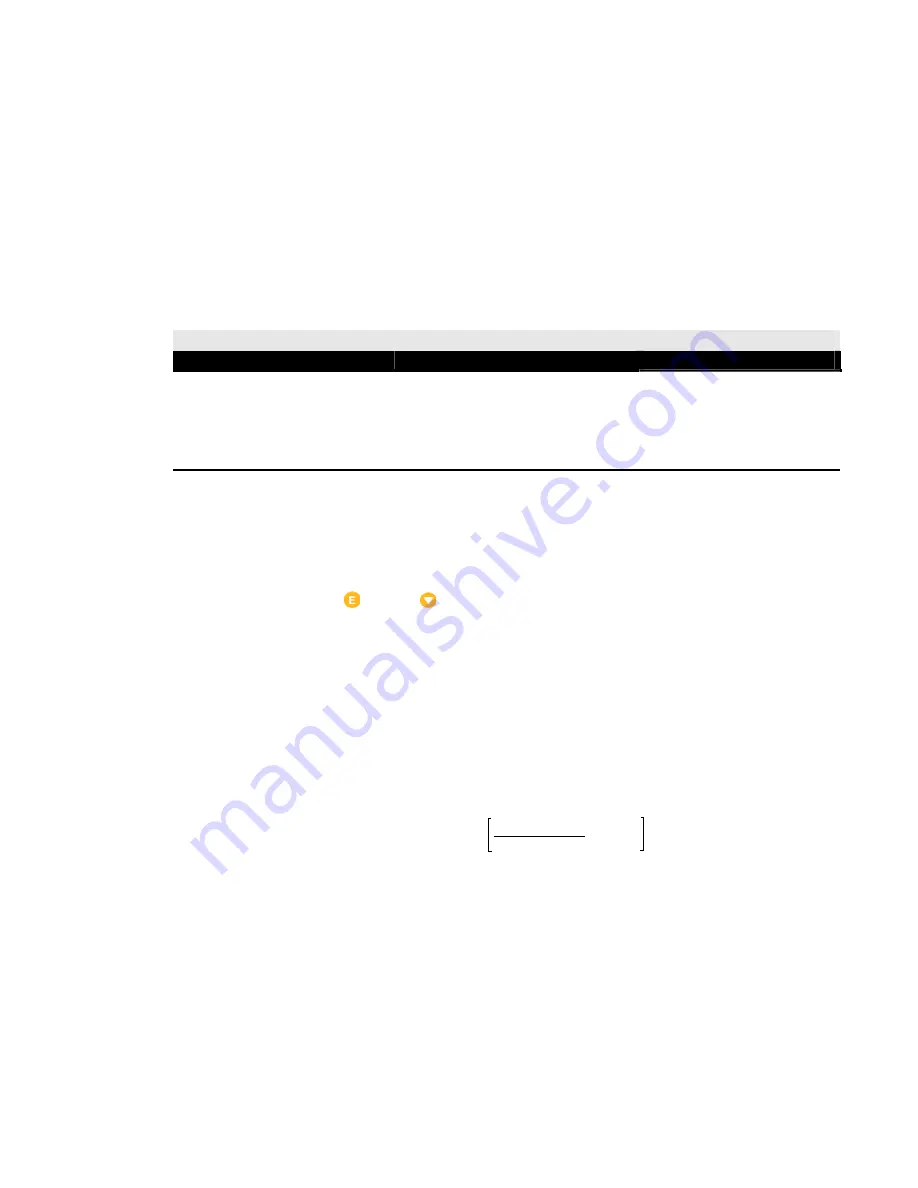
Navigate to the SYSTEM::CONFIGURE I/O menu. Select the CONFIGURE ENABLE parameter and set to ENABLED. All LEDS on the
Keypad will flash. Press the
key. Use the
key to navigate to the DIGITAL INPUTS menu.
In this menu, select the DIGIN 2 (C7) menu. Navigate to the DESTINATION TAG parameter and set this value to 0 (zero). Repeat this
operation for the DIGIN 3 (C8) parameter.
Remember to perform a Parameter Save.
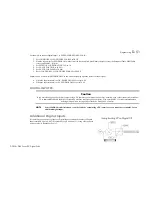
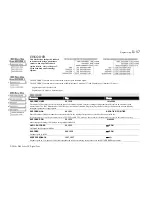
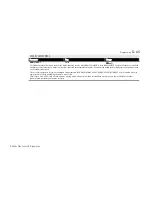
ENCODER TYPE = CLOCK/DIRECTION
This (pulse-counting mode) Encoder Type can be set in the ENCODER 2 function block only.
Digital Input 2 (terminal C7) is used to provide the clock - the pulses are applied on C7
Digital Input 3 (terminal C8) is used as a direction input:
When C8 is high, (24V), the count is incremented
When C8 is low, (0V), the count is decremented
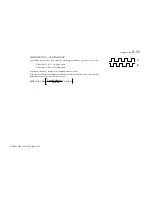
Each full pulse received increments the encoder count.
A full pulse is the pulse input going from low to high, and then back to low.
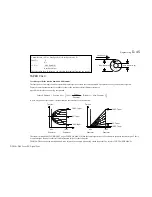
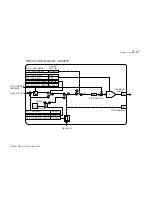
Speed is calculated using the following function:
SPEED HZ = filter
CountsPerSecond
Lines
, FilterTime
Summary of Contents for 590+ DRV
Page 1: ...590 DRV Frame 1 2 3 4 5 6 7 HA470388U003 Issue 2 Product Manual...
Page 2: ......
Page 14: ......
Page 16: ...DC590 DRV DC Digital Drive...
Page 20: ...DC590 DRV Series DC Digital Drive...
Page 38: ...DC590 DRV Series DC Digital Drive...
Page 126: ...3 88 Installing the Drive DC590 DRV Series DC Digital Drive...
Page 128: ...DC590 DRV Series DC Digital Drive...
Page 158: ...DC590 DRV Series DC Digital Drive...
Page 166: ...5 8 Control Loops DC590 DRV Series DC Digital Drive...
Page 168: ...DC590 DRV Series DC Digital Drive...
Page 194: ...DC590 DRV Series DC Digital Drive...
Page 226: ...DC590 DRV Series DC Digital Drive...
Page 244: ...DC590 DRV Series DC Digital Drive...
Page 274: ...A 30 Serial Communications DC590 DRV Series DC Digital Drive...
Page 276: ...DC590 DRV Series DC Digital Drive...
Page 292: ...B 16 Certification DC590 DRV Series DC Digital Drive...
Page 294: ...DC590 DRV Series DC Digital Drive...
Page 330: ...C 36 Parameter Specification Tables DC590 DRV Series DC Digital Drive...
Page 348: ......
Page 368: ...D 20 Programming DC590 DRV Series DC Digital Drive Functional Description...
Page 496: ...D 148 Programming DC590 DRV Series DC Digital Drive Programming Block Diagram Sheet 1...
Page 497: ...Programming D 149 DC590 DRV Series DC Digital Drive Programming Block Diagram Sheet 2...
Page 498: ...D 150 Programming DC590 DRV Series DC Digital Drive Programming Block Diagram Sheet 3...
Page 499: ...Programming D 151 DC590 DRV Series DC Digital Drive Programming Block Diagram Sheet 4...
Page 504: ...D 156 Programming DC590 DRV Series DC Digital Drive...
Page 506: ...DC590 DRV Series DC Digital Drive...
Page 543: ......

