background image

21            


The 6911 Keypad 

F3 : DATA LOGGING 

Use this page to configure regular-interval, data-logging of the main display screen text. 
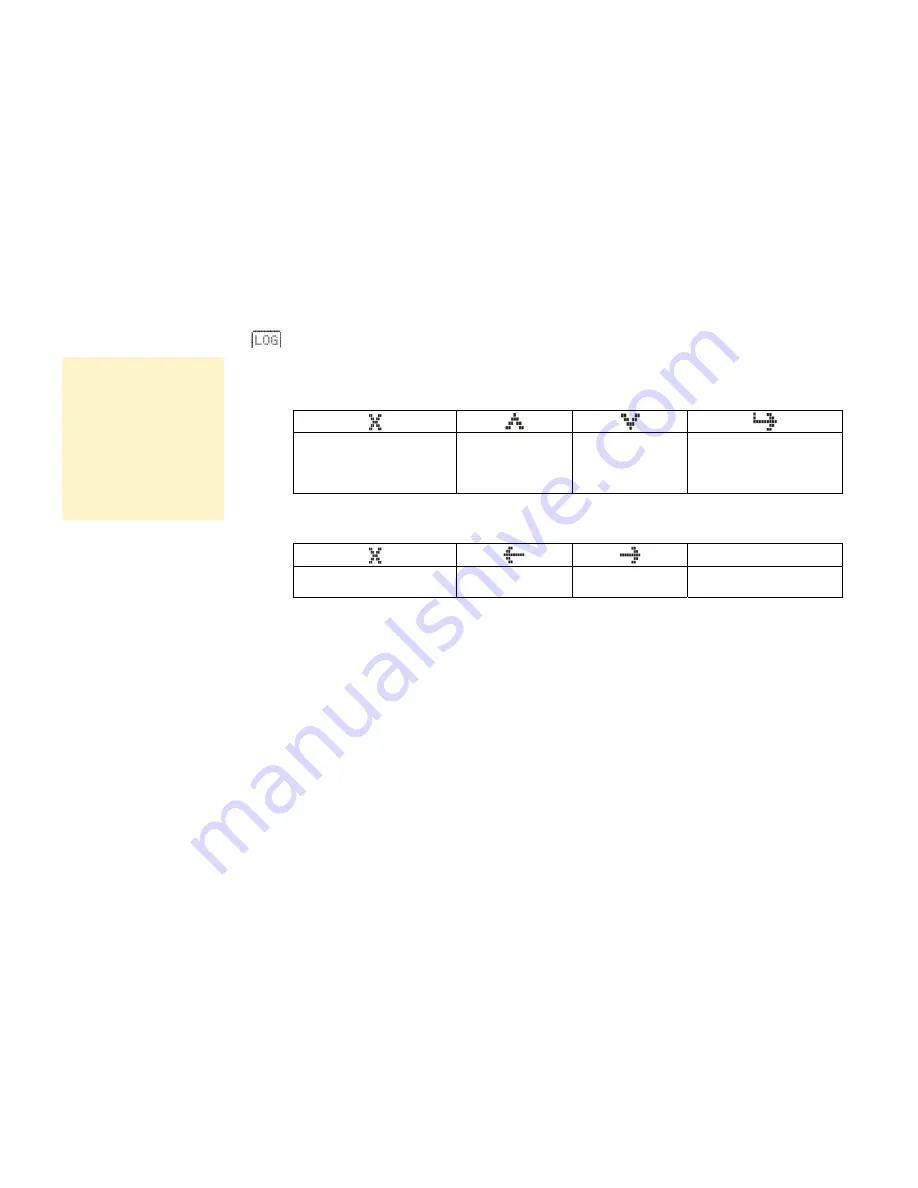
When the FILE page is selected, the soft keys are redefined, as shown below, for navigating and 
selecting whilst using the page. 


Exit page, or exit sub-menu 

declining changes 

Row up 

(as Rotary Control 

clockwise action) 

Row down 

(as Rotary Control 

anticlockwise 

action) 

Display sub-menu, or 

accept changes 

During item selection or during setting selection mode, the soft keys are again redefined and function 
as follows: 


OK


Exit character edit without 

changing anything 

Move the cursor 

left 

Move the cursor 

right 

Exit character edit and 

accept changes 


With the Multi-Keys displaying SET4, press the "LOG" soft key to enter the Data-Logging page. 

How To Configure Data Logging 

The menu is displayed in order of completion: 

1.


Name the file for use in data logging and insert the memory card that will store the file. 

2.


Select the trigger that will start the data logging, or select continuous data logging. 

3.


Set the time interval between the data logs. 

4.


Select the units for each time interval. 

5.


Enable data logging by setting continuous logging, or by entering the total number of samples to be 
made. 


Disclaimer 

Although every effort has 
been taken to ensure the 
accuracy of the data 
logging function, Parker 
SSD Drives cannot accept 
responsibility for damage, 
injury, or expenses 
resulting from the use of  
data logging. 

This manual was downloaded on www.sdsdrives.com 

+44 (0)117 938 1800 - info@sdsdrives.com

Summary of Contents for 6911

Page 1: ...out notice to make amendments or correct omissions Parker SSD Drives cannot accept responsibility for damage injury or expenses resulting therefrom WARRANTY Parker SSD Drives warrants the goods agains...

Page 2: ...ance of the equipment should be carried out by qualified personnel A qualified person is someone who is technically competent and familiar with all safety information and established safety practices...

Page 3: ...sted and can still be present even though the drive appears to be switched off The motor s direction of rotation might not be controlled The motor speed might not be controlled The motor might be ener...

Page 4: ...12 Multi Key SET 3 14 Multi Key SET 4 19 Power Up Key Combinations 25 Resetting to Factory Defaults 2 button reset 25 Changing the Product Code 3 button reset 26 Remote Mounting the Keypad 28 Fitting...

Page 5: ...e range of Parker SSD Drives products including the 590 605 650V Frames C F 650 Frames 1 3 if fitted with an RS232 port 690 and 890 drives NOTE The 6911 keypad cannot mount on the front of the 605A dr...

Page 6: ...cal control keys are inactive when Remote control mode is selected and vice versa with one exception the L R selection on Multi Key 2 Set 2 toggles the Local or Remote control mode and so is always op...

Page 7: ...Stops the motor Only operates when the drive is in Local Start Stop Seq mode Trip Reset Resets any trips and clears displayed message if trip is no longer active 650 Drive only press and hold to toggl...

Page 8: ...ate FLASH FLASH FLASH Re Configuration OFF FLASH ON Tripped OFF ON ON Stopped OFF ON FLASH Stopping FLASH ON OFF Running with zero speed demand or enable false or contactor feedback false ON ON OFF Ru...

Page 9: ...een After the start up Logo Screen the Keypad displays the Main View shown below Factory Default Main View To customise the screen refer to page 18 This manual was downloaded on www sdsdrives com 44 0...

Page 10: ...within a pop up window and select an item from that window SET 1 escape to higher menu level or return to parameter list reverse motor direction in Local Speed Control mode run at JOG SETPOINT speed...

Page 11: ...rd Requested direction and actual direction are reverse flash Requested direction is forward but actual direction is reverse during slowing to reverse flash Requested direction is reverse but actual d...

Page 12: ...nd Speed Control REF via the terminals Local control of Start Stop SEQ and Speed Control REF via the Keypad keys and rotary controller Local control of Speed Control REF via the rotary controller Remo...

Page 13: ...ROG key to return to the previous display F3 PROG This key does not function on 650 drives The PROG Multi Key toggles between the OPERATOR menu and any other menu remembering and returning to previous...

Page 14: ...hanges During item selection or during setting selection mode the soft keys are again redefined and function as follows OK Exit character edit without changing anything Move the cursor left Move the c...

Page 15: ...RS485 requires a 2 wire connection between the MMI s RS485 terminal and a drive using an RS485 RS232 converter Leave setting at RS232 for MMIs without RS485 functionality See Caution opposite Config...

Page 16: ...K health LED flashes providing a high visibility alert It stops flashing when the OK LED stops flashing or at the first press of any key Timeout OFF VIEW OFF This option adjusts the display after 30 s...

Page 17: ...mal SETUP PARAMETERS FUNCTION BLOCKS SERIAL LINKS SYSTEM PORT P3 UNIT ID UID 650 1 3 650V C F Decimal CELITE SETUP COMMS PORTS COMMS ADDRESS Keypad SET SERL SE03 690 Decimal SETUP COMMUNICATIONS SYSTE...

Page 18: ...Controller to select the drive From the sub menu the following is possible LABEL ENABLE Enter a node label PUMP 1 for example Enable the selected drive to be controlled by the Keypad Note that the arr...

Page 19: ...a folder During item selection the soft keys are again redefined and function as follows OK Exit character edit without changing anything Move the cursor left Move the cursor right Exit character edit...

Page 20: ...ns Action Description MMI Firmware File BIN Load new MMI code Selected file updates the MMI firmware Only perform this procedure with the drive system stopped The update is followed by an automatic MM...

Page 21: ...ept changes With the Multi Keys displaying SET4 press the LOG soft key to enter the Data Logging page How To Configure Data Logging The menu is displayed in order of completion 1 Name the file for use...

Page 22: ...Log Trigger CONT HH MM ALARM CONT Select the trigger condition that will start the logging CONT Continuous logging without need for a start condition HH MM If set to a time e g 15 30 the logging will...

Page 23: ...to zero then stops 0000 to 9999 NOTE Changing the log filename trigger interval ot time units will disable logging if currently set If the logging mode cannot be changed from OFF then the memory card...

Page 24: ...e is not corrected for the down time A power interruption that occurs when a time trigger is set up will halt data logging 3 Any change to the filename trigger or sample interval will halt data loggin...

Page 25: ...he 6901 Keypad Interpreted as the UP key Interpreted as the DOWN key Interpreted as the E key E Interpreted as the PROG key PROG Resetting to Factory Defaults 2 button reset A special key combination...

Page 26: ...nge the product code This feature is only available at power up as a security measure The 3 button reset will take you to the POWER BOARD menu in the expanded SYSTEM menu highlighted in the diagram be...

Page 27: ...d in the drive If the drive has power data stored then the Power Data Corrupt and Language Defaults Loaded alert messages will not be displayed also the display will show the current power board selec...

Page 28: ...t is required to remote mount a 6911 Keypad The kit contains an RS232 connecting lead and an RS485 connector A No 2 Posidrive screwdriver is required for installation 6052 Mounting Kit Parts for the R...

Page 29: ...29 The 6911 Keypad Assembly Procedure Mounting Dimensions for the Remote Mounted 6911 Keypad This manual was downloaded on www sdsdrives com 44 0 117 938 1800 info sdsdrives com...

Page 30: ...5W MMI Hot Pluggable Yes Real time Clock Time Accuracy Losing or gaining 1 minute every 25 days 25 C 1 minute every 17 days 0 C 50 C De Powered Time Back Up Provided by a lithium manganese dioxide ce...

Page 31: ...tes only Environmental Operating Temperature 0 C to 45 C Storage Shipping Temperature 25 C to 60 C Enclosure Rating IP40 Safety All circuits are SELV Pollution Degree Pollution Degree II non conductiv...

Page 32: ...ave to be disposed of in a special way Material Recycle Disposal metal yes no plastics material yes no printed circuit board no yes battery no yes The printed circuit board should be disposed of in on...

Reviews: