GB - 8
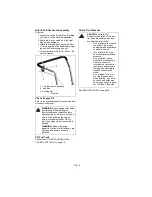
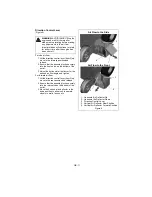
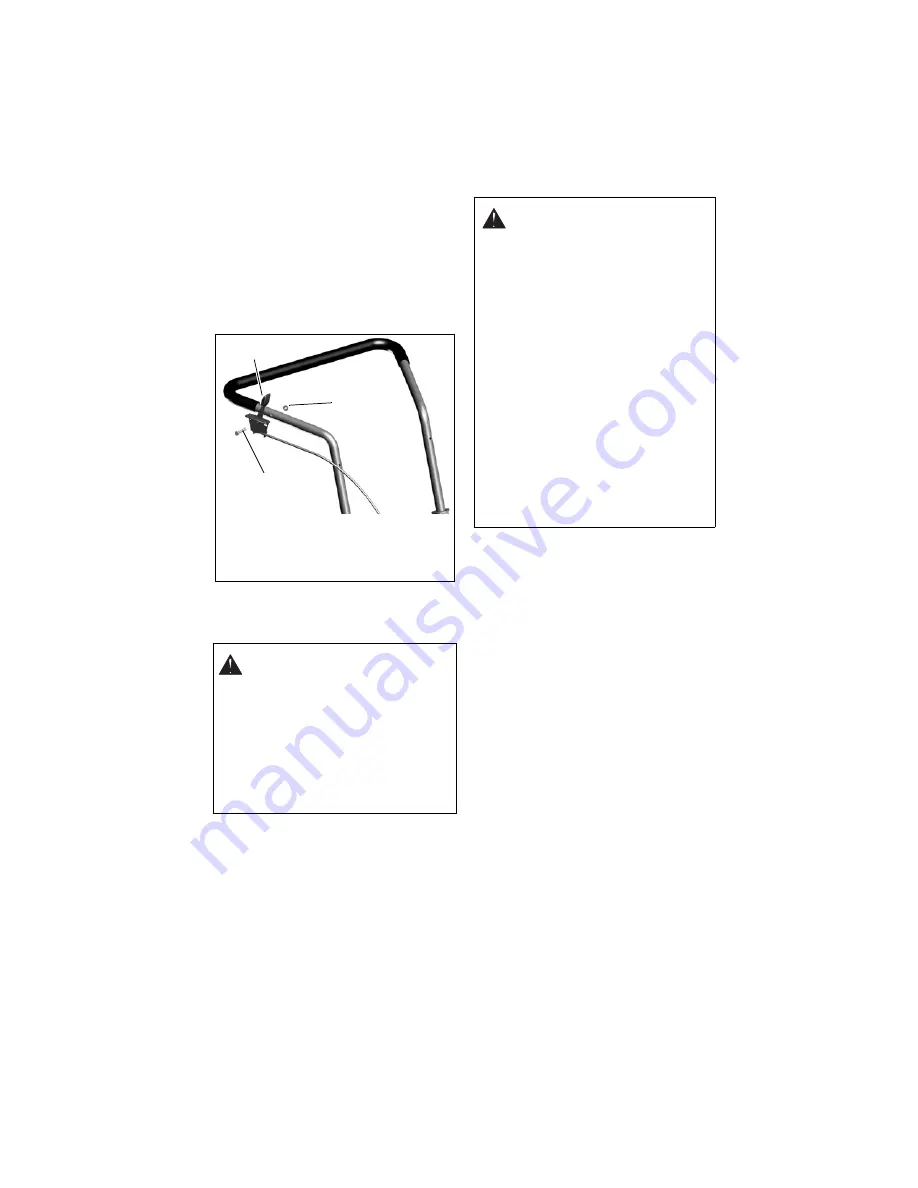
Attach Throttle Lever Assembly
1. Locate the hex bolt (item 2) and locking
nut (item 3) in the literature package.
2. Route the throttle cable up to the right
side of the handlebar.
3. Attach the throttle lever assembly (item
1) to the outside of the handlebar using
the hex bolt and locking hex nut.
4. Torque fasteners to 8 lbf-ft (.9 N•m). Do
not overtighten.
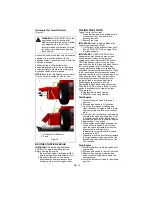
Check Engine Oil
Refer to the engine manual for recommended
viscosity and amount.
Fill Fuel Tank
Fill fuel tank. DO NOT OVERFILL! See
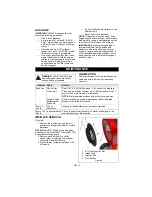
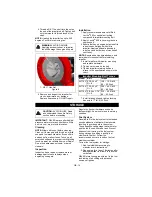
Check Tire Pressure
WARNING:
Check engine oil and add
if necessary. Read the Engine
Instruction Manual carefully before
operating the unit. Be sure you know
how to start and stop the engine
before proceeding further. Do not
start the engine until all assembly is
finished.
WARNING:
Make a thorough
inspection to see that all fasteners are
tight and all parts are properly
installed.
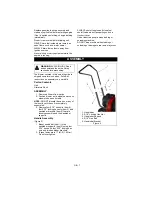
Figure 4
1. Throttle Lever Assembly
2. Hex Bolt
3. Locking Nut
CAUTION:
Avoid injury!
Explosive separation of tire and
rim parts is possible when they
are serviced incorrectly:
•
Do not attempt to mount a
tire without the proper
equipment and experience
to perform the job.
•
Do not inflate the tires
above the recommended
pressure.
•
Do not weld or heat a
wheel and tire assembly.
Heat can cause an
increase in air pressure
resulting in an explosion.
Welding can structurally
weaken or deform the
wheel.
•
Do not stand in front or
over the tire assembly
when inflating. Use a clip-
on chuck and extension
hose long enough to allow
you to stand to one side.
Summary of Contents for 947103-169cc
Page 21: ......

