13
Mounting the connector
6 Assembly
Instruction book, Mounting and maintenance
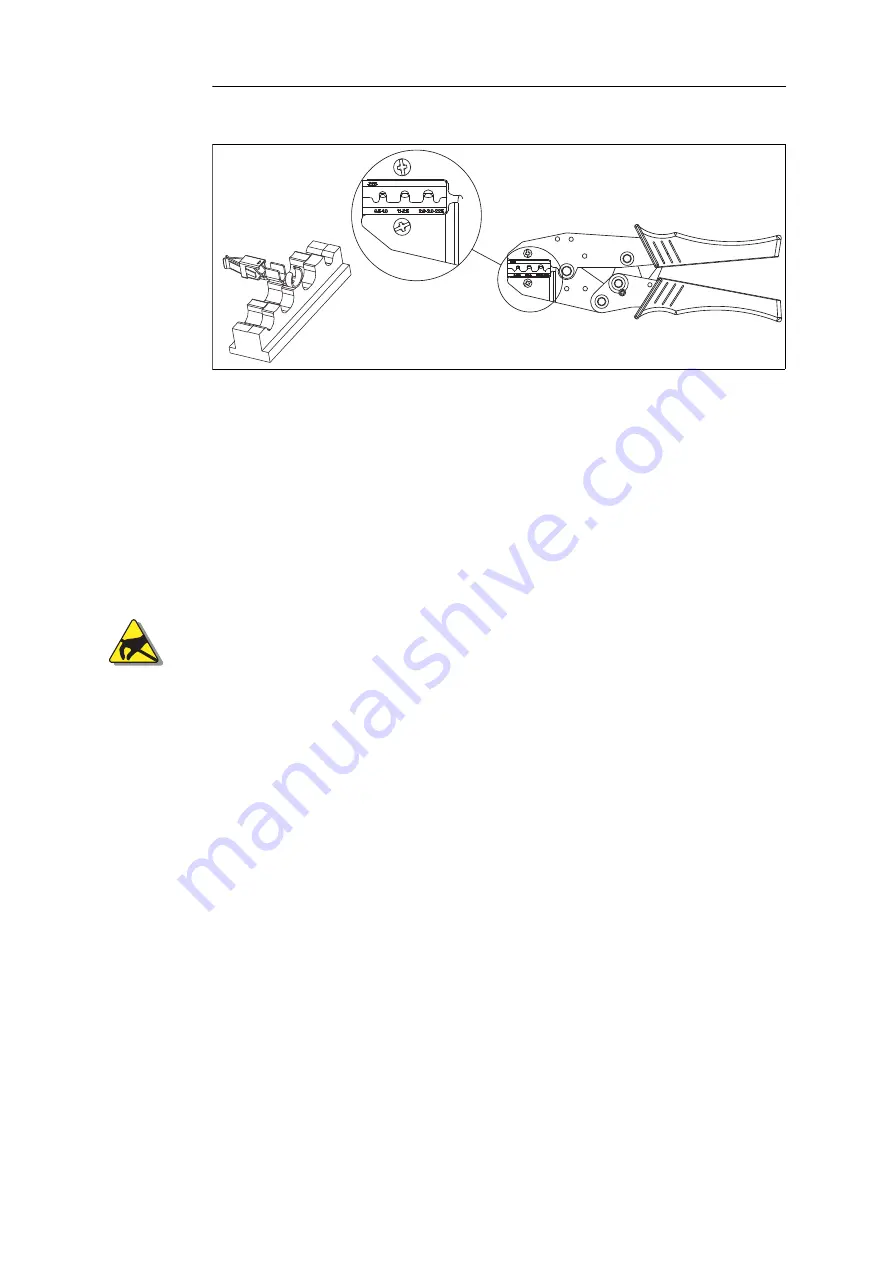
6 Open the crimping tool. Place the pin into the correct die slot.
Correct pin positioning in the crimping tool die.
7 Partially close the tool until the pin is held in place.
8 Insert the stripped wire into the pin. Visually verify that the seal or insulator is far
enough into the pin to be captured by the mechanical connection ’wings’.
9 Close the tool until the ratchet releases. The ratchet is released when the tool clicks
and the tool handles open when you loosen your grip.
10 Remove the crimped pin, making sure that the following applies:
-the whole of the pin’s electrical connection goes around the stripped conductor
-the mechanical connection of the pin must attach around the cable’s insulator or the
silicone seal, and thereby also around the cable's insulation
C
AUTION
Risk of damage to the units' electronics due to electrostatic discharge (ESD).
Dissipate static electricity before handling any system components (wire harness,
modules) by touching a grounded metal object, such as an unpainted portion of the
equipment’s metal chassis.


