Publication PSS-UM001A-EN-P – June 2005
5-2
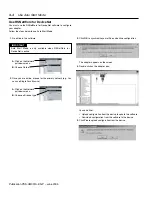
Add the Isysnet DeviceNet Adapter to the DeviceNet Scanner's Scanlist
Set the Adapter’s Parameters
After adding the adapter to the network, you must configure it for
use with master DeviceNet devices.
IMPORTANT
This chapter shows configuration in the offline mode. Changes
set in this mode do not take effect immediately. For configuration
changes to take place, you must:
• go on line with your adapter
• download the new configuration to your adapter
For more information on how to go on line, see page 5-4.
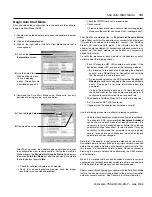
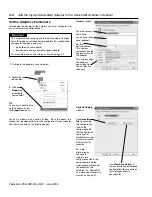
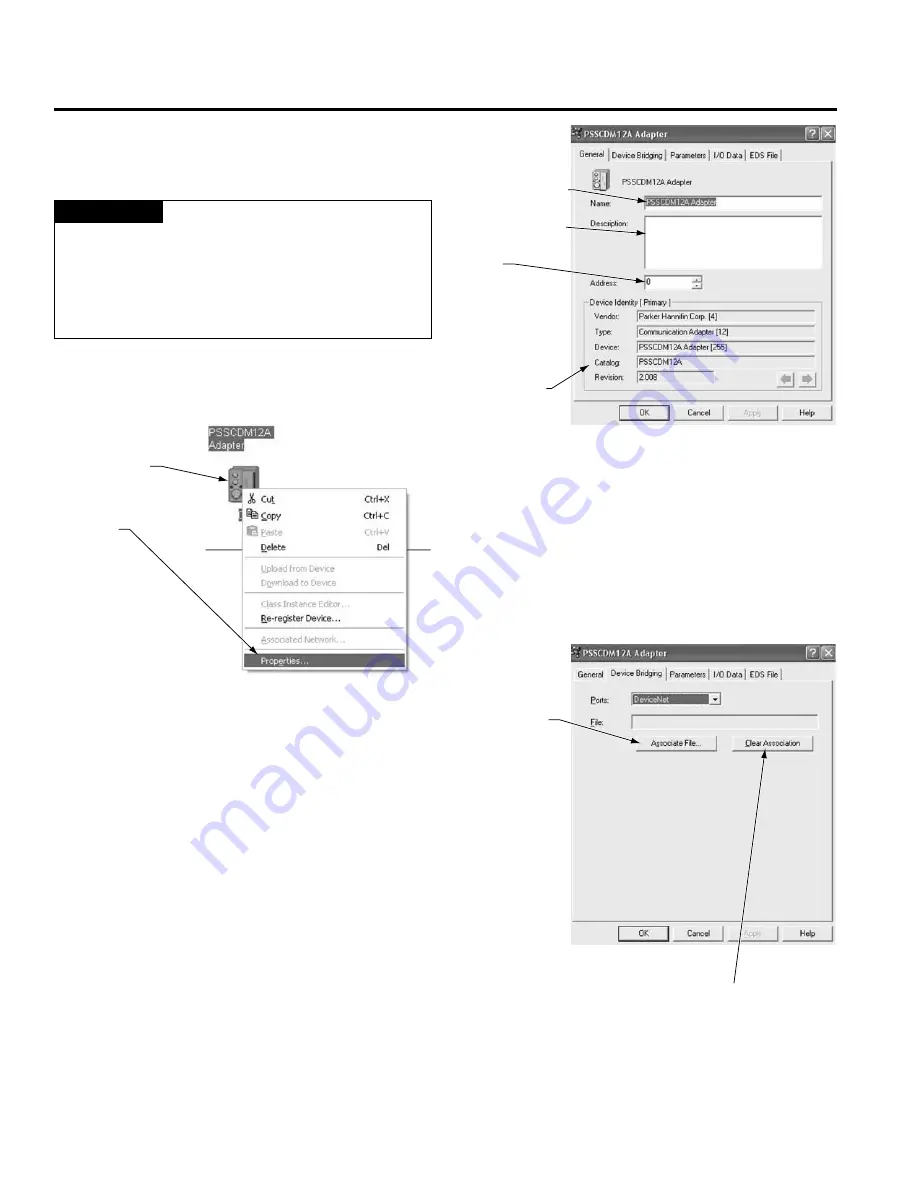
1.
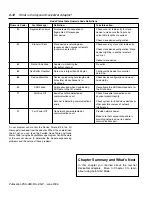
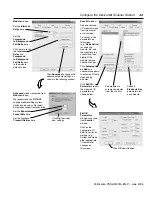
Configure the adapter as shown below.
You see a window with a series of tabs. Each tab opens to a
window that provides options to write configuration for your adapter.
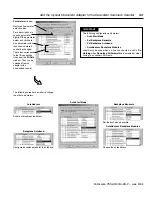
The tabs are shown on the following pages.
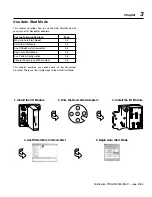
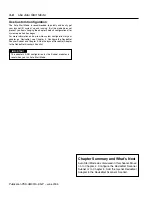
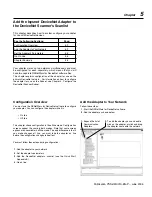
1.
Right-click on
the
adapter.
TIP
You can also double-click
on the adapter to view
the
Properties
menus.
2.
Click on
Properties
to
configure
your
adapter.
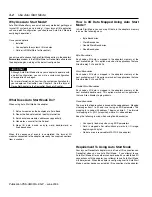
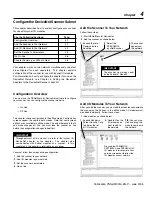
Type the scanner's
name here.
Type a description
here (optional).
This screen shows
the adapter's
device identity.
These fields are
read only.
Set the
desired address.
This address
corresponds to the
address switch on
the adapter.
General
window
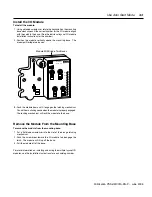
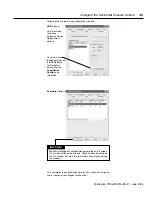
Use
Clear Association
to
remove previously established
configuration file associations
that no longer apply to
your adapter.
Device Bridging
window
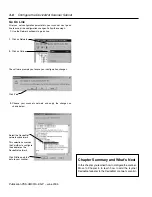
Use
Associate
File
to associate
this configuration
file with the
configuration file
that configures the
same Isysnet
DeviceNet scanner
for communication
with IsysNet I/O
modules.
For more
information on
the need to
maintain two
configuration files in the
same adapter and the
simultaneous presence of
the adapter on two
networks (i.e., DeviceNet
as a slave and Subnet as a
master), see page 5-1.

