
The oven
Before you use the oven you should wipe it out with a damp cloth to
remove any dust.
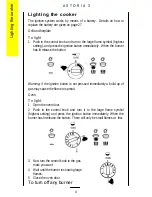
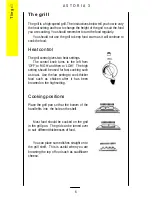
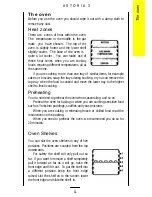
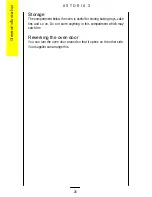
Heat zones
There are zones of heat within the oven.
The temperature in the middle is the gas
mark you have chosen. The top of the
oven is slightly hotter and the lower shelf
slightly cooler. The base of the oven is
quite a lot cooler. You can make use of
these heat zones when you are cooking
foods requiring different temperatures all at
the same time.
If you are cooking more than one tray of similar items, for example
cakes or biscuits, swap the trays during cooking or you can remove the
top tray when the food is cooked and move the lower tray to the higher
shelf to finish cooking.
Preheating
You do not need to preheat the oven when casseroling and so on.
Preheat the oven for baking or when you are cooking sensitive food
such as Yorkshire puddings, soufflés and yeast mixtures.
When you are cooking or reheating frozen or chilled food read the
instructions on the packing.
When you need to preheat the oven, we recommend you do so for
20 minutes.
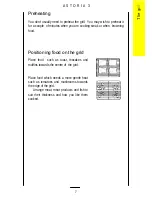
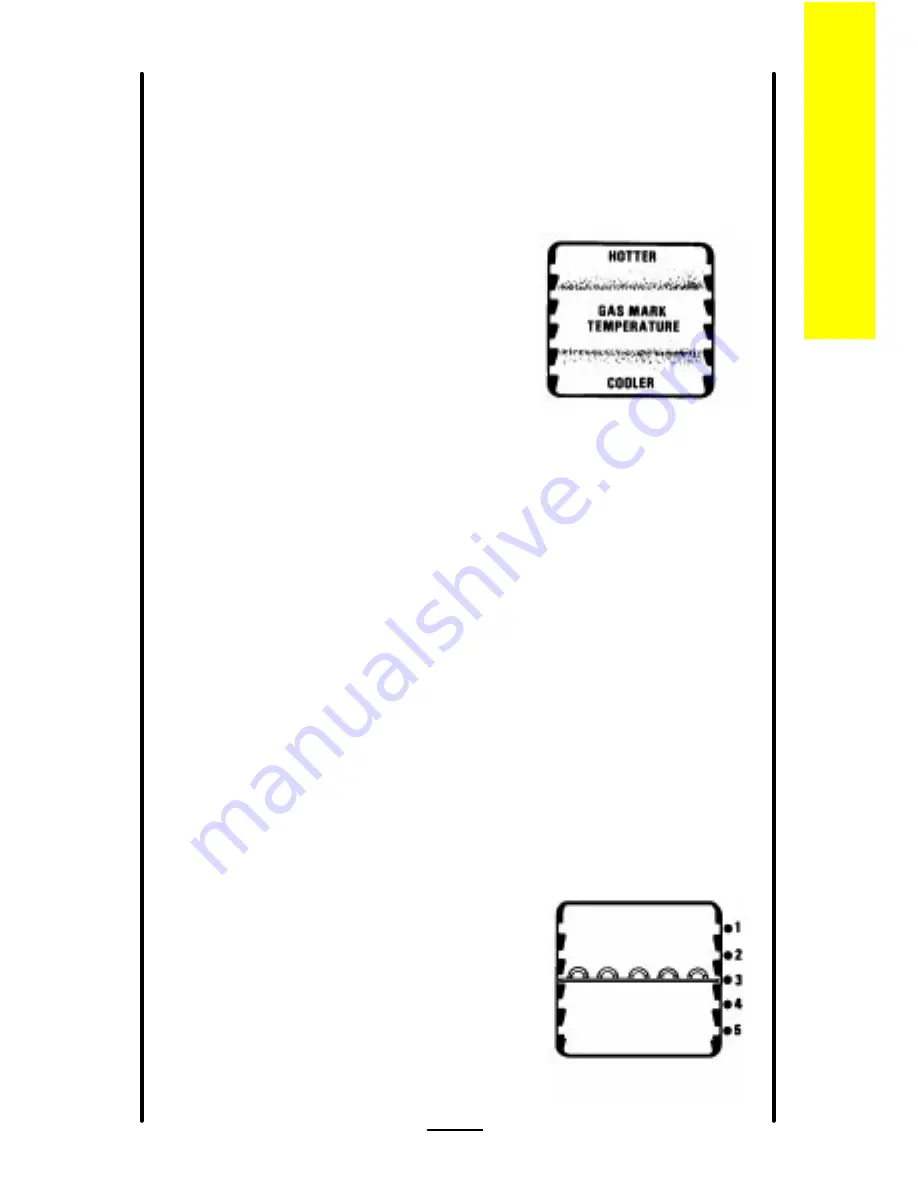
Oven Shelves
You can slot the oven shelves in any of five
positions. Positions are counted from the top
downwards.
For safety the shelf will only pull out so
far. If you want to remove a shelf completely
pull it forward as far as it will go, raise the
front edge and lift it out. To put the shelf into
a different position keep the front edge
raised, slot the shelf on to the runner, lower
the front edge and slide the shelf in.
A S T O R I A 3
11
Th
e
ov
en