
FOR THE USER
Important Safety Information
2
Preface 4
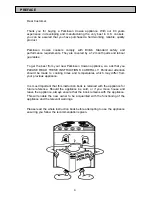
Introduction
5
Rating Plate
5
General Notes On Using Your Appliance
5
About Condensation And Steam 5
The Cooling Fan for the Controls
5
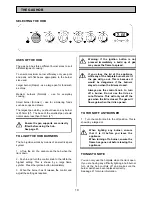
Control Panel Indicator Neons
5
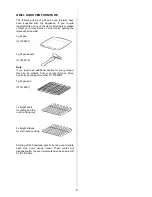
Grill and Oven Furniture
6
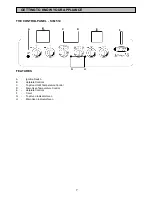
The Control Panel 7
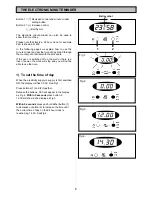
The Timer 8
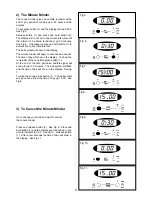
The Electronic Minute Minder 8
To Set The Time Of Day 8
To Use The Minute Minder 8
To Cancel The Minute Minder 9
The Gas Hob
10
Uses Of The Hob 10
To Light the Hob Burners
10
To Turn Off Any Burner 10
Things To Note 11
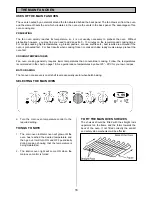
The Grill
12
Uses of the Grill
12
Selecting The Grill
12
Things To Note
12
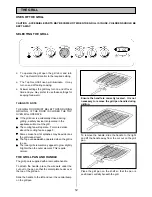
The Grill Pan and Handle
12
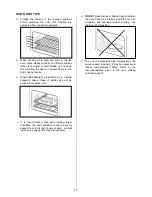
Hints and Tips
13
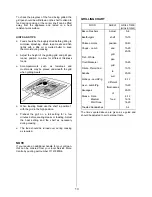
Grilling Chart
13
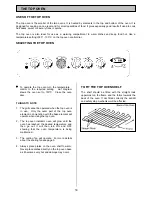
The Top Oven
14
Uses Of The Top Oven
14
Selecting The Top Oven
14
Things To Note
14
To Fit the Top Oven Shelf
14
Hints and Tips
15
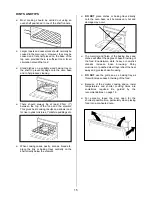
The Main Fan Oven
16
Uses Of The Main Fan Oven
16
Preheating
16
Cooking Temperatures
16
Batch Baking
16
Selecting The Main Oven
16
Things To Note
16
To Fit the Main Oven Shelves
16
Hints And Tips
17
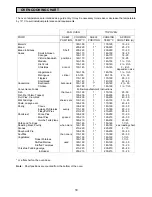
Oven Cooking Chart
18
Roasting Chart
19
Defrosting
20
Uses Of The Defrost Feature
20
Selecting Defrost
20
Things To Note
20
Hints and Tips
20
Care and Cleaning
21
Cleaning Materials
21
Cleaning The Hob
21
When Replacing Hotplate Burner Parts
21
Cleaning the Outside of the Appliance
22
Cleaning The Control Knobs And Handles
22
Cleaning the Grill and Oven Furniture
22
Cleaning Inside The Ovens / Grill
22
Care of Stayclean Surfaces
22
Hints and Tips
22
Cleaning The Door Glass
23
Cleaning Between The Outer And Inner Door
Panels
23
To Remove The Outer Panel
23
To Replace The Outer Panel
24
To Clean The Inner Glass Door Panels
24
Replacing An Oven Light Bulb
24
Something Not Working
25
Service and Spare Parts
26
Guarantee Conditons 27
FOR THE INSTALLER
Technical Details
28
For your Safety
29
Choice of Electrical Connection
29
Things to Note
29
Important Safety Requirements
30
Provision For Ventilation
30
Moving Your Appliance
30
For Your Safety
30
Location Of Appliance
31
Connecting To Electricity Supply
32
Connecting To Gas Supply
33
Fitting The Stability Bracket
34
Pressure Testing
35
Checking The Grill
35
Checking The Hotplate
35
Checking The Lid Shut-Off Device 35
Checking The Main Oven
35
Checking The Second Oven
35
To Set The Time Of Day 36
Minute Minder Operation
36
General Note
36
CONTENTS
3


