PKSA 20-Li A1
■
44
│
GB
│
IE
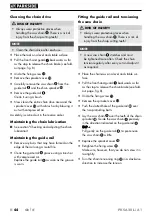
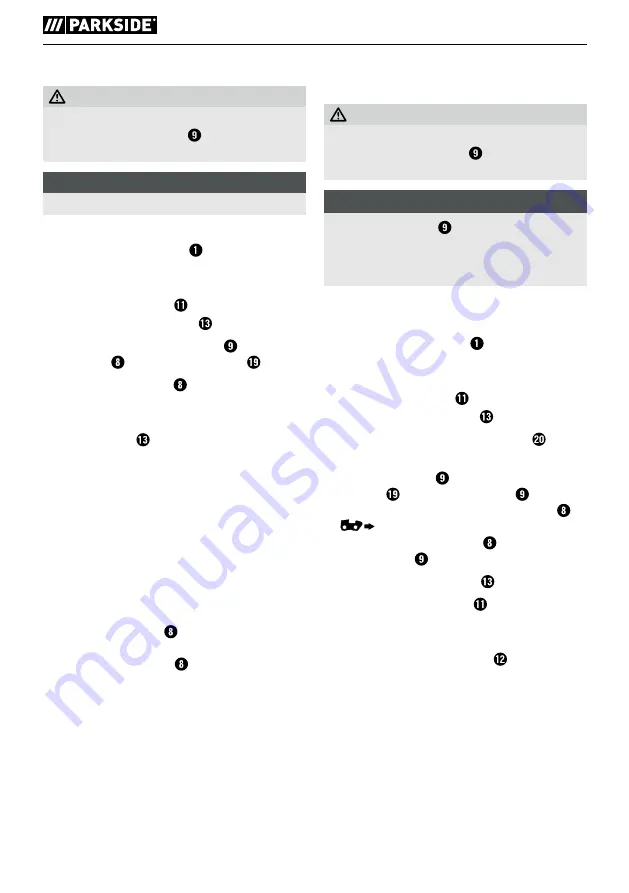
Cleaning the chain drive
RISK OF INJURY!
►
Always wear protective gloves when
handling the saw chain . There is a risk of
injury from the sharp cutting teeth!
NOTE
►
Clean the chain drive after each use.
♦
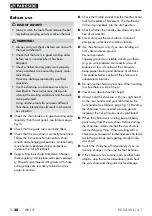
Place the tool on a level and stable surface.
♦
Pull the front hand guard backwards as far
as the stop to release the chain brake (see fold-
out page, fig. B).
♦
Undo the fixing screw .
♦
Remove the sprocket cover .
♦
Carefully remove the saw chain from the
guide rail and the chain sprocket .
♦
Remove the guide rail .
Clean it using a brush.
♦
Now clean the entire chain drive area and the
sprocket cover with a brush or by blowing it
out with compressed air.
Assembly is carried out in the reverse order.
Maintaining the chain lubrication
■
See section "Checking and adjusting the chain
lubrication".
Maintaining the guide rail
♦
Remove any burrs that may have formed on the
edge of the rail using a metal file.
♦
Clean the guide rail groove using a brush or
with compressed air.
Replace the guide rail as soon as the groove
is worn.
Fitting the guide rail and tensioning
the saw chain
RISK OF INJURY!
►
Always wear protective gloves when
handling the saw chain . There is a risk of
injury from the sharp cutting teeth!
NOTE
►
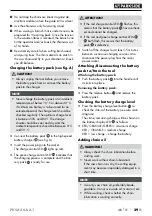
A new saw chain stretches and must
be tightened more often. Check the chain
tension regularly after every cut and adjust it
as required.
♦
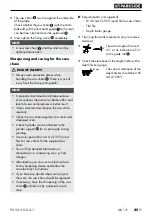
Place the chainsaw on a level and stable sur-
face.
♦
Pull the front hand guard backwards as far
as the stop to release the chain brake (see fold-
out page, fig. B).
♦
Undo the fixing screw .
♦
Remove the sprocket cover .
♦
Push the slotted hole of the guide rail over
the two protruding bolts.
♦
Lay the saw chain over the teeth of the chain
sprocket . Guide the saw chain precisely
in the direction indicated on the guide rail
.
Pull gently on the guide rail , to pre-tension
the saw chain a little.
♦
Replace the sprocket cover .
♦
Retighten the fixing screw .
Make sure, however, that you do not screw it in
too tightly.
♦
Turn the chain tensioning ring in a clockwise
direction to increase the tension.
Summary of Contents for 327520 1904
Page 3: ... 375 9 525mm 05 1 27mm A ...
Page 4: ...B C D 45 60 1 4 3 4 A B C D E F G ...
Page 5: ...1 2 1 2 H I C B A J ...
Page 58: ...PKSA 20 Li A1 52 GB IE ...
Page 140: ...PKSA 20 Li A1 134 PL ...
Page 166: ...PKSA 20 Li A1 160 CZ ...

