O
PERATION
Running the heater
• Position the floor heater in a dry place. There must be at least 50 cm free on all sides and above. The floor must be
level, so that the safety switch on the underside is pressed in.
There must be no objects such as furniture or curtains between the floor heater and the person or things to be
warmed.
• Turn the heating element
(3)
up to the label in a horizontal position.
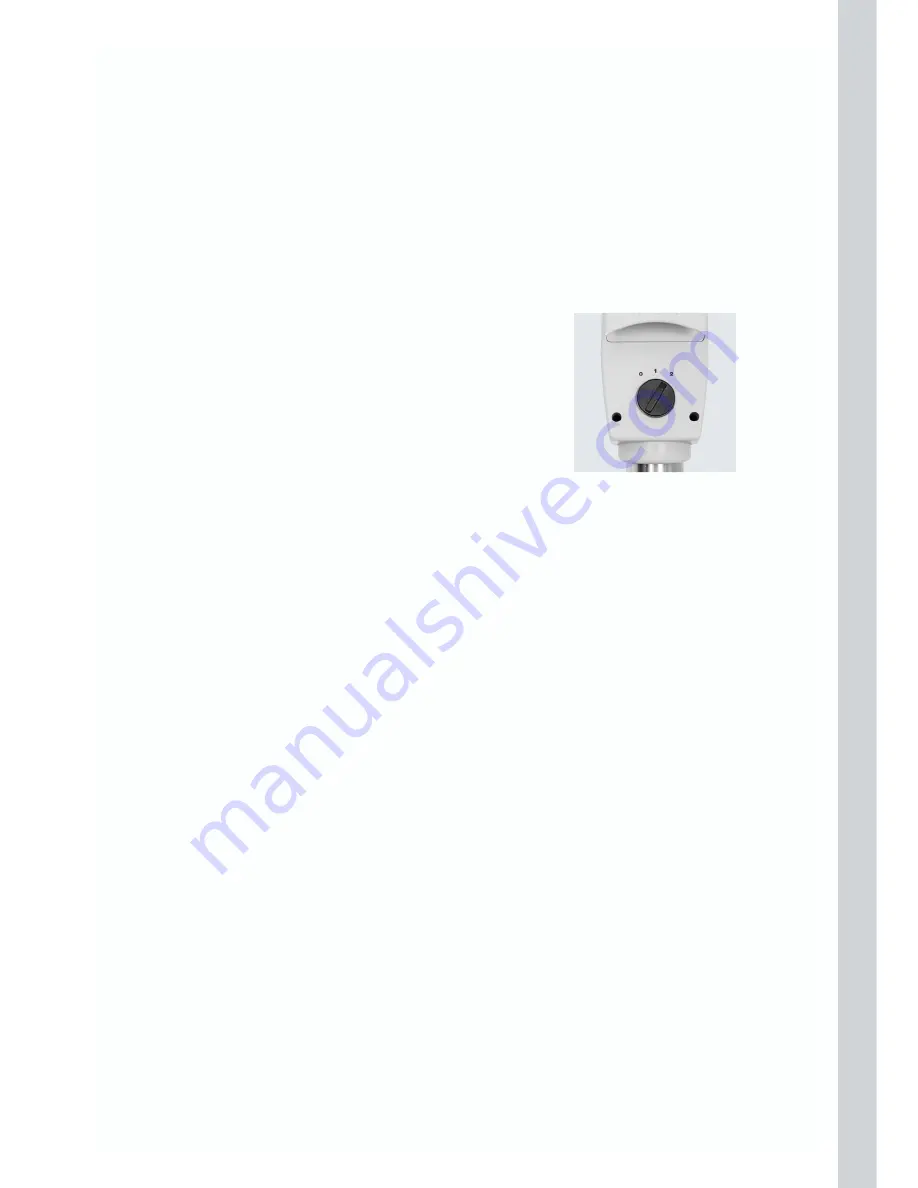
• Make sure that the output regulator
(4)
is switched to “0” and plug the plug
(2)
into a plug socket. Warning!
The voltage must correspond with the notice on the type plate on the output regulator
(4)
!
• Switch the output regulator
(4)
to the desired setting:
0 = Off
1 = One heating rod switched on
2 = Both heating rods switched on
While in operation, only touch the appliance by handle
(5)
.
Attention!
The appliance may only be moved when it is switched off and not connected to the mains.
A
FTER USE
• Switch the appliance off with the output regulator
(4)
, when the desired room temperature is reached.
• If the appliance is no longer needed, disconnect from the mains and let it cool down.
• To save space when storing the appliance, turn the heating element
(3)
back to a vertical position.
C
LEANING
• Do not use abrasive cleaning agents as they could damage the surface of the appliance.
• Never clean the appliance with easily flammable cleaning agents such as petrol or spirit.
• Before cleaning, switch the appliance off, unplug it from the mains and allow it to cool down.
• Clean the appliance with a lightly moistened cloth.
• The heating rods are best cleaned with a brush with long soft bristles.
• Never submerge the appliance in water or other liquid.
W
HAT IF
...?
Cannot be switched on.
• check if the plug is correctly plugged in.
• check if the plug socket is in working order (e.g. with a lamp).
• Is the floor heater standing on a level surface, so that the safety switch
(8)
on the underside is pressed in?
T
ECHNICAL DATA
Nominal voltage:
230 V ~ 50 Hz
Nominal output:
1.500 W
In the course of product improvement, we reserve the right to technically and optically alter the product.
10
Summary of Contents for KH 1500 PATIO-HEATER
Page 2: ...1 4 6 7 8 3 2 5...
Page 31: ......


