20
GB/IE/NI
14.4 Maintenance of the hedge trimmer (17)
14.4.1 Lubricate the transmission of the hedge trimmer
(17) (Fig. 28)
Lubricate the drive every 10 to 20 operating hours.
Treat with lithium-based grease. Remove the maintenance screws (74)
and put in the grease.
Then refit the maintenance screws (74).
Attention!
Top up with only a little grease. Under no circumstances overfill.
Oil the hedge trimmer (17) and the angle adjustment with environmen-
tally friendly lubricating oil.
14.4.2 Visual inspection of the hedge trimmer
Check the hedge trimmer for obvious defects such as:
• loose fastenings
• worn or damaged components
• bent, broken or damaged cutting device
• covers or protective devices correctly mounted and intact.
• Wear, especially sliding clearance of the cutting device.
Replace damaged or blunt cutting tools immediately, even if only slightly
damaged.
14.5 Maintenance of the pole pruner (26)
14.5.1 Maintaining the blade (32) and the pole-mounted
pruner (26)
Turn the blade (32) over every time the saw chain (31) is sharpened or
replaced. This will prevent wearing the blade (32) on one side, espe-
cially at the tip and the underside.
Regularly clean the following parts of the pole pruner (26):
1 = the opening for the oil feed
2 = the oil channel
3 = the circumferential groove of the rail
14.5.2 Maintenance and sharpening of the saw chain (31)
The properly sharpened saw chain (31)
A properly sharpened saw chain (31) goes effortlessly through the wood
and requires very little pressure. Do not work with a dull or damaged saw
chain (31). It increases physical exertion, magnifies the vibrations and
leads to unsatisfactory results as well as greater wear and tear.
• Clean the saw chain (31) regularly.
• Check the saw chain (31) for breaks in the links and damaged rivets.
• Sharpening a saw chain (31) should only be carried out by experi-
enced users!
• Note the angles and dimensions specified below. If the saw chain (31)
is not properly sharpened or the depth gauge is too small, there is a
higher risk of kickback effects and the resulting injuries! The saw chain
(31) cannot be fixed on the blade (32). It is therefore best to remove
the saw chain (31) from the blade (32) and then sharpen it.
• Select a sharpening tool that is suitable for the chain pitch.
The chain pitch (e.g. 3/8”) is marked in the depth gauge of each blade.
Only use files specifically for saw chains!
Other files have the wrong shape and the wrong edge. Select the di-
ameter of the file according to your chain pitch. Be sure to also note the
following angles when sharpening the chain blades.
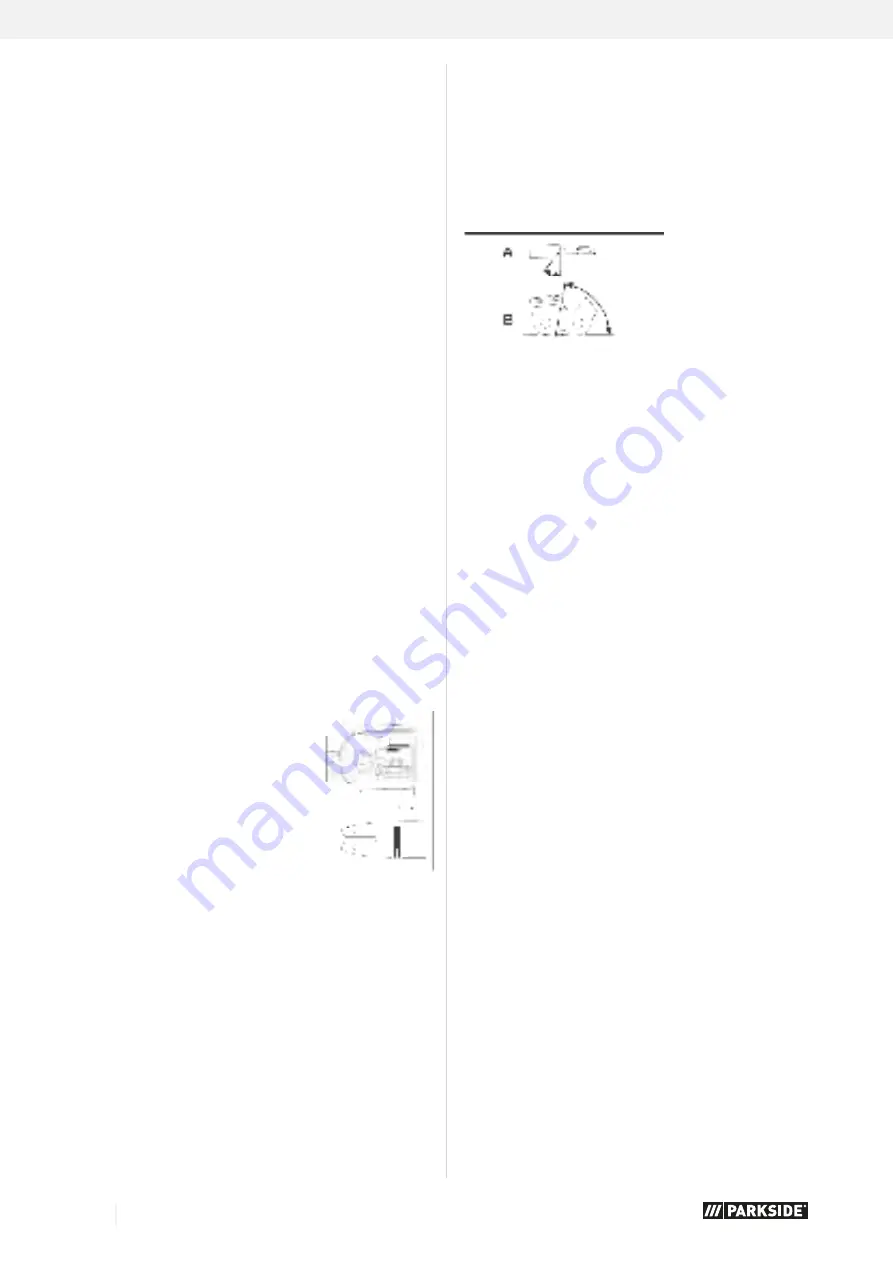
A = file angle
B = angle of the side plate
Furthermore, the angle must be maintained for all blades.
If the angles are uneven, the saw chain (31) will run erratically, wear out
quickly and break prematurely.
Since these requirements can only be met with sufficient and regular
practice:
• Use a file holder.
• A file holder must be used when sharpening the saw chain (31) by
hand. The correct filing angles are marked on it.
• Hold the file horizontally (at the correct angle to the blade (32)) and
file according to the angle marking on the file holder. Support the file
holder on the top plate and the depth gauge.
• Always file the blade from the inside out.
• The file only sharpens as it moves forward. Lift the file off as you move
backwards.
• Do not touch the fastening straps or dynamic links with the file.
• Turn the file regularly to avoid wear on one side.
• Use a piece of hard wood to remove the burr from cutting edges.
All blades must have the same length, otherwise they will also be of dif-
ferent heights.
This causes the saw chain (31) to run erratically and increases the dan-
ger of breaking.
14.5.3 Lubricating the pole pruner transmission (Fig. 29)
Lubricate the drive every 10 to 20 operating hours.
• Apply the grease gun to the grease nipple (75).
• Squeeze some grease into it.
Attention!
Top up with only a little grease. Under no circumstances overfill.
14.6 Wearing parts
Even when used as intended, some components are subject to normal
wear and tear. These must be replaced regularly depending on the type
and duration of use. These parts include the cutting tool and the retain-
ing plate.
Service information
With this product, it is necessary to note that the following parts are
subject to natural or usage-related wear, or that the following parts are
required as consumables.
1
3
2
Summary of Contents for PBK 4 B3
Page 5: ...12 13 35 14 b 16 17 18 900 00 20 450 19 62 63 15 60 61 7 push primer 7 times 19 2 16a 16 a...
Page 6: ...23 WIND CORD 26 25 16 65 66 67 68 c 67 27 12 69 21 6 70 22 72 71 73 28 74 17 24 65 67 75 29 26...
Page 106: ...100 3 2 5 3...
Page 107: ...101 2 3 5...
Page 108: ...102 5 3 2...
Page 109: ...103 2 3 5...
Page 110: ...104 5 3 2...
Page 111: ...105...
Page 114: ...108...
Page 115: ......
Page 136: ...18...
Page 138: ...20...
Page 139: ......


