19
GB
The electric arc is ignited in the weld
groove, guided to the continuation point,
melted properly and finally the weld
seam is continued.
CAUTION:
Please note that the torch
must always has to be placed on down
an insulated surface after welding.
Always switch off the welding device
after completing welding work and
during breaks and pull the plug from
the mains socket.
z
Create a weld seam
Forehand welding
Push the torch forwards.
Result: The penetration depth is lower,
broader weld width, flatter weld bead
(visible surface of the seam) and greater
fusion error tolerance.
Backhand welding
The torch is dragged from the weld seam.
Result: Greater penetration depth, narrower
weld width, higher weld bead and lower
fusion error tolerance.
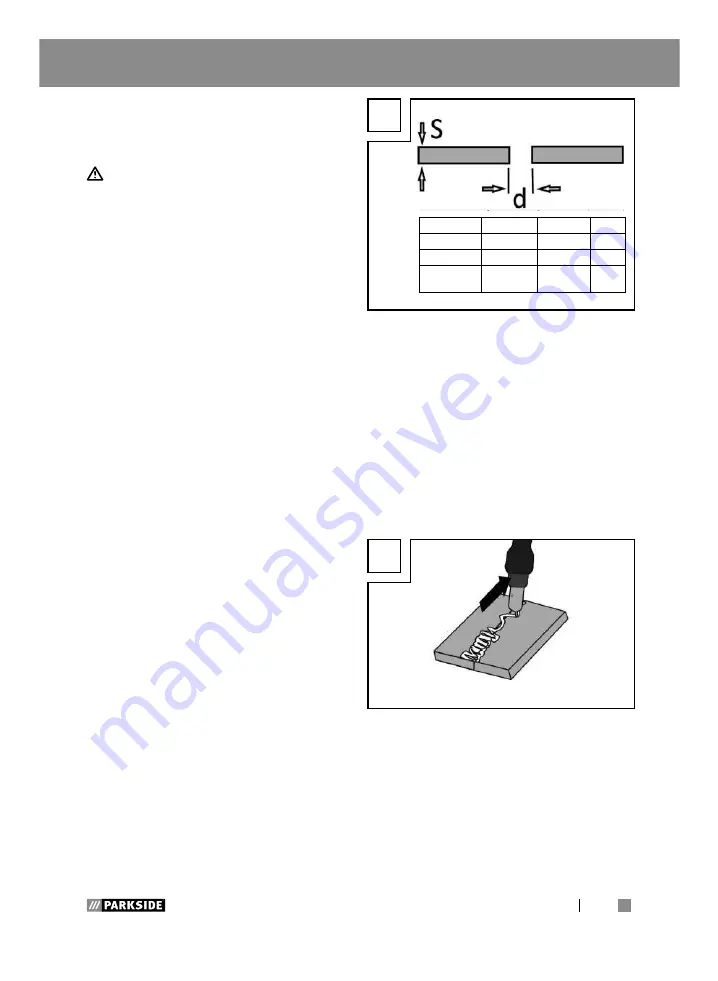
Welded joints
There are two-basic types of joints in
welding: Butt welds and angle welding
(outer edge, inner edge and overlapping).
Butt welds
With butt welds of up to 2 mm, the weld
edges are completely brought together.
For greater thicknesses, please proceed
as per the following table:
S
S =
1-3 mm
3-4 mm
4-6 mm
d = surface
0.5-1.5- mm 1.5-2.5 mm 2-3 mm
d = vertical
1-1.5- mm
1.5-2.5 mm 2-3 mm
d = front
surface
1-2 mm
2-3 mm
3-4 mm
Flat butt welds
Welds should be made without interruption
and with a sufficient penetration depth.
Therefore, it is extremely important to be
well prepared. The factors that influence the
quality of the weld result are: the amperage,
the distance between weld edges, the
inclination of the torch and the correspond-
ing diameter of the welding wire.
The steeper you hold the torch against the
workpiece, the higher the penetration depth
and vice versa.
T
To forestall or reduce deformations that can
happen during the material hardening pro-
cess, it is good to fix the workpiece with a
device. Avoid stiffening the welded structure
to prevent cracks in the weld.
These problems can be avoided if there is a
possibility of turning the workpiece so that
the weld can be carried out in two passes
running in opposite directions.
Using the device
Summary of Contents for PFDS 120 A2
Page 3: ...1 2 4 9 10 11 12 3 5 7 6 8 A B C D 13 15 14 16 17 18 22 23 24 25 19 20 21 ...
Page 24: ...24 GB ...
Page 47: ...47 HU ...
Page 48: ...48 HU ...
Page 68: ...68 SI ...
Page 88: ...88 CZ ...
Page 108: ...108 SK ...


