PWBS 180 A1
GB
│
IE
│
NI
│
CY
│
9
■
Before use
WARNING! RISK OF INJURY
►
Always remove the plug from the power
socket before working on the appliance .
CAUTION!
►
Wear protective gloves when changing
tools.
There is a risk of injury if the accessory
tools are touched .
■
Different application tools are available, de-
pending on the material being machined and
the desired degree of surface removal required .
NOTE
►
Do not put the appliance down without the
accessory tool fitted (sanding disc, carbide
sanding head, etc .) . The brush ring may
bend and be damaged .
Change sanding sheets
The surface of the sanding disc consists of
a velcro fabric so that you can fasten sanding
sheets quickly and easily .
♦
Before attaching a new sanding sheet , re-
move dirt and dust from grinding disc , e .g .
with a brush .
♦
Position the sanding sheet flush against the
edge of the sanding disc ; lay the sanding
sheet then onto the sanding disc and
press it firmly into place . Make sure that the
suction holes on the sanding sheet and the
grinding disc match up .
♦
To remove the sanding sheet , lift the edge
and pull it off the sanding disc .
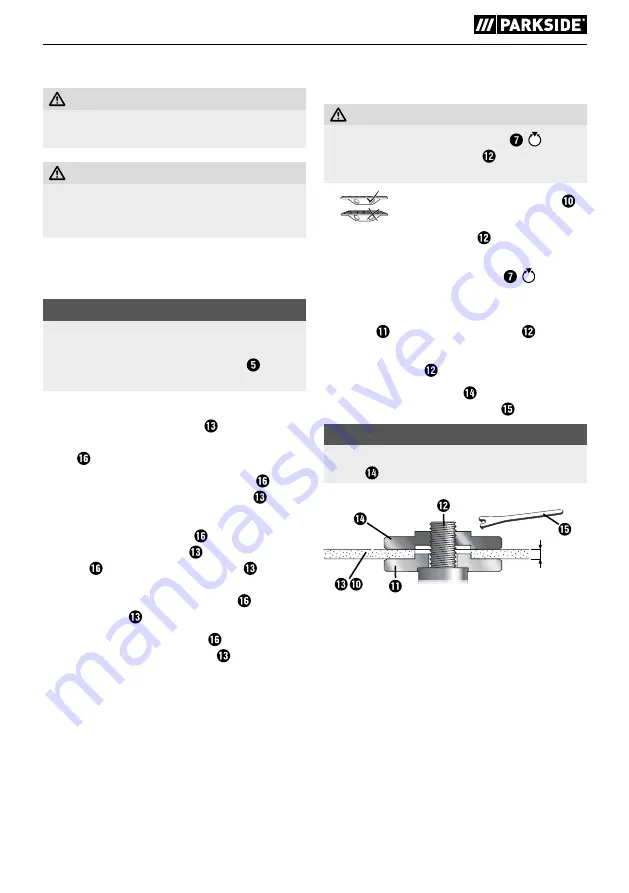
Fitting/changing accessory tools
(Fig . A)
WARNING!
►
Press the spindle locking button
only
when the grinding spindle is at a standstill .
Otherwise the appliance may be damaged .
■
Only use carbide sanding heads
with an even sanding surface .
♦
Clean the sanding spindle and all parts to
be mounted .
♦
Press the spindle locking button
to clamp
and release the accessory tool .
♦
To fit the accessory tool, place the mounting
flange onto the sanding spindle .
♦
Place the desired accessory tool onto the
sanding spindle .
♦
Screw the clamping nut and tighten it with
the two-hole assembly spanner .
NOTE
►
Make sure that the collar of the clamping
nut is facing outwards .
12
≤ 3,2 mm
> 3,2 mm
Summary of Contents for PWBS 180 A1
Page 3: ......
Page 4: ...A B...
Page 22: ...PWBS 180 A1 18 GR CY 1 2 3...
Page 23: ...PWBS 180 A1 GR CY 19 4 5...
Page 24: ...PWBS 180 A1 20 GR CY...
Page 25: ...PWBS 180 A1 GR CY 21...
Page 26: ...PWBS 180 A1 22 GR CY ON OFF Off...
Page 27: ...PWBS 180 A1 GR CY 23 FFP2...
Page 28: ...PWBS 180 A1 24 GR CY A 12 3 2 mm 3 2 mm P2...
Page 29: ...PWBS 180 A1 GR CY 25...
Page 30: ...PWBS 180 A1 26 GR CY ON OFF ON OFF On Off On Off...
Page 31: ...PWBS 180 A1 GR CY 27 2012 19 U a b 1 7 20 22 80 98...
Page 32: ...PWBS 180 A1 28 GR CY Kompernass Handels GmbH 3...


