Parry
-British Built for Purpose
IN138-4
5
Installation Instructions
All electrical appliances must be earthed.
Choose a suitable site for your machine taking into consideration its, use, and any
heat that may be generated whilst in service.
Remove all protective film and packing material, then inspect for any damage which
may
affect the machine’s electrical safety.
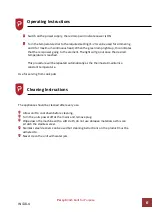
Plug the machine into the mains and press the power on switch.
The glass sneeze screen is packaged separately from the unit to reduce the likelihood of
breakage during transportation.
To fit to the unit, remove all packaging.
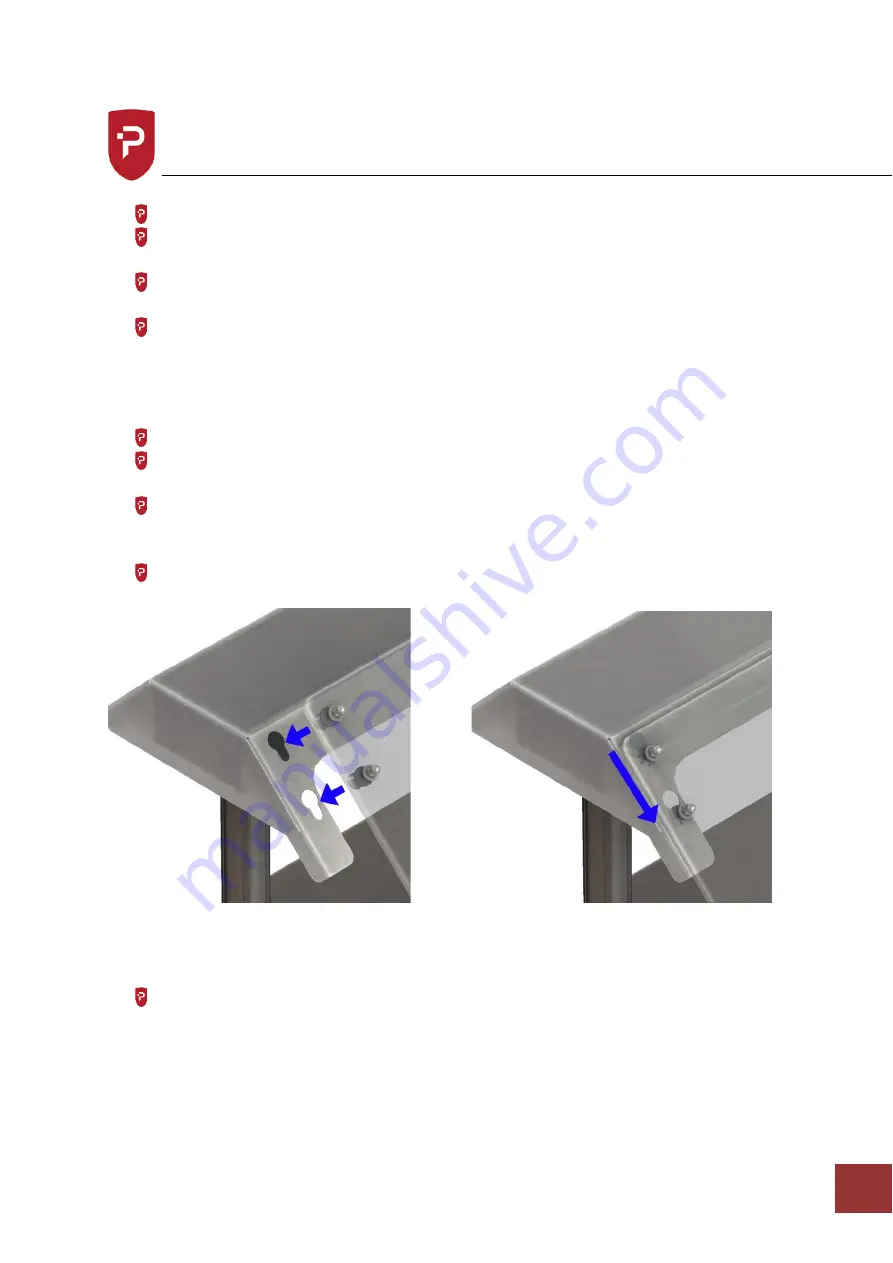
The glass has four tapered bosses connected through the glass. Line these bosses up
with the four keyhole shaped holes on the unit.
Push the bosses through the larger hole and whilst still supporting the glass allow it
to drop into the lower part of the keyhole slot, which locks the sneeze guard in
place.
The glass should sit on the outside of the metal work.
Fitting heated lamps
Fit the lamps into the lamp holders by locating one end into the lamp holder then
push the other end into place.
Summary of Contents for QLD2
Page 1: ...Instruction Manual Quartz Lamp Display Units QLD2 QLD3 QLD4 ...
Page 2: ......
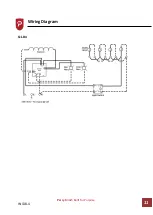
Page 12: ...Parry British Built for Purpose IN138 4 10 Wiring Diagram QLD2 QLD3 ...
Page 13: ...Parry British Built for Purpose IN138 4 11 Wiring Diagram QLD4 ...
Page 14: ...Parry British Built for Purpose IN138 4 12 Exploded View ...


