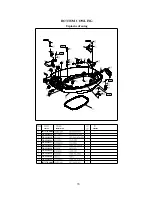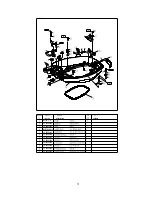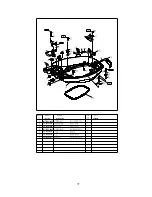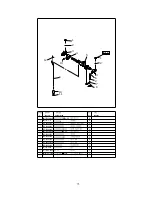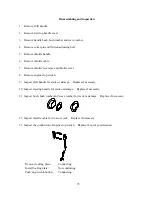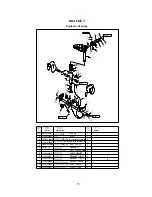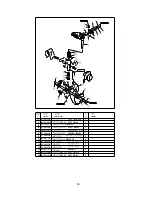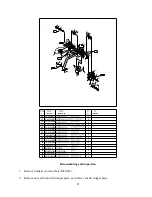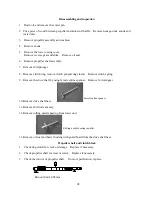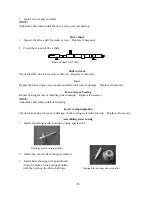
3. Remove clamp bracket nut, two hole plate, and double head bolt of clamp bracket.
4. Remove clamp bracket.
5. Remove rotary bracket.
6. Remove lock angle handle and tilt lock rod. Remove tension spring and angle orientation lever.
7. Remove orientation bushing and nylon bush.
8. Remove lock angle long shaft and short shaft.
9. Remove lock angle bracket, torsion spring, tension spring and inner bracket.
10. Inspect rotary bracket and clamp bracket for damage or crack. Replace if necessary.
11. Inspect bush and gasket for damage or crack. Replace if necessary.
12. Inspect lock angle bracket and support bracket for deform. Replace if necessary.
84
Summary of Contents for F15/F9.9BM
Page 1: ...PARSUN OUTBOARD ENGINE SERVICE MANUAL F15 F9 9BM F15 F9 9W SUZHOU PARSUN POWER MACHINE CO LTD...
Page 13: ...DETECTION DEVICE Digital tachometer Digital circuit tester Peak voltage adaptor 7...
Page 36: ...EXPLOSIVE DRAWING REMARKS PART NO DESCRIPTION 30...
Page 37: ...REMARKS DESCRIPTION PART NO 110 Nm O M6x20 mm 8Nm O 18 Nm 31...
Page 38: ...PART NO DESCRIPTION REMARKS 18 Nm O M6x20 mm 8Nm O 110 Nm 32...
Page 39: ...Electric start type PART NO DESCRIPTION REMARKS 30 Nm 33...
Page 40: ...PART NO DESCRIPTION REMARKS 34...

