
35
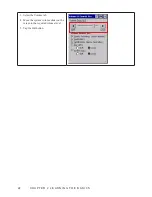
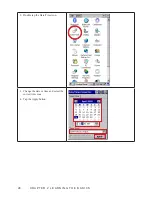
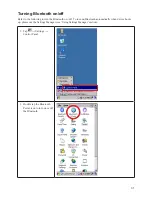
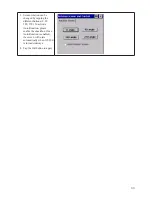
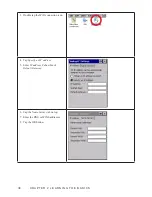
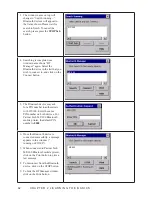
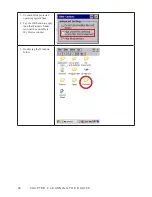
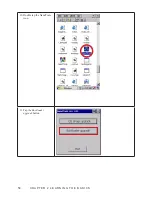
Set the properties. Normally,
6.
all settings will be detected
automatically. If necessary, you
can change settings as follow.
To use data encryption, select
•
an encryption method from the
Encryption list.
To use authentication, select the
•
authentication method from the
Authentication list.
Tap the OK button.
7.
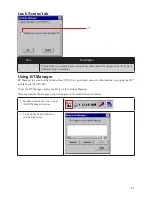
Enter network
key if necessary
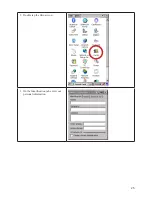
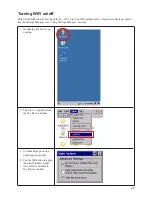
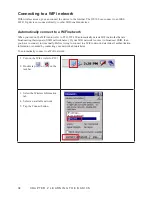
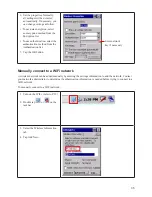
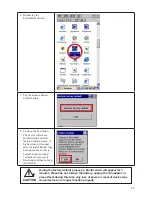
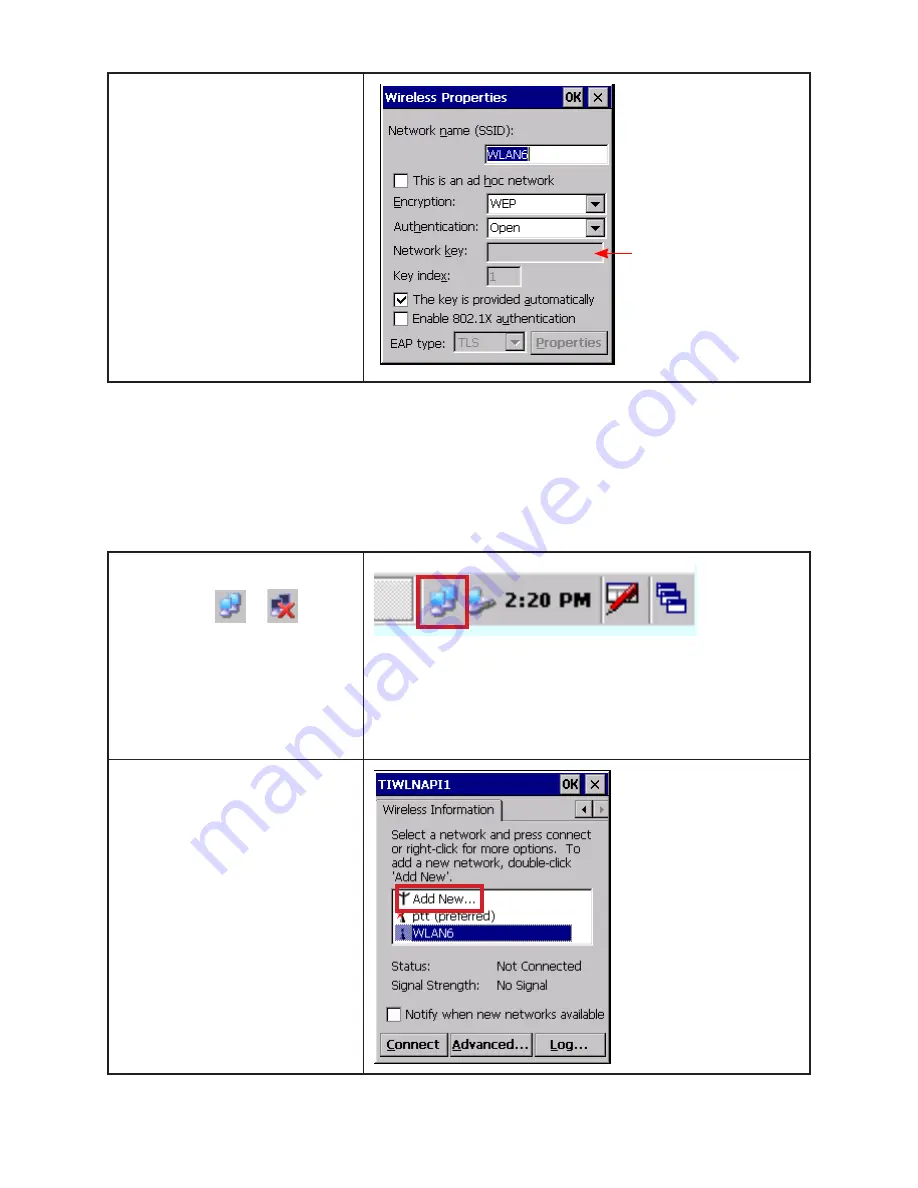
Manually connect to a WiFi network
A wireless network can be added manually by entering the settings information to add the network. Contact
your network administrator to determine if authentication information is needed before trying to connect to a
WiFi network.
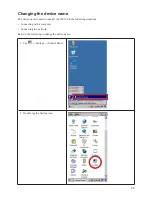
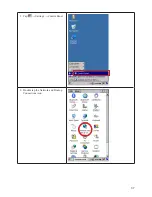
To manually connect to a WiFi network:
Turn on the WiFi. (refer to P.29)
1.
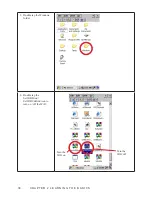
Double tap
2.
or
on the
taskbar.
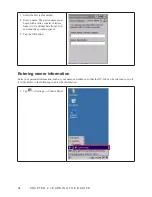
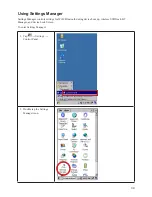
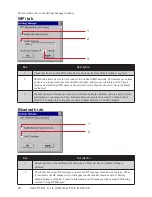
Select the Wireless Information
3.
tab.
Tap Add New...
4.
Summary of Contents for OT-100
Page 1: ...OT 100 User Manual...
Page 2: ......
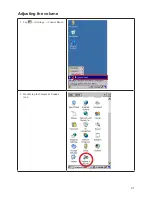
Page 29: ...21 Adjusting the volume Tap 1 Settings Control Panel Double tap the Volume Sounds 2 icon...
Page 33: ...25 Double tap the Owner icon 2 On the Identification tab enter your 3 personal information...
Page 45: ...37 Tap 1 Settings Control Panel Double tap the Network and Dial up 2 Connections icon...
Page 68: ...60 C H A P T E R 2 L E A R N I N G T H E B A S I C S...
Page 73: ...65 Using the high quality stylus A high quality stylus is included for your convenience...
Page 74: ...66 C H A P T E R 3 U S I N G T H E A C C E S S O R I E S...