45
CHAPTER 4
LOCATING THE PROBLEM
Refer to this section to locate the problem with the machine. The following topics are described.
•
General checkout guidelines on the page 41
•
Cash drawer checkout on the page 41
•
LCD symptoms on the page 42
•
Touch screen symptoms on the page 43
•
Power symptoms on the page 43
•
Network symptoms on the page 43
•
USB symptoms on the page 44
•
Peripheral-device symptoms on the page 44
•
Boot symptoms on the page 44
•
Mainboard jumper on the page 45
•
Mainboard connectors on the page 46
•
Thermal printer control board connectors on the page 47
•
Inverter connectors on the page 47
General checkout guidelines
Use the following procedure to troubleshoot problems:
•
Identify as many symptoms as possible in detail.
•
Verify symptoms by recreating them.
•
Follow the corrective procedures in order.
•
If you replace an FRU and the symptom remains, reinstall the original FRU before going to the next step.
Do not replace non-defective FRUs.
Cash drawer checkout
Refer to the following to check for a cash drawer problem.
1. Connect the RJ-11 cable from the cash drawer to the RJ-11 connector on the machine as shown in Figure
4.1.
The cash drawer RJ-11 connector is DC+24V. Ensure the cash drawer
to be connected matches this power specification.
IMPORTANT
Summary of Contents for PT-6212-EB
Page 1: ...All in one POS Terminal PT 6212 EB Service Manual...
Page 2: ......
Page 8: ...vi...
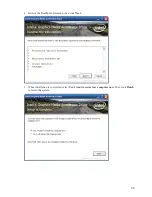
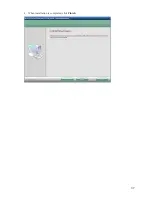
Page 45: ...37 4 When installation is completed click Finish...
Page 60: ...52 C H A P T E R 4 L O C AT I N G T H E P R O B L E M...
Page 72: ...64 C H A P T E R 5 R E P L A C I N G F I E L D R E P L A C E A B L E U N I T S F R U s...
Page 73: ...65 APPENDIX PART LIST AND SPECIFICATION Figure 6 1 Exploded diagram main parts...

