64 T i m i n g
S c r e e n
4.
Set Time in Gate and Velocity in Gate to “Visible.”
5.
Pretend that you have a cart with a 5 cm flag on it; set the Flag Length con-
stant to 0.05 m. (Highlight Flag Length and press
, then type 0.05.)
6.
In this case, photogate spacing is irrelevant, so leave the Photogate Spacing
field blank.
Viewing and Collecting Data from a Timing Sensor
After you have set up a timer, its measurements are available from the data
source menus of the Graph (see page 15), Table (page 28) and other displays.
To start collecting data, press
.
Working with Multiple Timers
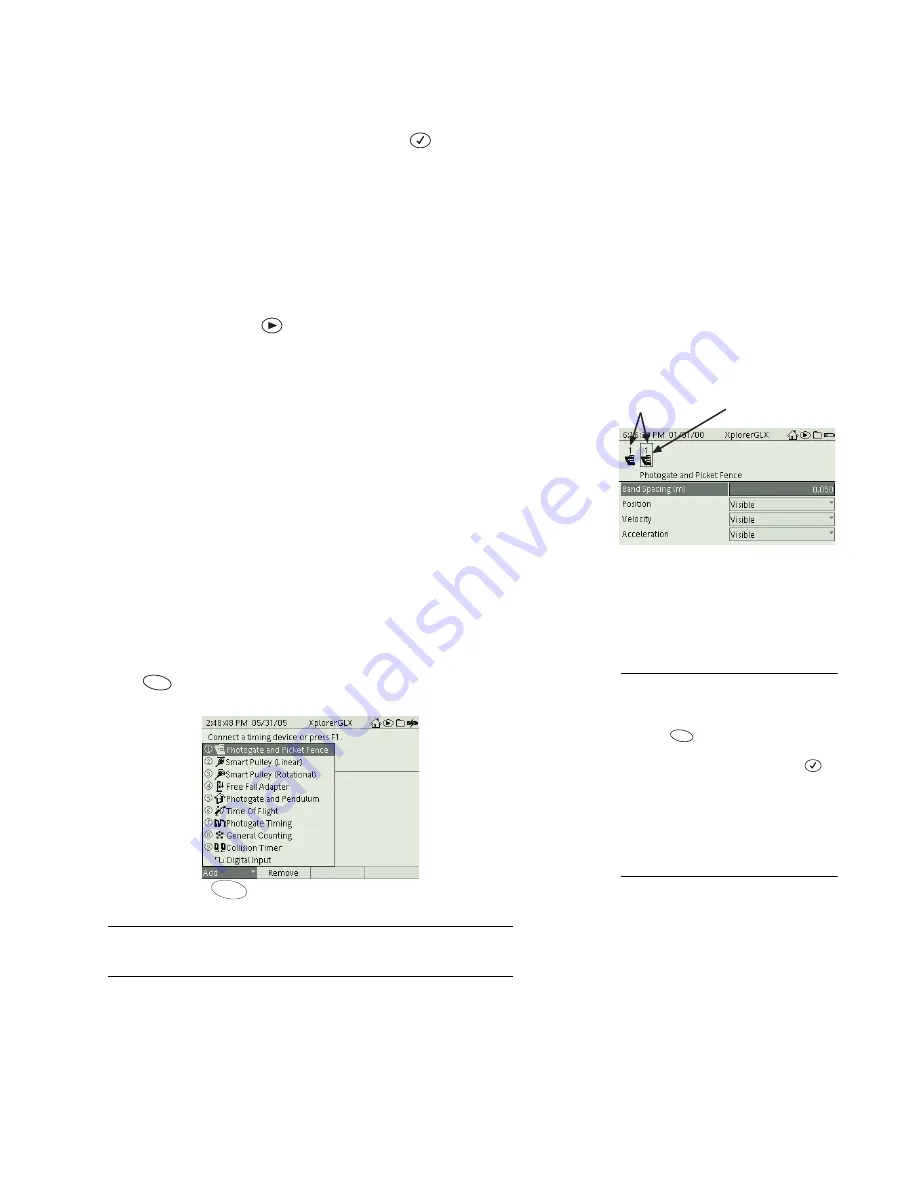
If there is more than one timer, an icon for each timer appears at the top of the
screen. To set up each one, select it with the left and right arrow keys or with the
mouse.
Note that in certain cases, a single timer operates with multiple sensors, so hav-
ing more than one sensor does not necessarily mean that you will have (or need)
more than one timer.
Timing Screen Function Keys
F1 Add
The Add menu usually launches automatically when you connect a photogate or
other timing sensor. If you wish to set up a timer for a sensor that you have not
yet connected, or for a sensor that is already connected, open the Timing screen
and press
. From the Add menu, select one of the following timers.
17
If you are using a Digital Adapter, the Add menu may include Motion Sensor,
Rotary Motion Sensor, and Relay Control. See page 67 for information on
these special options.
Photogate and Picket Fence
Select this timer for a single photogate used
with a picket fence or photogate tape. The constant, Band Spacing, is the distance
(in meters) between the centers of the dark bands on the picket fence or photo-
gate tape.
The measurements are Position, Velocity, and Acceleration. Each time the photo-
gate is interrupted by a band of the picket fence, the timer registers a change in
Two timers
Selected timer
F1
17
To select a timing option from the
Add menu
Keypad
1. Press
to open the Add menu.
2. Use the arrow keys to highlight the
desired menu option and press
;
or
press the number on the keypad
corresponding to the desired menu
option.
Mouse
1. Click Add to open the menu.
2. Click the desired option.
F1
F1
Summary of Contents for Xplorer GLX
Page 4: ......
Page 6: ......
Page 7: ...Part 1 Users Guide...
Page 8: ......
Page 18: ...12 O v e r v i e w o f t h e G L X...
Page 94: ...88 S e t t i n g s S c r e e n...
Page 98: ...92 P r i n t i n g...
Page 104: ...98 O p e r a t i n g T e m p e r a t u r e...
Page 112: ......
Page 116: ...110 C a l o r i m e t r y...
Page 132: ...126 V o l t a g e v e r s u s R e s i s t a n c e...
Page 136: ...130 I n d u c e d E l e c t r o m o t i v e F o r c e...
Page 146: ...140 B e a t F r e q u e n c y...
Page 150: ......
Page 152: ......


