X p l o r e r G L X U s e r s ’ G u i d e
7
the GLX. Do not connect a voltage source until after the probe is connected to the
GLX; remove any voltage sources before disconnecting the probe.
Sound Sensor
To configure the GLX’s microphone as a sound sensor, press
and
together to enter the Sensors screen; then press
to open the
Microphone menu. From the menu, select Sound Sensor to record the sound
waveforms, or select Sound Level to measure sound level in decibels. See “F3
Microphone” on page 58 for more information.
Computer
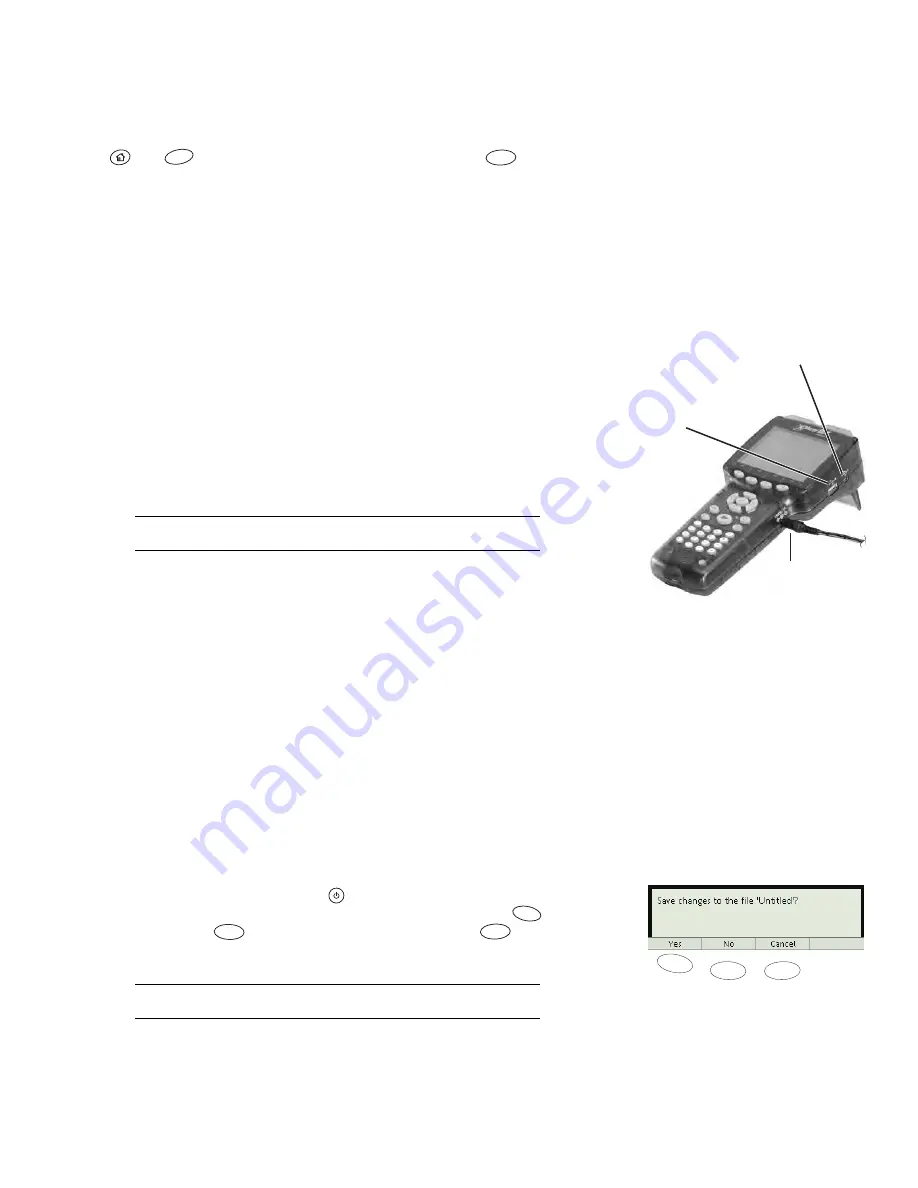
If you will be using the GLX with a computer, use the included USB
host-connection cable to connect the GLX to the USB port of the computer.
Refer to page 99 for instructions on setting up the computer.
Mouse
If you will be using an optional mouse (PS-2539), connect it to the USB
port on the right side of the GLX.
A mouse can be convenient, but it is never required; anything that you can do
with the mouse can also be done through the GLX’s keypad. New users often
find that operating the GLX is easier with a mouse. For experienced users, using
the keypad rather than a mouse is usually faster.
Keyboard
If you plan to do a lot of text entry, connect a USB keyboard
(PS-2541) to the port on the right side of the GLX.
To connect a mouse and a keyboard simultaneously, use the optional
PS-2536 Peripheral Cable.
Signal Output
If you have headphones or a pair of amplified stereo speakers
that you wish to use for sound generation, connect them to the signal output port.
You also have the option of using the GLX’s built-in speaker for sound output.
See “Output” on page 39 for more information.
USB Storage Device
If you have a USB storage device (such as a flash drive)
you can connect it to the GLX’s USB port for extra file-storage capacity and data
backup. See page 83 for more information.
GLX-to-GLX Transfer
If you have two GLXs that you would like to transfer
files between, connect them using the included host-connection cable. See
page 84 for more information.
Shutting Down
Manual Shut Down
To turn off the GLX, press and hold
for 1 second. The GLX will prompt you
to save your data and experiment setup before it shuts down. Press
to save
your work, press
to shut down without saving, or press
to not shut
down. See page 80 for instructions on opening the saved file.
If you hold the power button for 5 seconds, the GLX will shut down without
saving your data.
The GLX cannot shut down while the battery is charging; if you try to turn it off,
a message will appear informing you that charging is in progress. When the bat-
tery is fully charged, and the GLX has been idle for 60 minutes, it will shut down
automatically (see below).
F4
F3
AC power
adapter
USB mouse,
keyboard, printer,
storage device,
or 2nd GLX
Computer via USB
host-connection cable
or
Mouse, keyboard or
printer through optional
peripheral cable
F3
F2
F1
F1
F2
F3
Summary of Contents for Xplorer GLX
Page 4: ......
Page 6: ......
Page 7: ...Part 1 Users Guide...
Page 8: ......
Page 18: ...12 O v e r v i e w o f t h e G L X...
Page 94: ...88 S e t t i n g s S c r e e n...
Page 98: ...92 P r i n t i n g...
Page 104: ...98 O p e r a t i n g T e m p e r a t u r e...
Page 112: ......
Page 116: ...110 C a l o r i m e t r y...
Page 132: ...126 V o l t a g e v e r s u s R e s i s t a n c e...
Page 136: ...130 I n d u c e d E l e c t r o m o t i v e F o r c e...
Page 146: ...140 B e a t F r e q u e n c y...
Page 150: ......
Page 152: ......


