Serie P8083
Serie P8083
P8083-2ALL
P8083-2ALL
4. USO
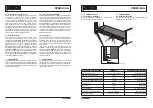
4.1 Avvio e selezione della sorgente sonora
Premere l’interruttore di rete (
1
) e quindi il tasto POWER
(
3
)
sul modulo: il display si illumina ed è possibile
selezionare la sorgente sonora da utilizzare tra CD, USB,
SD card o sintonizzatore AM/FM premendo ripetutamente il
tasto (
5
) fino a che viene visualizzata quella desiderata.
4.2 Uso del lettore CD/USB/SD card
Questo lettore CD accetta CDR da 12 cm e 8 cm.
Non inserire CD-RW, CD-ROM, CD-I, CDV e Computer CD;
è inoltre possibile inserire memorie esterne quali SD card
o unità disco USB contenenti file *.mp3.
Nota
Le funzionalità del lettore e le operazioni di seguito
descritte - nelle quali, per semplificare, ci riferiremo al
CD - si applicano indifferentemente a tutti e tre i supporti
CD/USB/SD CARD.
4. USE
4.1 Power on and sound source selection
Press the mains switch (
1
) an then the module POWER
key (
3
): the display lights up and it’s possible to select
the sound source between CD, USB, SD card or AM/FM
tuner by pressing the key (
5
) repeatedly until the required
one is shown.
4.2 Using the CD/USB/SD card player
This CD player will take 12 and 8-cm CDR’s. Do not insert
CD-RW’s, CD-ROM’s, CD-I’s, CDV’s and Computer CD’s.
It is also possible to insert external memories such as SD
cards or USB disc units containing *.mp3 files.
Note
The functions of the player and the actions described
below – in which for simplicity’s sake reference is
made only to a CD - apply equally to all three types of
medium.
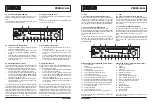
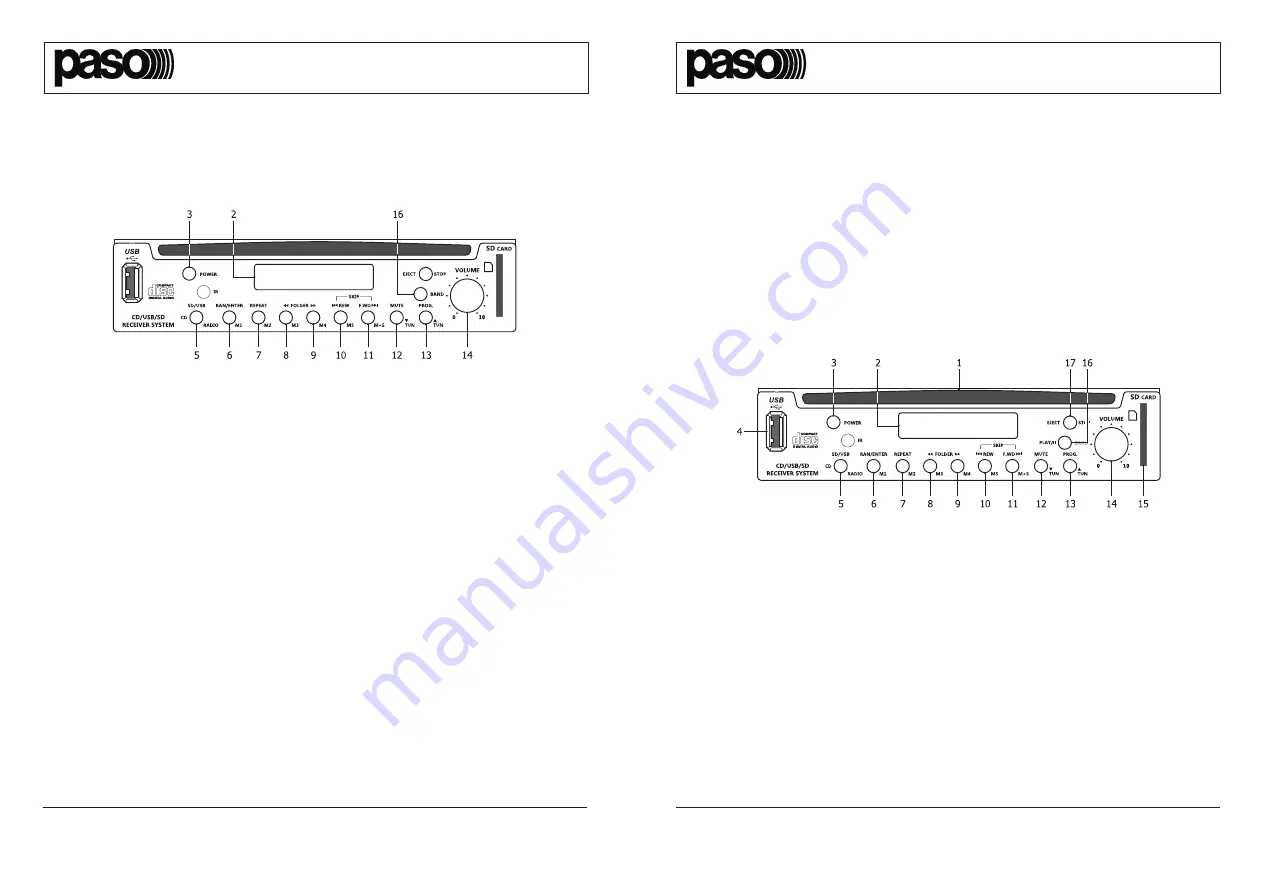
Riferimenti funzione CD/USB/SD (colore bianco)
1. Vano
lettore
CD.
2. Display.
3. Tasto
d’accensione/spegnimento.
4. Ingresso
USB.
5.
Tasto selezione sorgente sonora.
6.
Tasto riproduzione casuale dei brani.
7.
Tasto ripetizione dei brani.
8.
Tasto per scorrimento cartelle (indietro).
9.
Tasto per scorrimento cartelle (avanti).
10. Selezione traccia precedente / Arretramento veloce.
11. Selezione traccia successiva / Avanzamento veloce.
12. Ammutolimento uscita audio del brano riprodotto.
13. Modificare la sequenza di riproduzione dei brani.
14. Regolazione
di
volume.
15. Ingresso SD CARD.
16. Avvio riproduzione / Pausa.
17. Espulsione CD inserito / Arresto riproduzione.
Nota: le funzioni dei tasti in modalità sintonizzatore sono
descritte a pag. 6.
CD/USB/SD function references (white colour)
1.
CD player compartment.
2. Display.
3. ON/OFF
key.
4. USB
input.
5.
Sound source selection key.
6.
Random function key.
7. Repeat
function
key.
8.
Folder scrolling key (backward).
9.
Folder scrolling key (forward).
10. Previous track selection / Fast rewind.
11. Next track selection / Fast forward.
12. Mute
key.
13. Program
key.
14. Volume
adjustment.
15. SD card compartment.
16. Play/Pause
key.
17. CD
eject/Stop.
Note: the functions of the keys in tuner mode are
described on page 6.
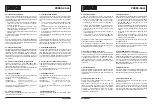
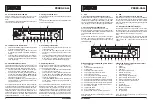
4.3.1 Selezione delle stazioni radio
•
Premere il tasto BAND (
16
) per selezionare la banda
di ricezione desiderata AM/FM;
•
Premere i tasti TUN (
12
) e (
13
) per impostare
la frequenza di ricezione visualizzata sull’apposito
display;
•
Tenendo premuti i tasti TUN per più di 3 secondi si
avvia la ricerca automatica delle stazioni; al rilascio
del tasto, la prima stazione con segnale sufficiente
viene agganciata.
4.3.1 Selecting radio stations
•
Press the BAND key (
16
) to select the band you
require, AM or FM;
• Press the TUN keys (
12
) and (
13
) to set the
frequency you require, which will be shown on the
display;
•
To start automatic station searching press the TUN
keys, holding them down for more than 3 seconds.
When the key is released, the search will stop on
the first station with a sufficiently strong signal.
4.3.2 Memorizzazione dei canali
Il sintonizzatore dispone di 10 posizioni di memoria per la
banda FM e di 10 per la banda AM. Per memorizzare una
stazione radio precedentemente sintonizzata, occorre:
•
eseguire l’operazione di scelta del canale da voler
memorizzare, tramite i tasti TUN (
12
) e (
13
);
•
Una volta scelto un canale, premere per 3 secondi
uno dei tasti programma da
M1
a
M5
(
6
÷
10
) per
memorizzarlo; sul display (
2
) apparirà il numero del
canale memorizzato (es. CH 3);
•
premendo il tasto
M+5
(
11
)
- sul display appare la
scritta piccola
+5
- si attiva la memorizzazione del
programma dal 6 al 10.
Una volta memorizzata una stazione radio, comparirà,
a lato della frequenza visualizzata sul display, il numero
della posizione di memoria ad essa associata. Per richia-
mare una stazione memorizzata nei canali da 1 a 5 è
sufficiente premere il tasto memoria relativo alla posi-
zione desiderata; per le stazioni memorizzate nei canali
da 6 a 10, p5 ed il tasto memoria relativo alla
posizione desiderata (+5 > 1=6……5=10).
4.3.2 Storing channels
The tuner has 10 storage cells for the FM band and 10 for
the AM band. To store a previously tuned radio station,
you must proceed as follows:
•
using the TUN keys (
12
) and (
13
), select the station
to store (see above procedure);
•
once you choose a station, press for 3 seconds one
of the memory keys (from
M1
to
M5
,
6
÷
10
) in
order to store it; the stored station (es. CH 3) will
appear on the display (
2
);
•
if you press the
M+5
(
11
) - a small
+5
will appear
on the display - storage of the programme from 6
to 10 will start.
Once a radio station has been stored, the number of the
MEMORY cell associated with it will appear next to the
frequency shown on the display. To call up one of the
stations stored in channels 1 to 5, it is sufficient to press
the MEMORY key corresponding to the required position;
for stations memorized from 6 to 10 press +5 and the
MEMORY key corresponding to the required position (+5
> 1=6……5=10).
6
3
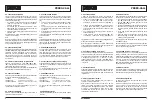
4.3 Uso del sintonizzatore AM/FM
Premere il tasto di selezione sorgente (
5
) fino a che sul
display verrà visualizzata una frequenza radiofonica.
Nota:
I tasti utilizzati per la funzione RADIO sono evidenziati in
colore rosso sul pannello frontale.
4.3 Using the AM/FM tuner
Press the selection key (
5
) until a radio frequency appears
on the display.
Note:
The keys used for RADIO function are highlighted in red
colour on the front panel.


