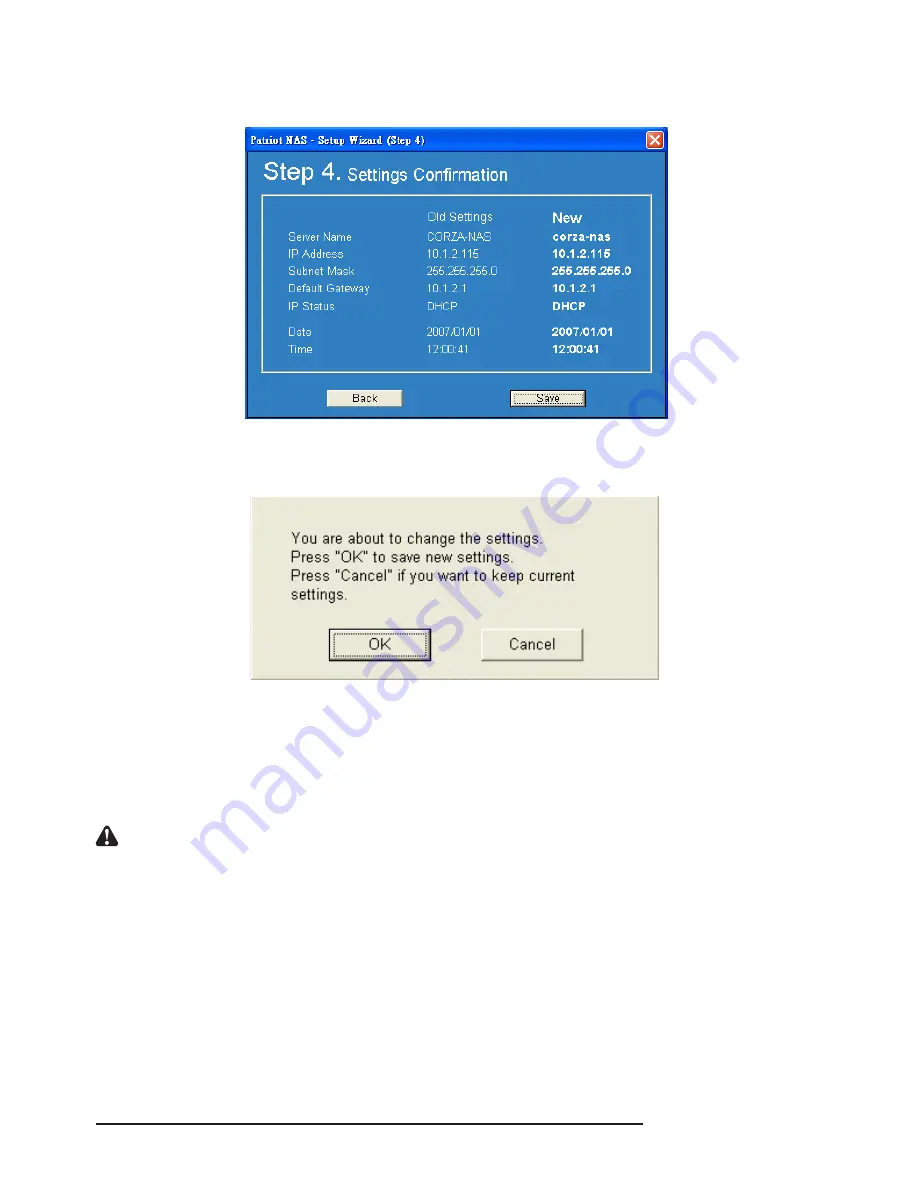
1.6 After setting the date and time, click “Next” and the system will display the confirmation screen.
If related information is correct, click “Save”.
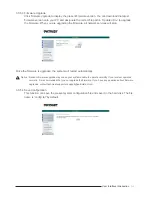
1.7 After you click “Save”, the system will again ask you if you are sure to change the setting. If so, click
“OK”. If you do not want to change, click “Cancel”.
1.8 Setting is completed. Once the system is reset, it will jump back to the beginning screen. To change
other servers, repeat the above procedures. If you have finished setting, click “Exit”. It takes about 2
minutes to start CORZA after power on. Before the startup is completed, the system will
be unable to find CORZA. In case multiple CORZAs are installed over the
network, the blank on the left will display all devices detected.
Notice : When CORZA is connected to the network, the system will obtain the IP address automatically
through the DHCP server. In case that the IP address cannot be obtained through the DHCP server,
CORZA will initiate its own DHCP function to become the DHCP server. Confirm the IP
address of CORZA (by default, 192.168.1.1) first and then set the PC to the same LAN to enter
the system login screen.
Corza_Setup Util.exe 39


