background image

CA

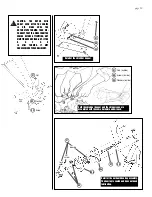
UTION: DO NOT LET GO OF BULKY

WASTE AND LET IT BOUNCE AROUND

IN THE HOPPERS. IT MAY DAMAGE

THE MACHINE OR BE EJECTED

TOWARD THE OPERATOR OR

BYSTANDERS AND CAUSE INJURY.

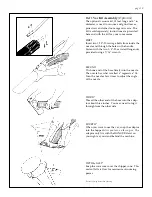
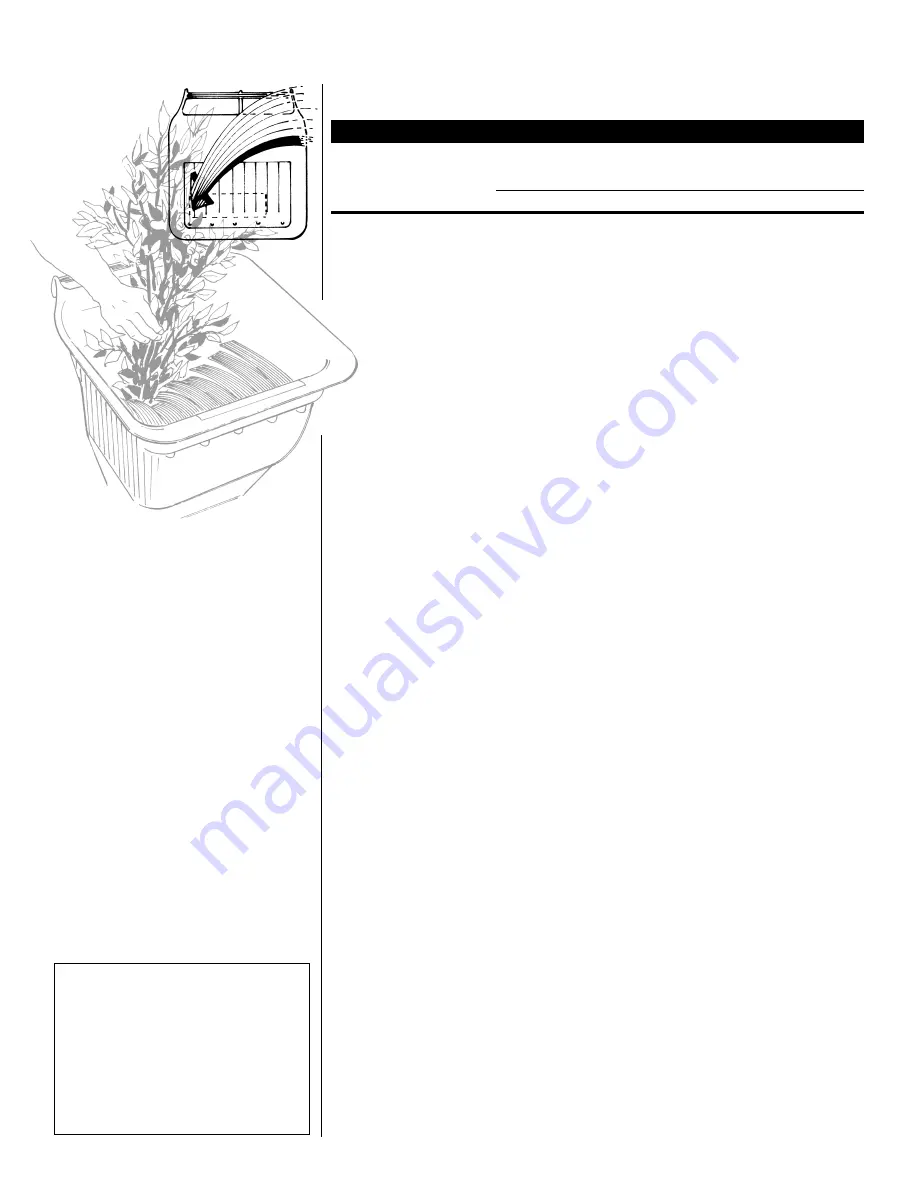
“QUICK-FEED” PRUN-
INGS DOWN THE

LEFT SIDE OF THE

SHREDDER WITH A

LOOSE, OPEN GRIP.

!

page 12

V

acuuming

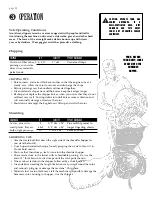
VACUUM  (15-ft. kit optional)

HP

CAPACITY

TYPE OF DISCHARGE

Dry to wet leaves,

5, 6, 8 & 10

Loose waste

Fine mulch (leaves),

pine straw, sawdust, 

some fingerling shreds.

grass clippings.

V

ACUUMING TIPS

Keep the hose straight or slightly curved along the ground.

• Allow nozzle to hover over the waste, rather than sticking it into the pile.
• If the vacuum loses power, there may be a clog in the nozzle or in the 

throat of the shredder hopper.  Lift the hose over your head and shake it.  
You may need to shut down, unplug the adaptor and unclog the 
shredder’s throat.

• Don’t let the hose come in contact with the muffler.  The muffler can get 

hot enough to melt it.

HO

W IT WORKS

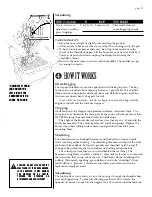
Direct-Bagging

The chipper

-shredder-vac must be operated with the bag in place.  The bag

holds over two bushels, but emptying it often is a good habit.  If it overfills,
debris may back up into the discharge chute and stall the engine—just like a
lawn mower does when it’s bag gets too full.

Gr

eat will be the temptation

...but do not begin to r

emove the bag until the

engine is shut off and the rotor has stopped.

Chipping

W

aste fed down the chipper cone produces uniform, coin-sized chips.  Two

sharp knives, mounted on the rotor, pass by the cone’s solid base at more than
3750 RPM, slicing the end of the branch into little chips.

The angle of the knives draws branches in as they are cut.  Eventually, the

knives become dull.  They must be removed and re-sharpened.  Replace the
knives when their cutting surface nears one-eighth inch from the knives’
mounting holes. 

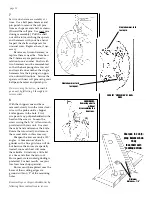
Shredding

The shr

edder uses six Y-shaped hammers and the built-in vacuum to pull

waste into the grinder housing.  The shredding hammers attached to the rotor
grab onto thicker debris.  Material is ground and shredded until it is small
enough to be pulled into the fan chamber and discharged into the bag.

The rotor spins clockwise (as you stand behind the machine).  The 

hammers swing freely on shafts a full 360°.  If material is too heavy to shred on
the first strike, they swing out of the way.  The Y-forks do the shredding and
pulling.  (Technically speaking, green debris is said to be “shredded”; drier,
leafier debris is “ground”.)  Hammers eventually wear down and can be
replaced or simply reversed.

V

acuuming

The four blade vacuum draws air into the housings thr

ough the shredder hop-

per and chipper cone.  To take full advantage of this air flow system, the
optional vacuum kit snaps into the hopper for a 15’ reach around the machine.

Summary of Contents for FORESTER Chipper-Shredder-Vac 5F

Page 1: ...OWNER S AND OPERATOR S M A N U A L 5F 6F 8F 10F CSV S WITH GASOLINE ENGINES The New Performance Standard...

Page 2: ...fire ways to shorten the life of your chipper shredder vac while incurring costly repairs along the way Neglecting the engine s need for fresh clean oil Not cleaning the engine recoil of debris or cha...

Page 3: ...E PATRIOT WARRANTY NORTH AMERICA ONLY For two years from the date of purchase The Patriot Company will repair or replace at its option free of charge to the original owner any parts found to be defect...

Page 4: ...ective within a two 2 year period from the date of purchase contact your place of purchase They will file your claim or they will direct you to a qualified Patriot Authorized Service Center You will b...

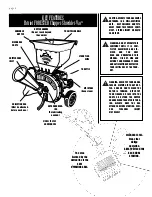
Page 5: ...RE STARTING SERI OUS PERSONAL INJURY MAY RESULT DISCHARGE AREA Stay clear during operation ALWAYS ATTACH THE BAG BEFORE STARTING The area marked by the dotted line is the SAFE OPERATING AREA CHIPPER C...

Page 6: ...Replace or repair parts as needed and check fasteners for tightness before resuming work If there are still problems take it to a service shop Don t tamper with the engine speed governors They prevent...

Page 7: ...e hands body and clothing out of the hoppers bag and discharge areas Stay clear of moving parts and hot mufflers Do not wear loose fitting clothing or hanging jewelry Thrown Object Hazards Clear the c...

Page 8: ...ds Do not over tighten these nuts Do not file or grind any part of the chipper cone base STEP 3 Thread one flange nut onto the 3 1 4 long bolt with the serrated side facing away from the head of the b...

Page 9: ...es Call the engine manufacturer and the first question will be Was there oil in the engine before you ran it Because unless you put it there there wasn t Failure to fully prep the engine is the single...

Page 10: ...wrench SECOND Push one end of the hose firmly into the nozzle The nozzle has what is called a regressive fit Turn the nozzle a few times to adjust the angle of the nozzle THIRD Thread the other end o...

Page 11: ...chipper knives when you notice that they do not self feed very well Forcing debris into dull knives causes vibration and will eventually damage or destroy the rotor Shut down and empty the bag before...

Page 12: ...egin to remove the bag until the engine is shut off and the rotor has stopped Chipping Waste fed down the chipper cone produces uniform coin sized chips Two sharp knives mounted on the rotor pass by t...

Page 13: ...ck branches so that the rotor maintains a constant speed Do not put prunings down the shredder that exceed the diameter or length capacities of the model you own see page 11 If the chipper shredder va...

Page 14: ...fore reassembling the collar use sand paper to smooth the burr where the set screw enters the hub Be sure the collar mounts flush with the out side of the rotor bearing shaft 4 Remove the flange nuts...

Page 15: ...directions Secure the spacers with new roll pins using your ball peen hammer and punch pin If not servicing the knives reassemble your unit by following 1 through 6 in reverse order 8 With the chippe...

Page 16: ...OWN 3 5 Some old leaves or twiggy brush on the bottom helps air enter the pile GREEN 3 5 Leafy non woody stuff Include grass clippings and kitchen scraps But no meat fat or dairy products SOIL OR COMP...

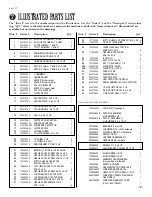
Page 17: ...HEAD SOCKET CAP SCREW 5 16 18 x 1 2 7 26 706850005 FLAT HEAD SOCKET CAP SCREW 5 16 24 x 5 8 4 27 715520005 HEX HEAD CAP SCREW 3 8 24 x 4 1 2 1 28 716620005 LOCK WASHER 3 8 SPLIT RING 1 29 705620005 L...

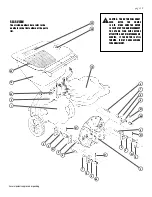
Page 18: ...9C 9 5 6 37 5 7 6 37 8 8B 5 9 9C 5 37 15 3 Several patents approved or pending page 18 CAUTION THE ROTOR WILL COAST EVEN AFTER THE ENGINE IS OFF MAKE SURE THE ROTOR IS FULLY STOPPED AND DISCONNECT THE...

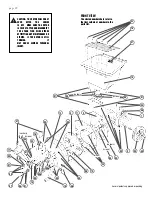
Page 19: ...2 30 36 30 13 21 39B 39A 27 30 28 21 14 17 41 32 31 30 33 32 washers screws 35 16 30 23 4 11 3 33 31 Several patents approved or pending page 19 CAUTION THE ROTOR WILL COAST EVEN AFTER THE ENGINE IS O...

Page 20: ...s inside 33 Washers inside 31 Nuts outside Detail of the shredder hopper 32 33 31 27 29 page 20 set screw lock collar bearing CAUTION THE ROTOR WILL COAST EVEN AFTER THE ENGINE IS OFF MAKE SURE THE RO...

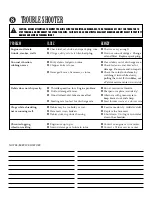
Page 21: ...d or repair Damaged knives hammers or rotor Check the rotor for balance by watching it turn while slowly pulling the cord If it wobbles see a Patriot service center immediately Debris does not chip ea...

Reviews: