Page 8
PAT 611 July 16, 1992
RESTRICTED
Caution:
When you reconnect the first positive battery cable, (in
step 18), there will be an arc at the battery terminal.
18.
Now, remove the tape from the red (positive) cables and use the needle nose pliers
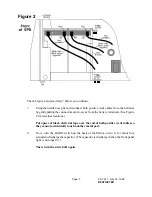
to connect these cables to the red (positive) terminals. (See Figure 2.)
Section 4: Replacing the Patriot's Cover
19.
As you put the cover back on the Patriot, make sure the vent holes are on the side
opposite the circuit boards. To secure the cover, carefully turn the Patriot on its side
and put the four cover screws back in the bottom of the unit.
20.
Stand the Patriot on its feet again.
21.
Plug the Patriot's power cord back into the unit and the input receptacle.
22.
Turn the Patriot's On/Off switch on (to 1). To make sure the Patriot's battery is fully
charged, let the unit charge the battery for at least 12 hours. (The battery charges
automatically whenever the front panel light is on but not blinking.)
23.
To finish the procedure, follow these three steps:
!
Turn the Patriot's On/Off switch off (to 0).
!
Turn off the loads (the equipment the Patriot protects) and plug them into the
Patriot's receptacles.
!
Turn the Patriot's On/Off switch on (to 1), and switch on the equipment
plugged into the unit.


