pattersonfan.com
800.768.3985
10
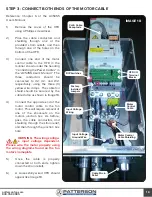
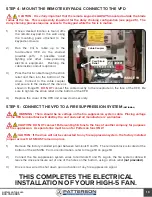
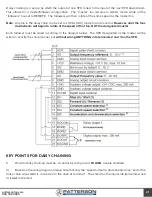
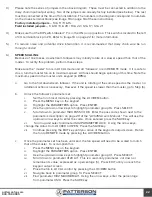
STEP 2 - ATTACH FAN ASSEMBLY TO MOUNTING BRACKET
1)
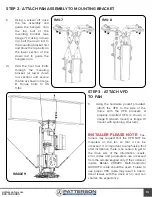
Using a scissor lift, raise
the fan assembly and
guide the hangers onto
the top bolt of the
mounting bracket (see
Image 7). If using a down
rod, bolt the down rod to
the mounting bracket first
and place the top bolts on
the lower section of the
down rod to guide the
hangers onto.
2)
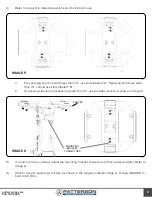
Add the final four bolts
through the mounting
bracket (or lower down
rod section) and secure
the fan as shown in Image
8. Torque bolts to 65
ft-lbs.
STEP 3 - ATTACH VFD
TO FAN
1)
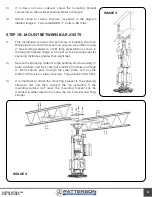
Using the hardware packet provided,
attach the VFD to the side of the
frame with the VFD brackets. A
properly installed VFD is shown in
Image 9 (I-beam mount) or Image 10
(mount with spanning structure).
INSTALLER PLEASE NOTE:
Cus-
tomers may request that the VFD NOT be
mounted on the fan so that it can be
accessed. It is important to emphasize that
after installation, there is no reason to get to
the drive. ALL of the information, resets,
error codes and parameters are accessed
from the remote keypad only. If the customer
insists, Belden 29522C Multi-Conductor
600V VFD cable should be used. Failure to
use proper VFD cable may result in opera-
tional issues with the drive or fan and can
shorten life expectancy.
IMG 7
IMG 8
IMAGE 9

