EN
138
EN
139
3
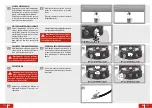
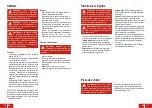
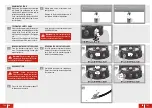
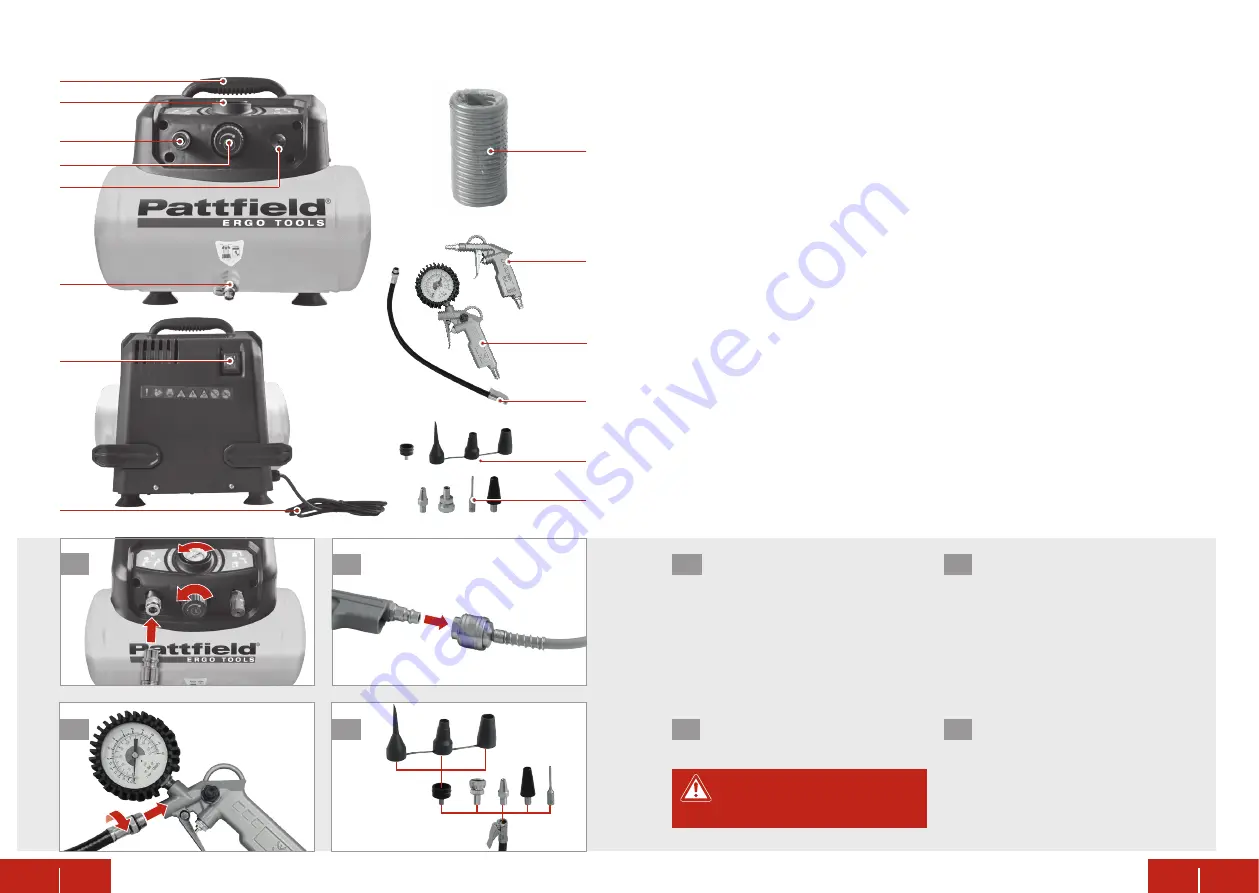
For inflating, screw the adaptor hose
into the outlet of the inflation gun
Caution!
When connecting air tools
always follow their manufacturer’s
recommended start-up procedure.
2
Attach the blow gun
, the inflation
gun
, or an appropriate pneumatic
tool to the bigger coupling of the
coiled air hose
until the retaining
sleeve pops out.
1
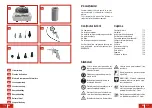
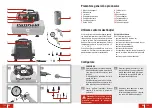
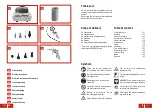
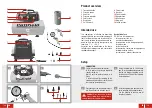
Transport handle
2
Pressure gauge
3
Air outlet
4
Pressure regulator
5
Safety valve
6
Drain valve
7
On/Off switch
8
Power cord
9
Nozzles
10
Plastic nozzles
11
Adaptor hose
12
Inflation gun
13
Blow gun
14
Coiled air hose
Product overview
Intended use
This compressor is intended for generating
compressed air to operate suitable pneumatic
tools, for blow cleaning, and for inflating. The
tool is only suitable for operation under su-
pervision. Only operate the compressor in dry
rooms at +5 °C … +40 °C.
Any other use or modification to the tool is
considered as improper use and could cause
considerable dangers.
Restriction of use
DO NOT use the compressor:
- for gases other than air,
- in explosive atmospheres,
- for respiratory air (e.g. diving equipment),
- for medical use,
- for the food sector,
- for measuring, control and safety purposes,
- for blow-cleaning clothes,
- for commercial, trade or industrial use.
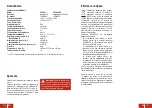
4
Insert the appropriate nozzle into the
quick coupling of the adaptor hose.
Use the adaptor to connect one of
the plastic nozzles.
Setup
1
CONNECTION
Switch off and unplug compressor.
A
Fully rotate the pressure regulator
counterclockwise.
B
Wait, until the outlet pressure is at
0 bar.
C
Insert the smaller coupling of the
coiled air hose into the air outlet
until
the retaining sleeve
pops out.
Lieferumfang
Etendue de livraison
Materiale compreso nella fornitura
Leveringsomvang
Leveransomfång
Rozsah dodávky
Rozsah dodávky
Volumul livrat
Scope of delivery
DE
SV
IT
SK
FR
CZ
NL
RO
GB
1x
1
6
2
3
4
5
1
BB
AA
CC
4
2
3
7
8
11
9
10
12
13
14
1x
1x
1x
1x
1x

