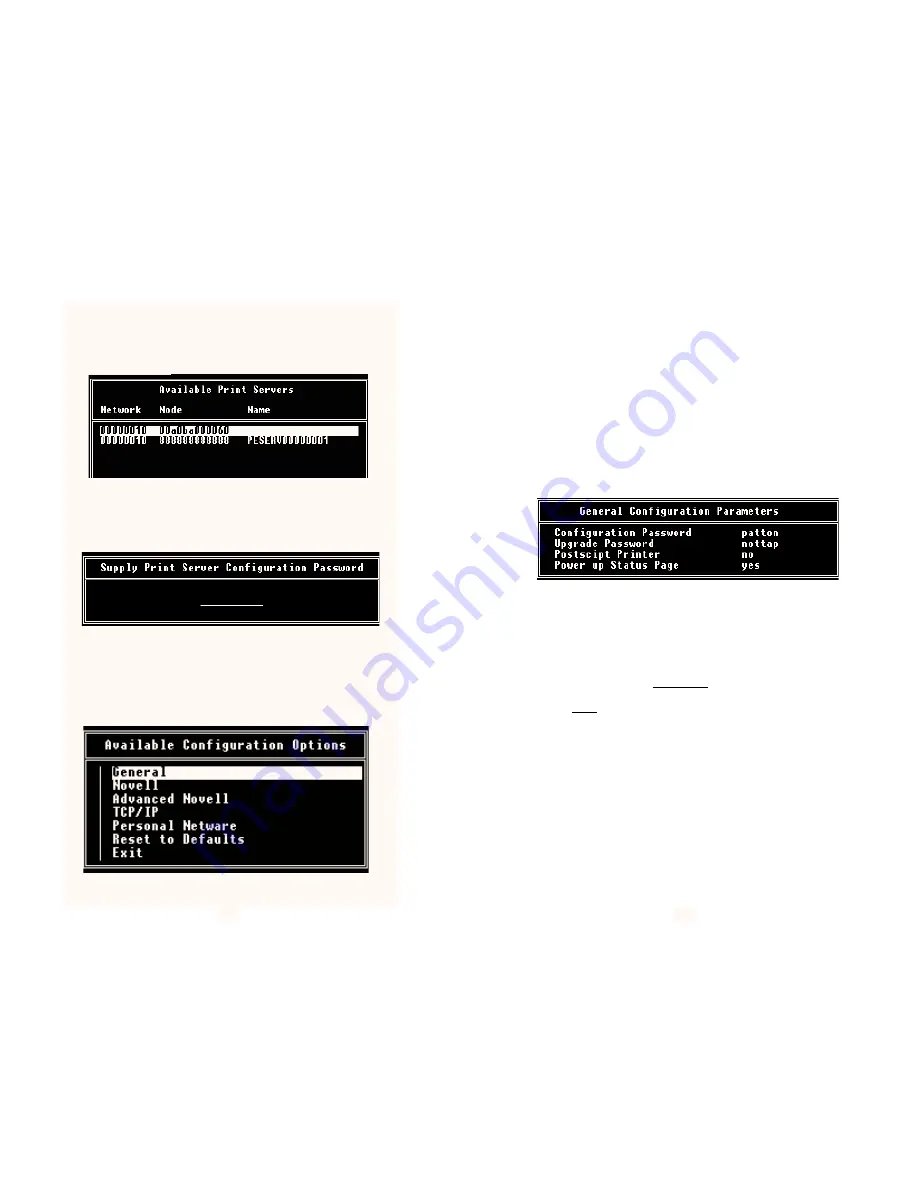
7) When the search is complete, you will see a list of the Print Servers
UCONNECT has located on the Available Print Servers screen (see
below). Use the arrow keys to scroll between listed servers, and the
[ENTER] key to select a single print server to configure.
8) When you have selected a print server to configure, you will see the
Password screen. Key in the password “PATTON” and press [ENTER]
to move to the Available Configuration Options screen.
9) The Available Configuration Options screen lets you select several
pathways of configuration depending upon the operating system your
network is using. Section 4.3 will give you an overview of the
configuration options so that you can custom-tailor the Print Server to
your own requirements.
13
4.2 Configuration within Novell using UCONNECT
UCONNECT lets you configure the Print Server to work with several
types of Novell compatible network operating systems. This section will
guide you through the various configuration options.
4.2.1 General Configuration
The first option on the Available Configuration Options screen lets
you key in general information that will apply to any operating system.
In most cases you will need to enter information in the General
Configuration Parameters screen, as well as a second screen that
applies more specifically to the particular operating system you are
using.
Each of the options on the General Configuration Parameters screen
can be edited using the arrow and [esc] keys to scroll and select.
1) The Configuration Password may be altered to suit your needs.
2) The Upgrade Password
may be altered, but we recommend that
you leave this password unchanged.
3) You must change the Postscript Printer field to YES if your
printer uses Postscript. Otherwise, the printer will not output
correctly.
4) The Power up Status Page field may be changed to NO if you do
not want a status page to appear upon power up of the Print Server.
(continued)
14


