Mounting the SmartNode 1200
68
SmartNode 1000 and 2000 Series Getting Started Guide
4 • SmartNode 1200 installation
2. Repeat step 1 to install pads on the remaining three corners on the bottom of the SmartNode 1200.
3. Place the unit on a desktop, shelf or other flat, hard, and secure surface.
Note
Allow sufficient space at the rear of the chassis for cable connections. In
addition you should consider the need to access the chassis for future
upgrades, maintenance and troubleshooting. Multiple SmartNodes can be
stacked one atop the other.
Wall-mounted installation
Do the following to install the SmartNode 1200:
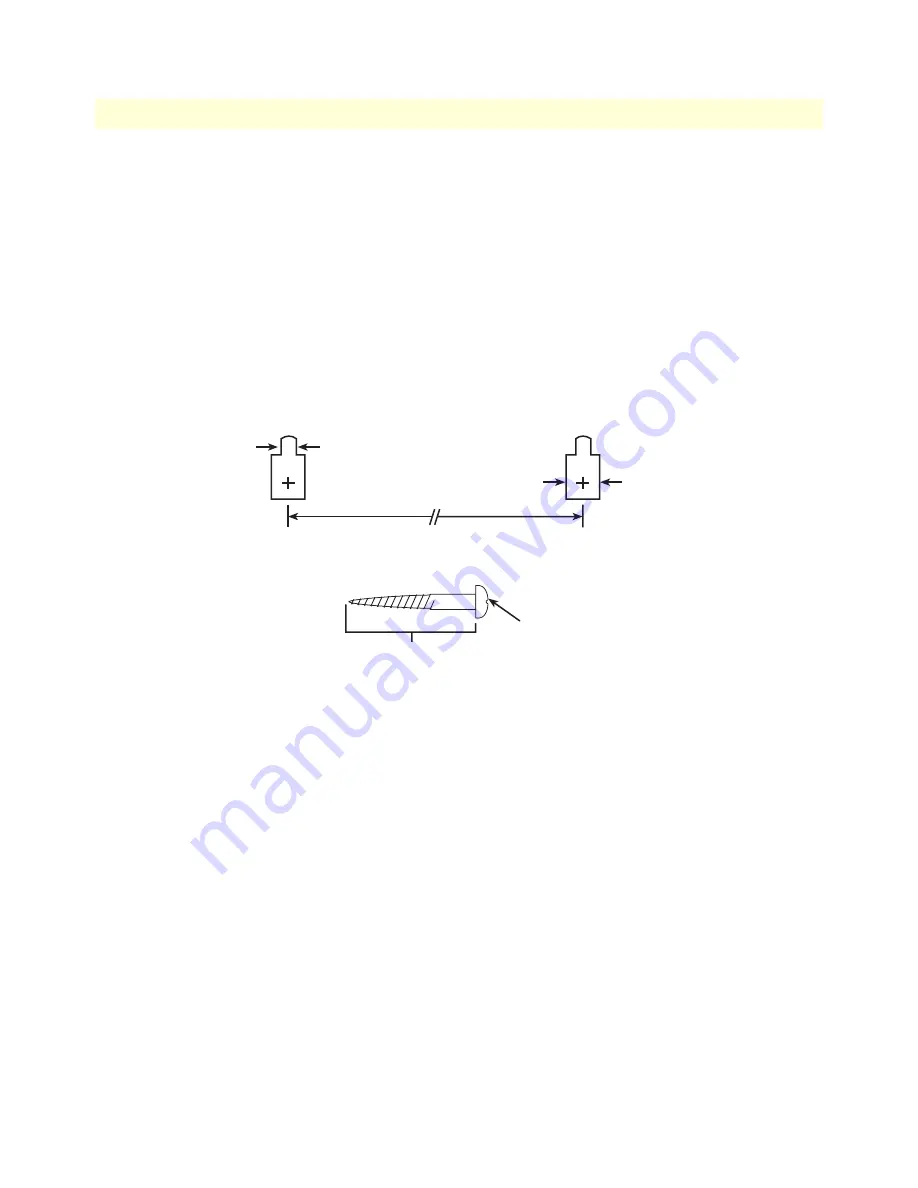
1. Using
figure 37
as a guide, determine the positions of the mounting holes on the wall and mark the loca-
tions of the mounting holes.
Figure 37. Wall-mounting hole dimensions
Note
Mounting hardware is not provided. The installer must determine
which fastener is appropriate for that particular application.
2. Install the (user-provided) wall anchors.
Any standard anchoring method may be used, such as wood
screws; butterfly anchors/molly bolts (for installation into a sheetrock/drywall or plasterboard surface); or
expansion bolts (for installation into a concrete or masonry surface). The anchor screw heads must have
just enough clearance to allow the wall-mounting key holes (see
figure 36
on page 67) to slip onto them
when hanging the SmartNode 1200.
3. Hang the SmartNode 1200 on the wall-anchor mounting screws.
Wall-anchor shank must be
less than the diameter of
the keyhole slot.
0.18 in.
(4.5 mm)
keyhole slot
5.125 in. (130 mm)
0.35 in. (9.0 mm)
keyhole through-hole
Wall-anchor head must be less than the
diameter of the keyhole through-hole, but
larger than the keyhole slot.
Wall-anchor shank
Wall-anchor head
(typical)


