Connecting cables
84
SmartNode 1000 and 2000 Series Getting Started Guide
5 • SmartNode 1400 installation
Installing the power cord
Do the following:
1. Insert the barrel type connector end of the AC power cord into the 100–240 VAC power connector (see
figure 48
).
Note
Do not connect the other end of the power cord to the power outlet at
this time.
2. Verify that the AC power cord included with your router is compatible with local standards. If it is not,
refer to chapter 12,
“Contacting Patton for assistance”
on page 134 to find out how to replace it with a
compatible power cord.
3. Connect the male end of the power cord to an appropriate power outlet.
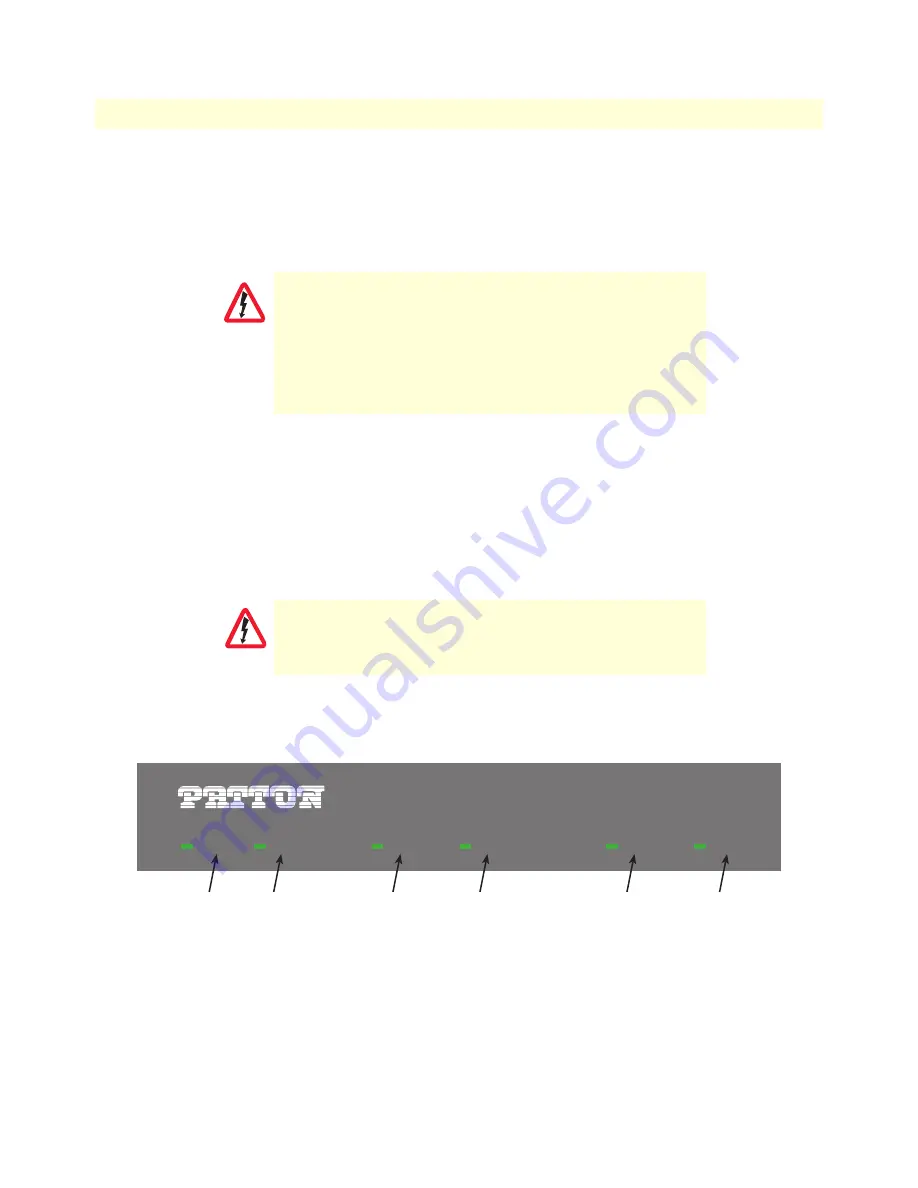
4. Verify that the green POWER LED is lit (see
figure 54
).
5. Unplug the power cord from the router to power down the unit.
Figure 54. SmartNode 1400 front panel LEDs
Congratulations, you have finished installing the SmartNode 1400! Now go to chapter 10,
“Quick start”
on
page 126.
The SmartNode 1400 power supply automatically adjusts to
accept an input voltage from 100 to 240 VAC (50–60 Hz).
Verify that the proper voltage is present before plugging the
power cord into the receptacle. Failure to do so could result in
equipment damage.
There shall be
no
switches or disconnect devices in the earth
conductor.
The mains outlet that is utilized to power the equipment must be within
10 feet (3 meters) of the device and shall be easily accessible.
CAUTION
WARNING
POWER
LED
RUN
LED
BRI 0
LED
BRI 1
LED
ETH 0
LED
ETH 1
LED
SmartNode 1400
ToIP Integrated Access Device
POWER
RUN
BRI 0
BRI 1
ETH 0
ETH 1


