Accessing the SN10100
29
SmartNode 10100 Series User Manual
3 • Initial Setup and Web Management
Example:
HOSTNAME=SN005376
NETWORKING=yes
3.
Modify the DHCP client configuration:
Note
If you don't have a nameserver, remove it from the file. If you have a
nameserver, set it to a valid DNS.
vi /etc/resolv.conf
Example
(DNS configuration file without DNS server)
:
; generated by /sbin/dhclient-script
Example
(DNS configuration file containing a DNS server)
:
; generated by /sbin/dhclient-script
nameserver 4.2.2.2
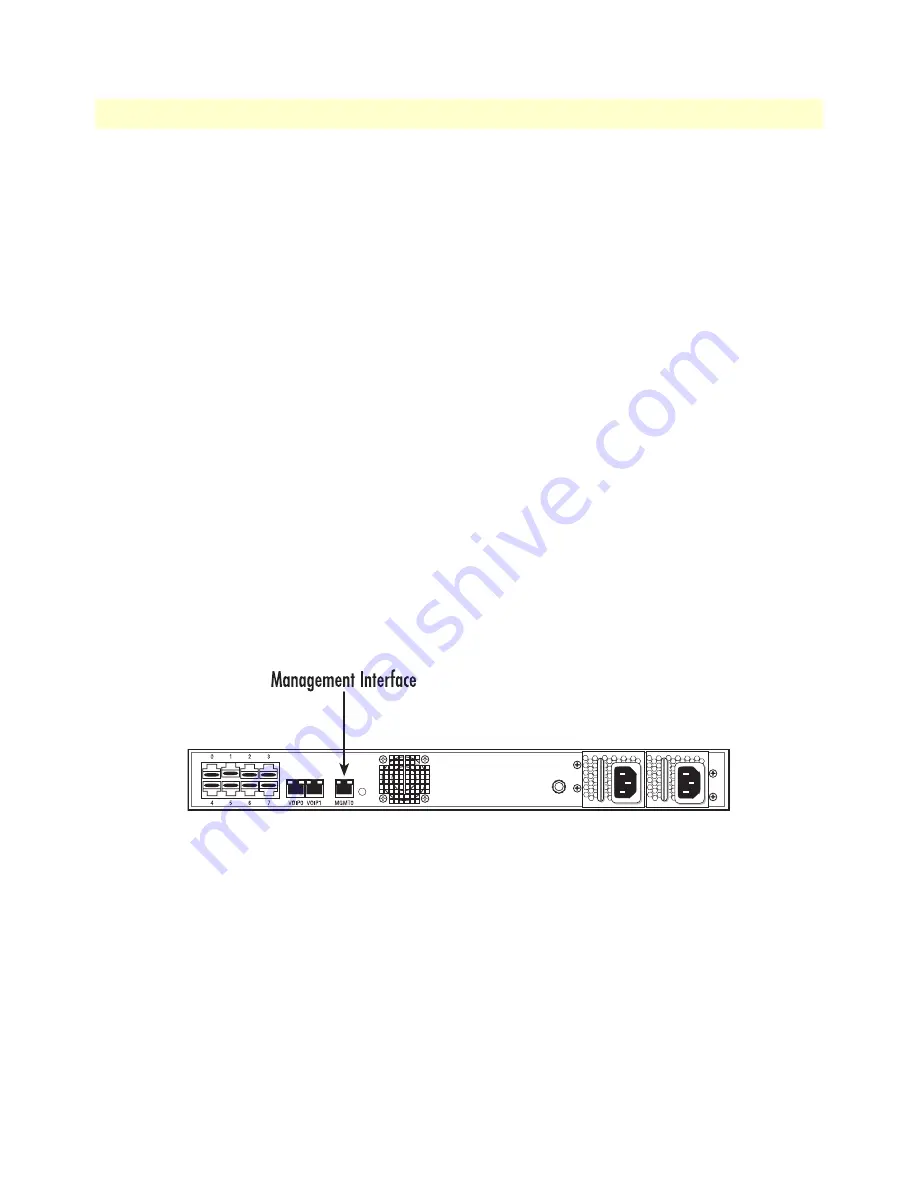
Accessing the SmartNode via the Ethernet Management Port
The SN10100 is shipped with the SN-CTRL pre-installed. In order to make changes to the system configura-
tion, you must connect to the
Management
port labeled
Ethernet
on the front of the SN10100 to a terminal.
To access the SN10100, you must use an SSH connection. The password is set at the factory and is indicated
on on the “Important Notice” sheet included with your unit.
Figure 9. SN10100 Ethernet Management Interface


