12
Chapter 6
Cowling installation
Place an “
×
” to ensure task completion:
What you will need in this chapter:
9
Fuselage and cowling
9
Five 6/32 bolts with spring and lock washers
Not Provided:
9
A 4-½ inch spinner
9
A Dremel tool
9
A facemask and eye protection
9
Pencil or dry erase marker
Always wear a mask and eye protection while cutting fiberglass. Take your time while installing the cowl.
With care you will end up with a professional installation that will make an impression at the field.
Close the choke and place a piece of tape over the carburetor inlet and exhaust outlet to keep out any dust while
setting up your cowl. Since the cowl is preset and uses a ring to mount, there will not be much to do here.
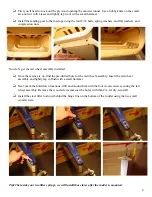
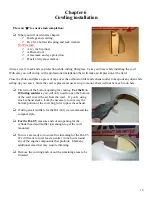
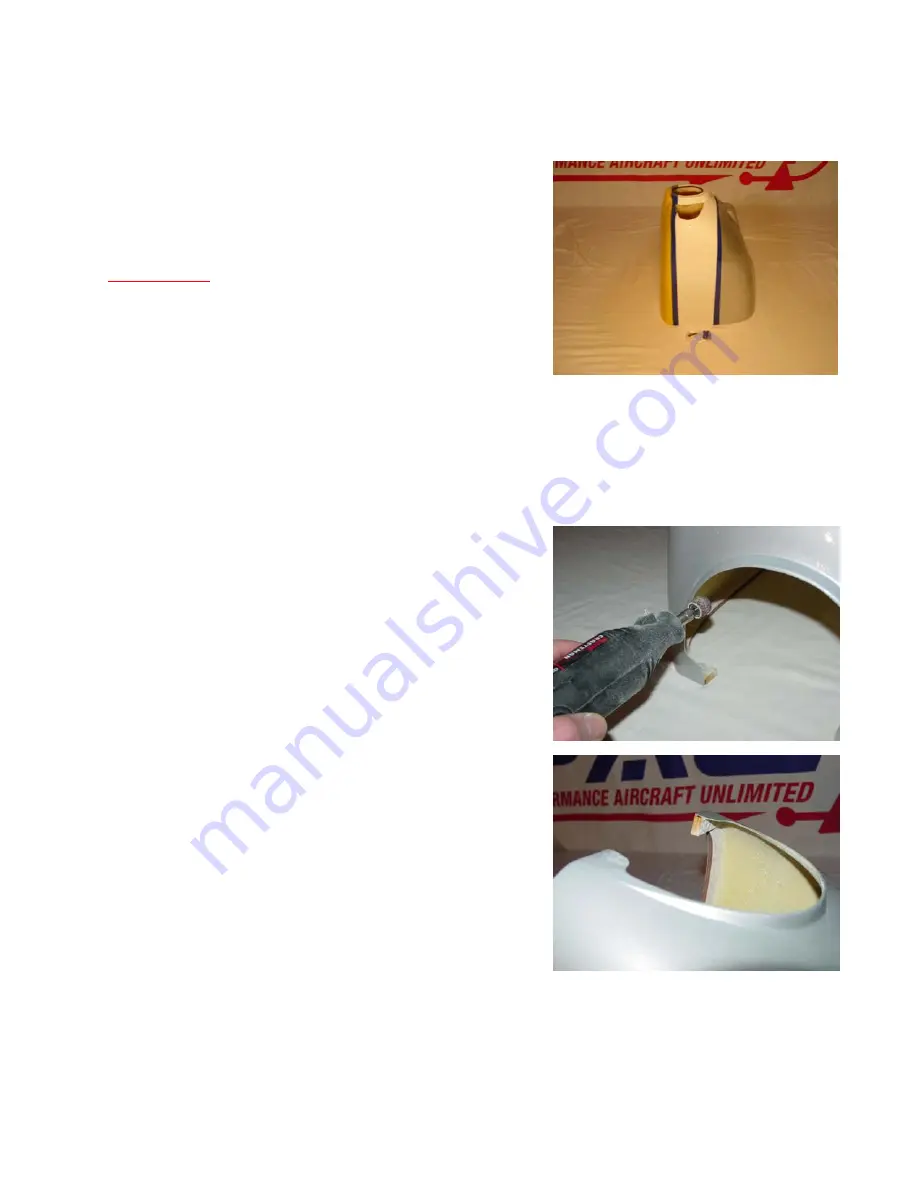
First cut out the bottom opening for cooling.
For the DA-
100 using canisters
, you will only need to open the bottom
of the cowl to exit the air from the cowl. If you’re using
stock exhaust stacks, it maybe necessary to cut away the
bottom portion of the cowl ring for it to pass the exhaust.
If using stock mufflers for the DA-100, we recommend the
compact style.
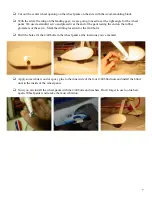
For the DA-85
, measure and cut an opening for the
cylinder head and muffler just enough to get the cowl
mounted.
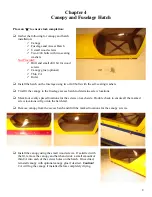
Now we are ready to do some fine trimming for the DA-85.
We will want to cut at least an extra 1/4 inch cut around
any of the engine components that protrude. Mark any
additional areas that may require trimming.
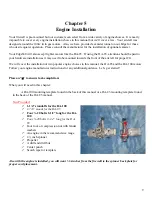
Remove the cowling and cut out the remaining areas to be
trimmed.


