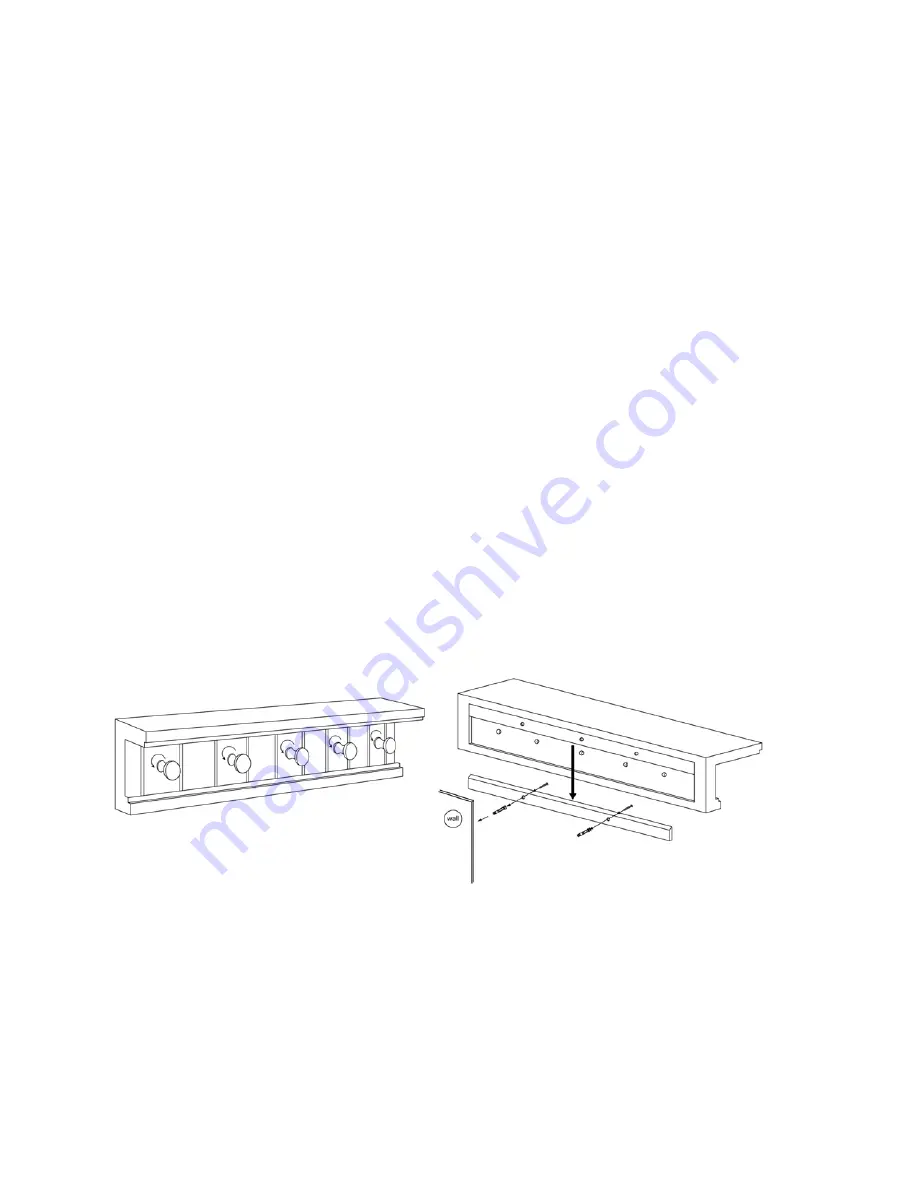
Drywall Mounting (Figures 1 & 2)
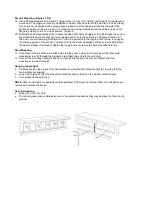
19. Use a Phillips screwdriver to insert a Toggle Anchor (C) over the insertion point that is not centered on
a wall stud. The toggle anchors are designed to cleanly cut and bore into the wall like a drill bit. Slowly
turn an anchor clockwise while applying even pressure until the flange just touches the wall. If the
anchor’s position is close to a stud (½” or less), keep turning clockwise until one of the arrows on the
flange is pointing to the 12 o’clock position. (Figure 1)
20. Rotate the Wall-mount bracket (A) to a level position and insert a Toggle screw (B) through the correct
pre-drilled hole on the bracket and into a toggle anchor. Turn the screw in a clockwise direction. At
this point, you will feel a slight resistance. This is the point where the toggle anchor screw is engaging
the pivoting portion of the anchor. Continue turning the screw clockwise until the screw head touches
the Anchor’s flange. Continue to tighten the toggle anchor screw until it becomes difficult to turn.
Stud Mounting
12. If the other of the bracket’s pre-drilled holes is sitting over a wall stud, simple insert the other stud
mounting screw (D) through the bracket’s pre-drilled hole and into the wall stud.
13. Once all the mounting hardware has been inserted into the wall, be sure and tighten the stud
mounting screw from Step #7.
.
Hanging the product:
5. Carefully position the product-mounted bracket over the Wall-mounted bracket (A), insuring that the
two brackets are aligned.
6. Lower the product so that the product-mounted bracket is resting on the wall-mounted bracket.
7. Your product is ready for use.
NOTE:
Other knob styles are available (sold separately). Shelf must be removed from the wall before you
remove and replace the knobs.
Care Instructions:
•
Wipe with a soft, dry cloth
•
Do not use glass cleaner, abrasives, wax or household cleaners as they may damage the finish on the
product

