


15
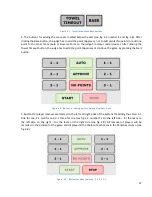
Figure 2.17 – “Tournament” scoreboard
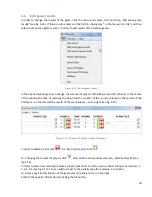
“PRO” scoreboard is composed of three panels and it is possible to change team names on the scoreboard.
Central panel displays Game and Break time, panels on right and left name of teams and score (see fig.
2.18.).
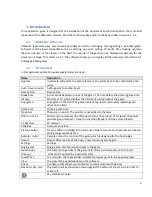
Figure 2.18 – “PRO” scoreboard
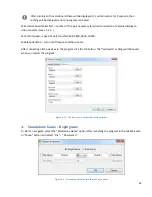
3.
Installation and launching of the software
Installation of the software onto the Windows operating system.
3.1.
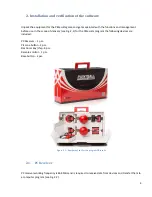
Installation
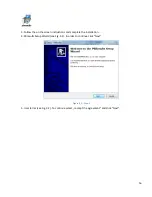
1. Download the PBresults software onto your computer
2. Run the file by double-clicking the main pbresults.exe file.


