(800) 348 9250
pcbunlimited.com
support@pcbunlimited.com
Getting started
Installing the stencil
1. Loosen up the Y-axis alignment or stencil tensioner. (10)
2. Unscrew the eight screws of the stencil frame. (A)
3. Place the stencil in the first stencil holder.
4. Tighten the four screws.
5. Repeat step 1 – 4 for the second stencil holder.
6. Tighten the stencil tensioner. (10)
Installing the first PCB
A
B
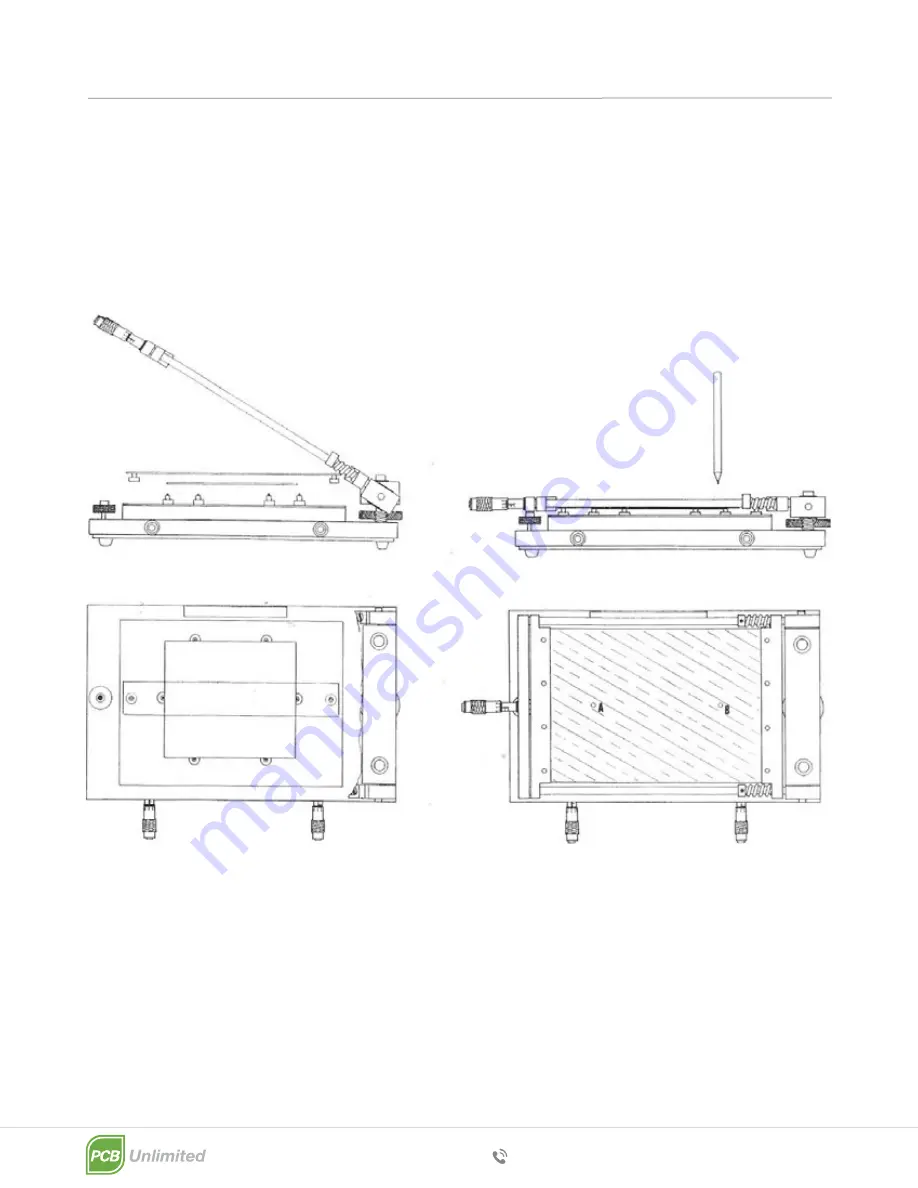
1. Open the printer. (picture A)
2. Place the PCB roughly in its position with 4 to 6 magnetic placeholders.
3. For large board use the two magnetic points and place them in the middle of the PCB.
4. Place the transparent outline plate over the PCB and close the printer. (picture B)
5. Search two easy to identify holes in the stencil which are above the outline plate. Then use
the marker pen to place spots on the outline plate. After this open the printer. (picure A)
6. Adjust the PCB so that the PCB pads are at the same location as the marker points.


