12
Before You Begin
Before you begin to install your mainboard, take care not to
damage the product from static electricity. Ensure too that you
are installing the mainboard into a suitable case.
Static Electricity
In adverse conditions, static electricity can accumulate and dis-
charge through the integrated circuits and silicon chips on this
product. These circuits and chips are sensitive and can be per-
manently damaged by static discharge.
•
If possible, wear a grounding wrist strap clipped to a
safely grounded device during the installation.
•
If you don’t have a wrist strap, discharge any static by
touching the metal case of a safely grounded device be-
fore beginning the installation.
•
Leave all components inside their static-proof bags until
they are required for the installation procedure.
•
Handle all circuit boards and electronic components
carefully. Hold boards by the edges only. Do not flex or
stress circuit boards.
Choosing a Case
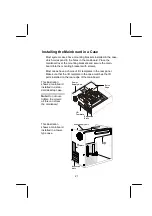
The mainboard complies with the specifications for the Micro
ATX system case. Some features on the mainboard are imple-
mented by cabling connectors on the mainboard to indicators
and switches on the system case. Ensure that your case sup-
ports all the features required. The mainboard can support one
or two floppy diskette drives and four enhanced IDE drives. En-
sure that your case has sufficient power and space for all the
drives that you intend to install.
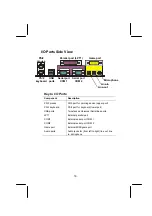
The mainboard has a set of I/O ports on the rear edge. Ensure
that your case has an I/O template that supports the I/O ports
and expansion slots.


