Manual
6
5 Instructions
5.1 Calibration
Press the shift key several times until CAL 0.0 is indicated
in the LCD. Apply some coupling gel to the round steel
block and press the test head firmly against the steel block
(3 mm thick). The device is calibrated when 3.0 mm is
displayed. The device will then automatically switch to
thickness measuring mode (THK). If you would like to
replace the battery or connect another test head, please
repeat the calibration.
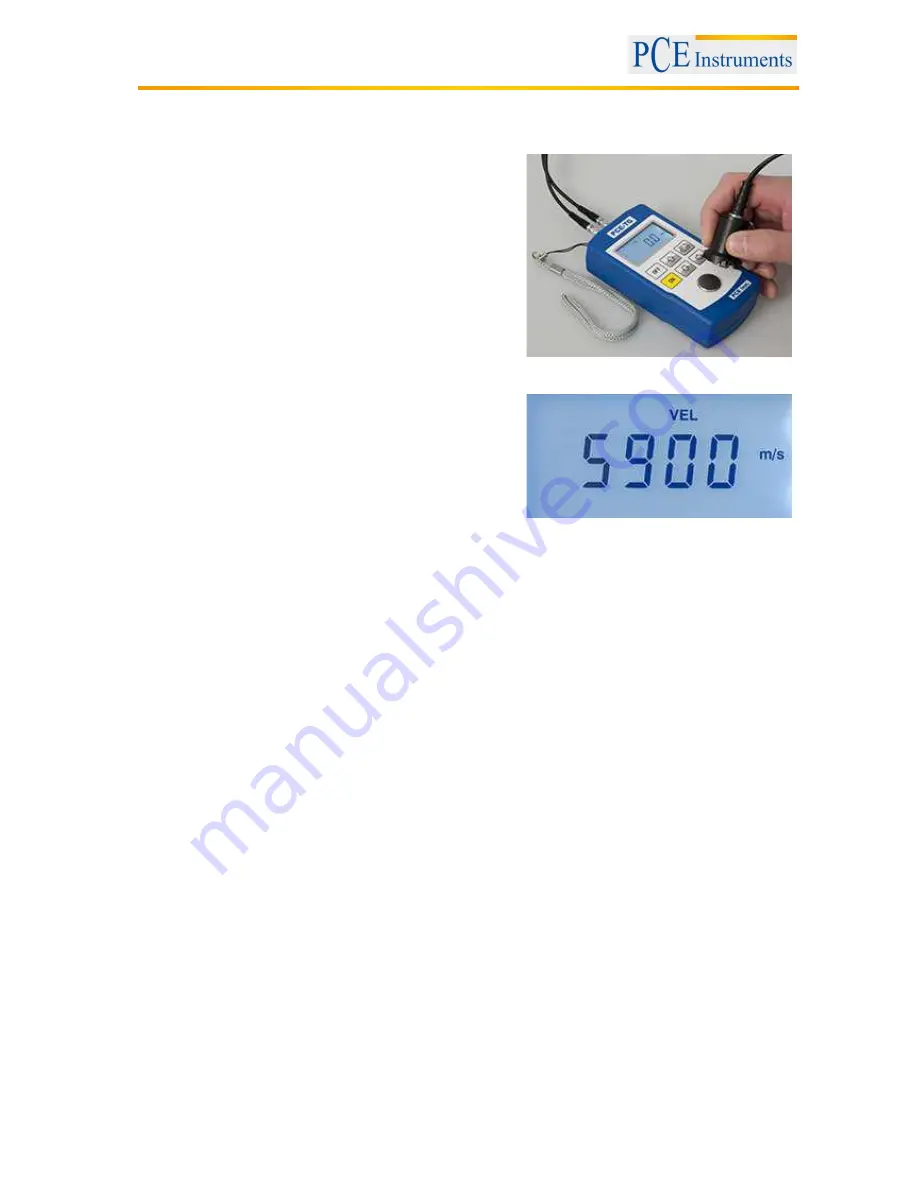
5.2 How to set the sound velocity
Press the shift key several times until VEL appears in the
display along with the set sound velocity (e. g. 900 m/s).
The first digit will flash, which means that it is ready for
adjustment. You can increase or decrease the value by
pressing the arrow keys (up or down). You can select the
next decimal place by means of the arrow key to the right.
You can find the sound velocity values in the chart in
chapter 5.5. After entering the desired sound velocity,
press the shift key again. A number like 024.0 mm will
appear in the display, whereas the first digit will flash.
Press the shift key again. The device is now set and will
switch to normal measuring mode (THK) again.
5.3 Measurement
If the device has been adjusted for a certain material and a test head, it is very easy to use it for the same
application again at any time as all settings remain saved in the device.
1. Switch on the device.
2. Put the test head with little coupling gel on the sample to be measured.
3. The device will display the wall thickness.
You only need very little coupling gel. Depending on the application, you only need to apply coupling gel
once for several measurements. You can use any liquids or pastes that do not affect the test head and
the object to be measured, such as, for example, water, silicone, machine oil or greases.


