© PCE Instruments
8
4
Menu
4.1
Image overlapping
To exactly overlap the real image of the integrated digital camera with the images from the infrared
camera, carry out the following steps:
First open the menu with the menu key. Select the menu item "Image registration" and confirm it
with the select/enter key. A large crosshair appears in the centre of the screen. Now the infrared
image can be adjusted exactly to the image of the digital camera using the navigation keys (up,
down, left, right).
Note
For very precise adjustment of the infrared image, it is recommended to set image overlapping to
a maximum of 50 % as otherwise, no digital image may be recognisable. Furthermore, the exact
positioning of the infrared image depends on the distance of the object to be examined.
4.2
Show saved images
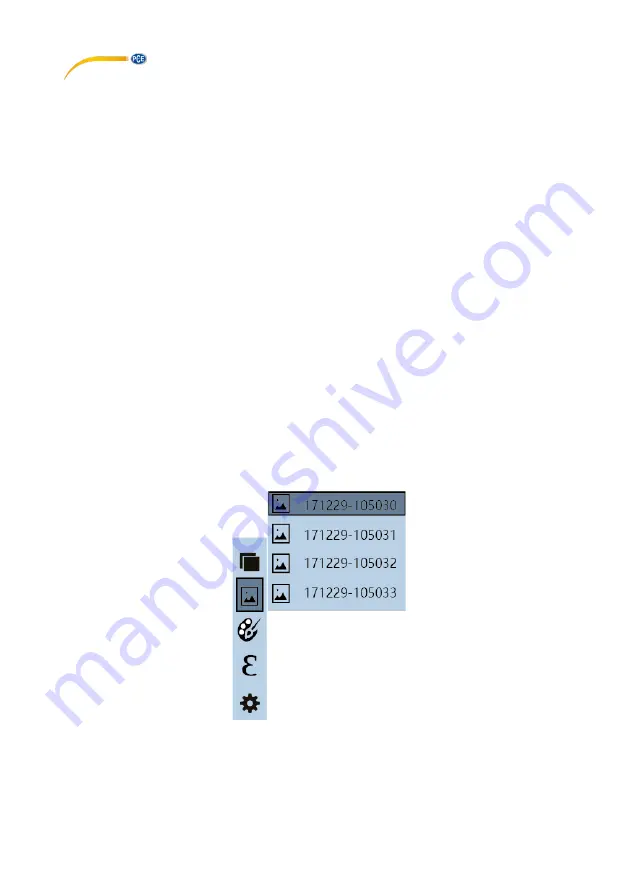
Open the menu with the menu key and navigate with the navigation keys up or down to the menu
item "Image". Pressing the navigation key on the right takes you to the submenu. All saved
pictures are now displayed here as a continuous list. The following functions are now available:
-
Navigation key up or down: scroll through the list
-
Select/enter key: view the highlighted image
•
Navigation key left or right: view previous or next image
•
Navigation key to: delete current image; confirm dialogue window with
menu key; cancel with select/enter key
•
Select/enter key: Exit view
-
Navigation key left: Exit submenu
-
Menu key: back to measuring mode


