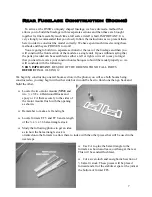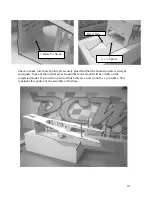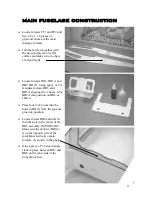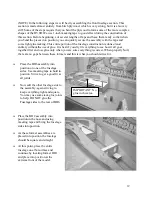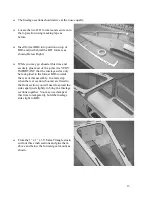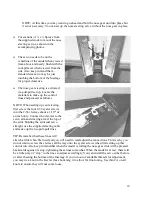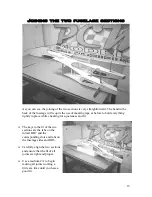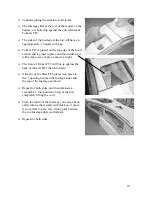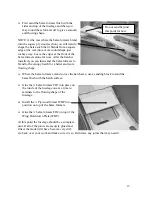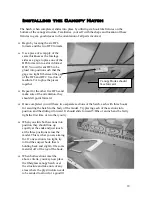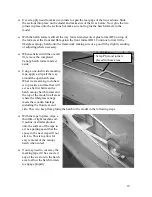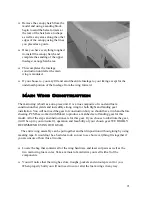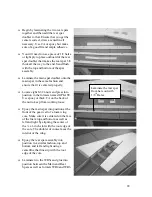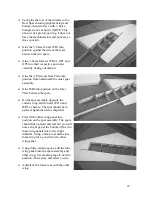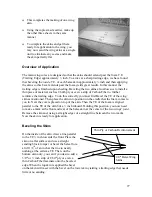
(NOTE) In the following steps we will be dry assembling the front fuselage section. This
section is made almost entirely from birch plywood, which is very strong, but it is also very
stiff. Some of the steps require that you bend the plywood to form some of the more comple
shapes of the DV8R. We use 1-inch masking tape to good effect during the construction of
this section. Before beginning, cut several lengths of tape and have them ready so that wh
you bend the pieces into position you can quickly secure the assembly with the tape and
some light glue tacking. This entire portion of the fuselage construction is done
almost
entirely without the use of glue. It is best if you dry fit everything to see how it all goes
together first and use glue only when you are sure everything is correct. When p
x
en
roperly built,
ere are no gaps between these form
rive to get a good fit at
all joints.
to
e joints
Fuselage sides to the rear of BH6.
ing the fuselage
sides into position.
e
should be square and straight
H1
extreme front of the model.
th
ers and this is what you should strive for.
IMPORTANT: No
glue in this area.
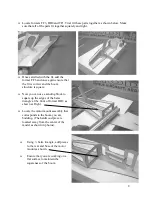
Place the BH6 assembly into
position on one of the fuselage
sides. Use masking tape to hold in
position. St
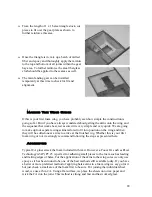
Now add the other fuselage side
the assembly, again striving to
keep everything tight and square.
You may use some tack glu
to help. DO NOT glue the
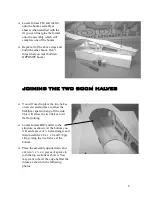
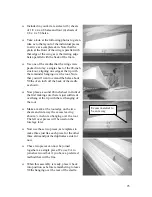
Place the BH2 assembly into
position in the nose and using
masking tape and br
As these former assemblies are
placed into position the fuselag
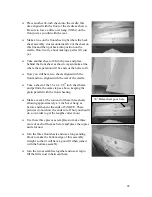
At this point, place the entire
fuselage on a flat surface and
continue by locating former B
and place into position at the
12


