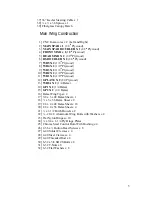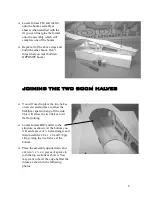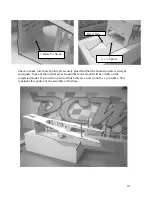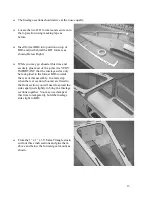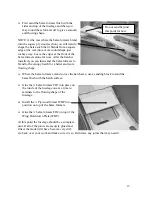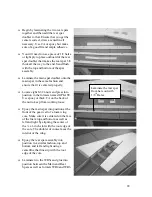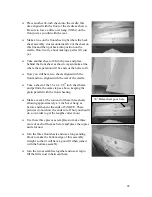
Use scrap plywood to make two joiners to span the rear gaps of the two sections. Slide
the sections into place on the model and make sure of the fit as before. Now glue the two
joiners in place onto the sections but make sure not to glue the hatch formers to the
model.
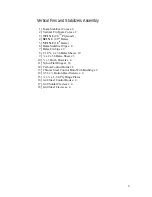
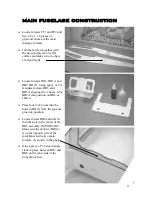
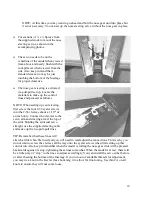
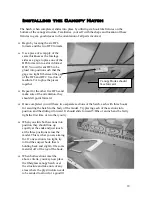
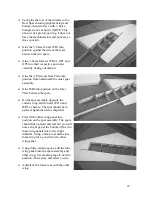
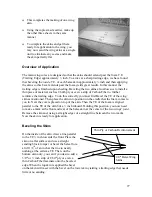
With the hatch formers still all the way forward and secured, glue former HF4 on top of
the formers at the front and flat against the front former BH1. Continue to trial fit the
fiberglass canopy hatch onto the framework making sure of a good fit by slightly sanding
or adjusting where necessary.
When satisfied with the overall
fit, remove the completed
Canopy hatch former and set
aside.
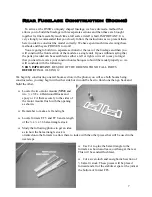
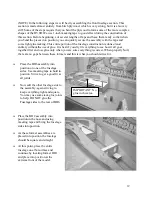
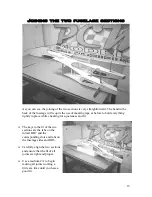
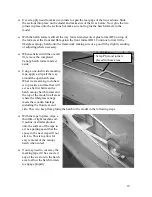
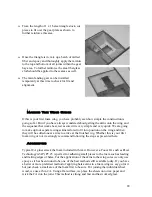
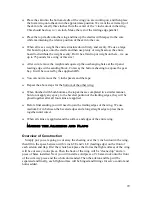
Using a one-inch wide masking
tape, apply a strip all the way
around the open hatch area.
What we are aiming to do here
is to provide a surface that will
act as a barrier between the
hatch canopy hatch former and
the top of the model in all areas
where the fiberglass canopy
meets the wooden fuselage
including the front rear and
side. This is to keep from gluing the hatch to the model in the following steps.
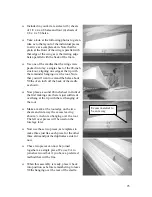
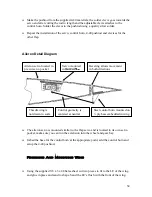
Scrap Plywood joiners
placed in these areas.
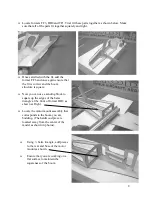
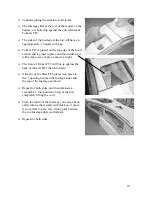
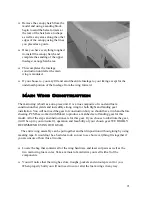
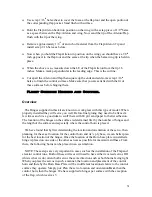
With the tape in place, wipe a
thin film of light machine oil,
Vaseline or similar product
onto the surface of the tape to
act as a parting agent that the
epoxy in the next step will not
stick to. This is to allow for
easy removal of the canopy
hatch when cured.
You may need to cut away the
masking tape if it has covered
any of the six slots in the hatch
area to allow the hatch formers
to engage properly.
19

