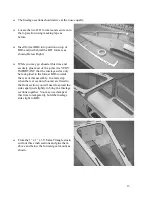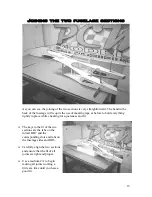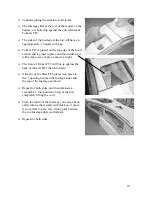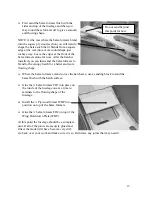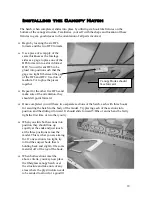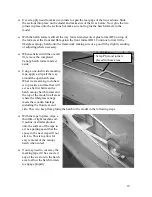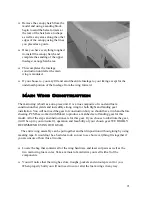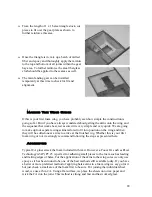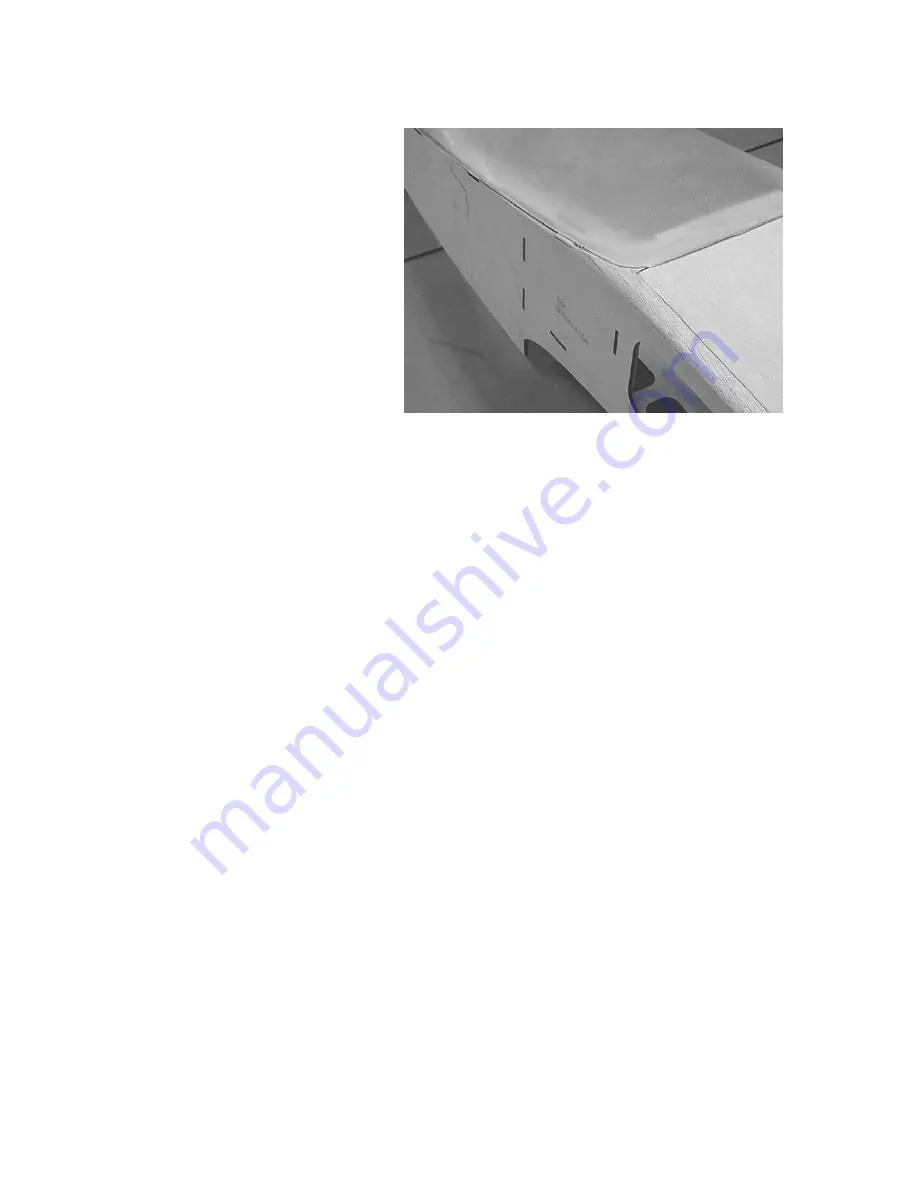
Remove the canopy hatch from the
model and using a sanding block,
begin to sand the balsa formers at
the rear of the hatch area to shape
as well as any areas along the other
edges of the canopy using the lines
you placed as a guide.
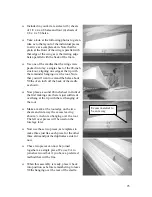
Once you have everything roughed
in, install the canopy hatch and
complete the sanding of the upper
fuselage/ canopy hatch area.
This completes the fuselage
construction until after the main
wing is mounted.
If you choose to, you may fill and sand the entire fuselage to your liking except for the
underneath portion of the fuselage from the wing forward.
Main Wing Construction
The main wing is built as a one-piece unit. It is a true composite of wood and foam
construction that yields and incredibly strong wing for both flight and landing gear
installation. You will not need the gear for construction but you should have it in hand before
sheeting. PCM has worked with Robart to produce a matched set of landing gear for this
model. All of the steps and instructions are for this gear. If you choose to substitute the gear,
it will be up to you to insure fit, operation and feasibility of your chosen gear. WE HIGHLY
RECOMMEND USING OUR GEAR.
The entire wing assembly can be put together and held in position without gluing by using
masking tape. It would not be a bad idea to do so now to see how everything fits together if
you are unsure of how this all works.
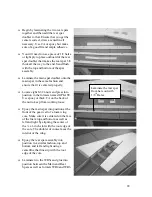
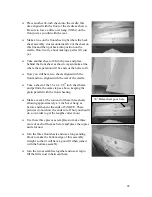
Locate the bag that contains all of the wing hardware and laser cut parts as well as the
two main wing foam cores. Take a minute to familiarize your self with all of the
components.
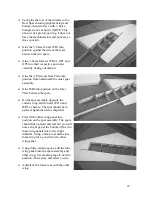
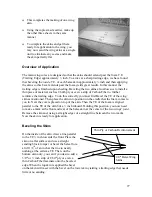
You will notice that the wing has slots, troughs, pockets and cutouts pre cut for you.
When properly built you will not need to cut or alter the foam wings in any way.
21

