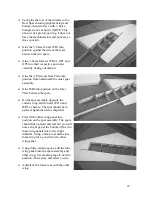
The skins will be applied, one at a time and the bottoms are applied first. Make up
one skin as talked about above.
You will need a large flat surface on which to work. You will also need some weight
with which to hold everything in place while the skins set. Masking tape will also
come in handy.
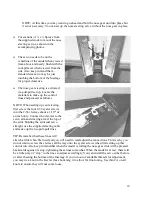
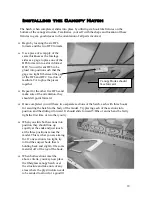
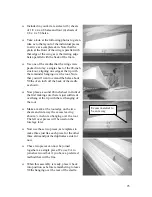
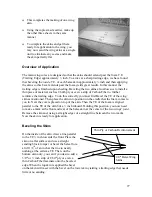
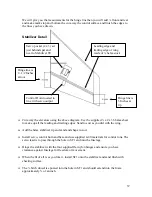
We have cut a ½ inch slot through the
wing at the location of the flap and aileron
separation line. After skinning this will
make the job of building the ailerons and
flaps a cinch. But during sheeting you
must ensure that the slot is properly
maintained at exactly ½ inch.
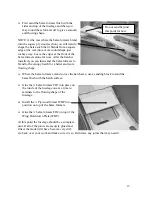
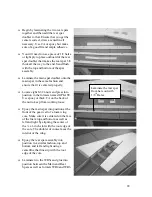
Cut some scrap pieces of quarter inch
balsa material to temporarily fill into the
slot at a few locations along the length of
the slot. They should not be glued in but
rather just placed into the slot freely. Now
use tape to secure the slot from pulling
away from the temporary fill.
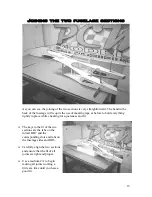
You will notice we supplied you with a servo
passage that extends from the servo cutout to the
gear bay. It would be a good idea to lay a piece of
string or a servo extension in there now before the
bottom skin goes on
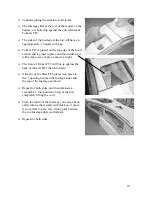
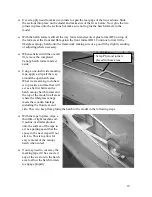
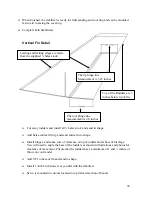
On the tip of the wing, draw lines with an ink pen
for the ½ inch cutout all the way out to the tip, top
and bottom. Now connect the lines on the tip so
that when the sheeting is on you will have a
reference line to cut away the flight surfaces.
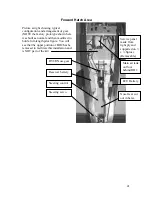
½ Inch Balsa
Spacers: DO
NOT glue.
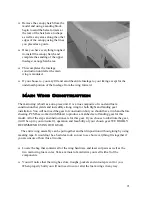
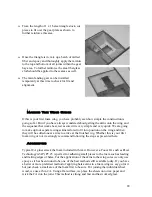
Use a sanding block with 80 – 100 grit paper and
lightly
sand the surface of the foam
core in preparation for the skins. You needn’t sand the foam “glass smooth” but
rather “Clean up” the surface with a quick once over.
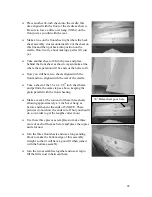
We sheet the wings with thirty-minute epoxy. Mix up enough to cover the surface of
the foam. We are going to spread the epoxy on the foam so that it is were the balsa
contacts the foam and not in open spaces (such as the servo extension shaft) which is
what may happen if you spread the epoxy on the wooden skin itself.
28

