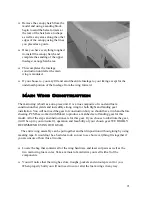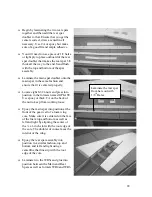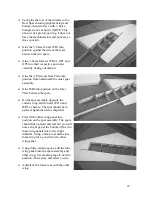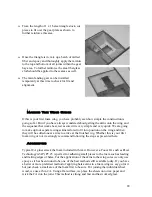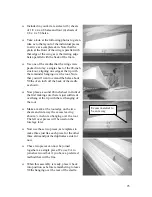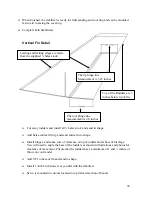
Epoxy the balsa wing tips onto the wing and shape to satisfaction.
Epoxy the front spar into position on the front of the wing
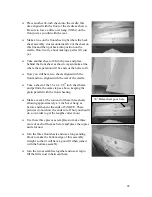
Place the fuselage upside down on a flat surface or in a cradle and trial fit the wing
into the wing saddle. You may have to sand the wing saddles for a good fit.
When a good fit is achieved, make sure the wing is setting square and true to the
fuselage. Measure from the wingtips to a fixed point on the fuselage to ensure that the
wing is setting correctly.
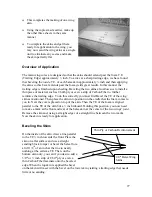
When the wing is setting right, hold it securely and drill through the ½ inch holes in
the BH3 assembly and into the wings front spar. A depth of 1 inch is sufficient.
Install the ½ inch Birch Dowels into the holes in the front spar and place the wing
back onto the model. You may need to adjust the holes in the BH3 assembly, take
your time and get a good fit.
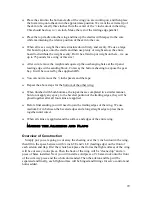
With the wing in position, square it with the fuselage again. Locate WPA and WPB;
these are the wing hold down plates. They are glued onto the fuselage and wing so the
visible line is a perfect fit and ensures that the wing will not move rearward under
high speed or loads. Glue them into their respective locations.
Tap and drill for the ¼ - 20 wing bolts at a position as far to the front and side of the
¼ ply hold down plate within the fuselage as is possible.
Final Fuselage Construction
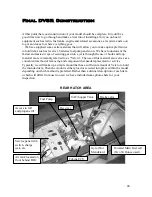
The bottom of the forward fuselage can now be sheeted. Unlike the wing, which will use
removable covers over the gear bay, the bottom of the nose is sheeted piece by piece and
the cut out for the nose gear is made progressively into the sheeting. However if you wish
to make a similar removable cover, we say go for it.
Locate remaining ½ x 36 Balsa Triangle stock. Begin by placing one piece at a time
into the square opening and gluing along the edge where it meet the fuselage side.
Repeat for both sides then laminate a second piece of the triangle stock onto the first
to arrive at a square edge to the fuselage side.
Using a long sanding block placed across the width of the fuselage, sand the two
edges flat and flush with the tops of the former BH2 and the step in the former BH3.
Using the sheeting leftover from the wings begin gluing planks
across
the fuselage so
that the grain is perpendicular to the line of flight.
35

