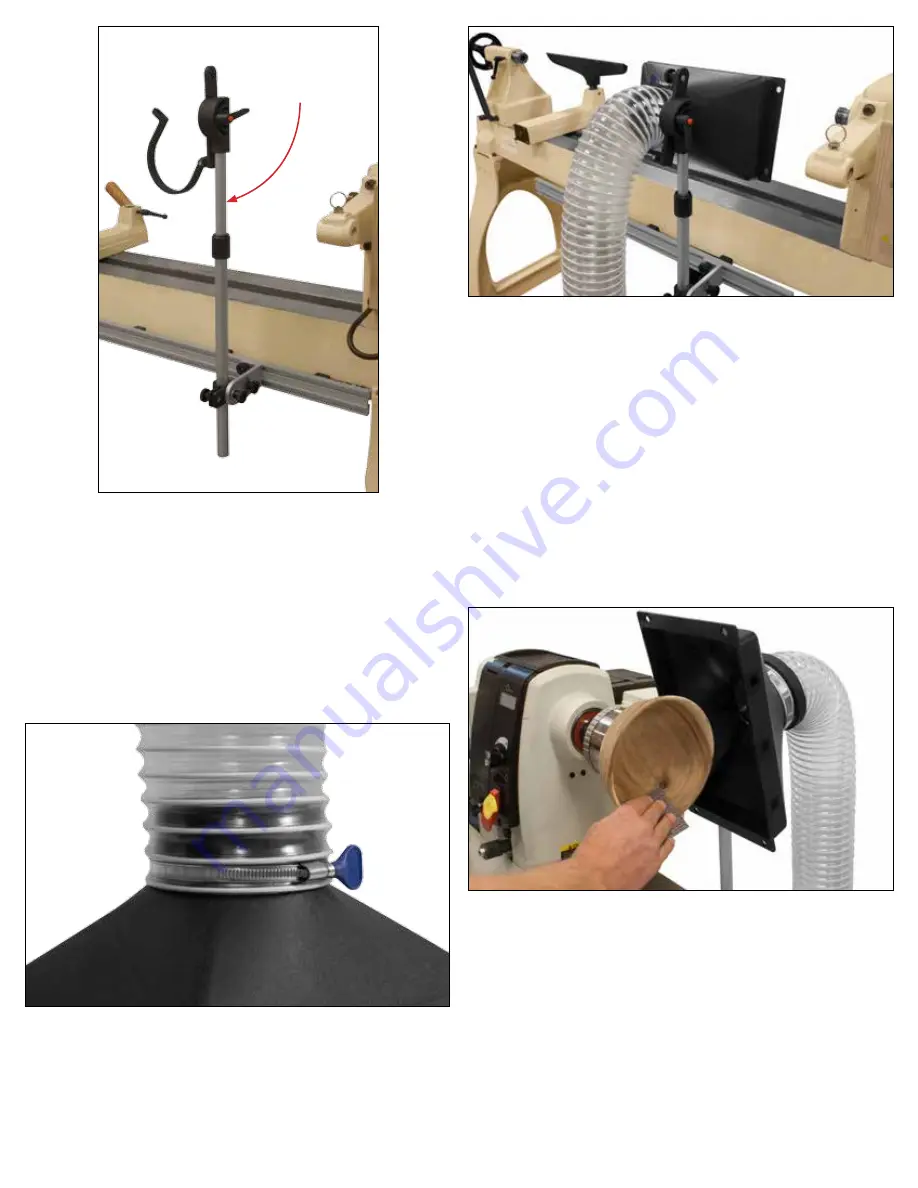
Step 11
Attach Hose to Dust Hood
Attach the 4” Hose to the Dust Hood. Making sure the
hose is butted up tightly against the back of the dust
hood. Secure the Dust Hood with the supplied hose clamp
as close to the dust hood as possible as shown above.
You are now ready to start using your new Big Sweep
Dust Collection System. There are many ways to adjust
the Big Sweep to achieve the best suction for any proj-
ect. Your Big Sweep system is designed to pivot, tilt,
swivel and slide into any postion you need.
CAUTION:
Never use your Big Sweep system unless all adjustable
points are tight and secure. Failure to do so may allow
your system to fall into your spinning project. This may re-
sult in injury or possible damage of your big Sweep which
is not covered by warranty
Step 12
Attach Hose and Hood
Place the Dust Hood and Hose assembly into the c-con-
nect base and clip assembly so that the dust hood mouth
is facing the same direction as the flat part of the c-con-
nect base. Secure c-connect clip with 1/4”x20x1
½
”(5)
bolt, washer (9) and 1/4”x20 round knob. Adjust the loca-
tion of the dust hood so that the c-connect clip is clamp-
ing around the base of the dust hood firmly.
Step 10
Attach Top Assembly to Base Assembly
Insert 3/4” upper tube into 7/8” lower tube and secure in
place tightening the locking collar.
Secure
with
Locking
Collar


