1. On your power supplies, press [
SHIFT
] key, then quickly press [
RS-232/485
] key and select
RS-
485
followed by [
ENTER
] key.
2. A 3-digit number will appear. This number is the address asigned to the power supply ad will be
used in the software.
3. Using the keypad to key in the address to assign for each power supply. The range is 001 ~ 031
and each of the power supplies requires an unique address.
4. Switch on your PC and run the SDP program.
5. Click on
Setup
, and select the desired COM port. The default is set to COM 1.
6. In the tool bar, Click on
Supply Connect
, then click on Single in the drop menu.
7. An Internal Timed Program Window will appear.
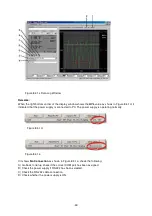
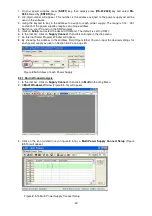
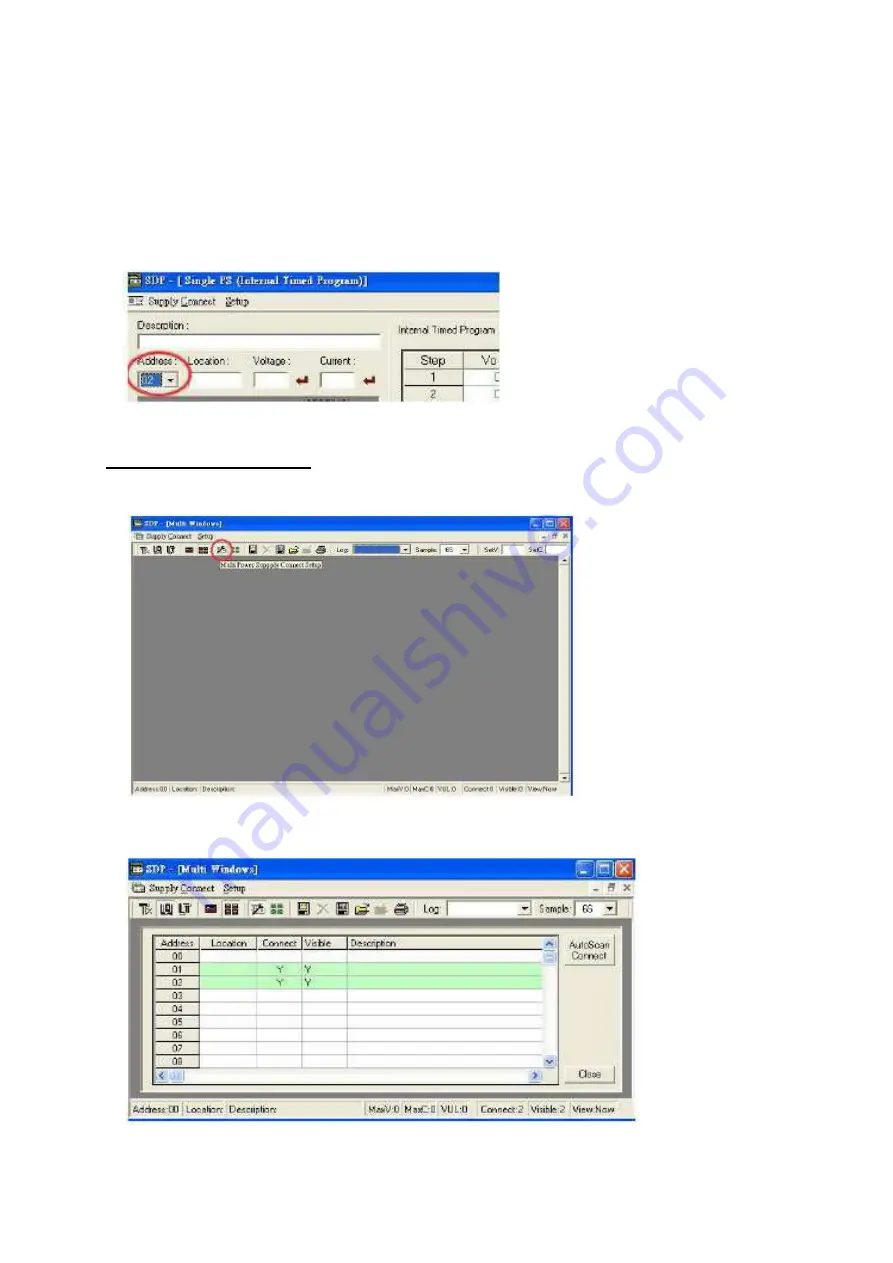
8. By choosing the address in the Address Field (Figure 8.5a) You can input the desired settings for
each power supply as given in Section 8.4.2a on page 20.
Figure 8.5a Address of each Power Supply.
8.5.1. Multi Window Analysis
1. In the tool bar, Click on
Supply Connect
, then click on
Multi
in the drop Menu.
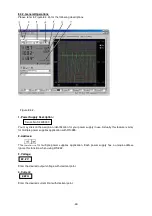
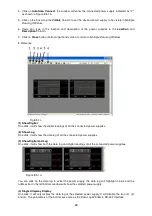
2. A
Multi Windows
Window (Figure 8.5.1a) will appear.
Figure 8.5.1a Multi Window
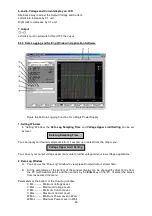
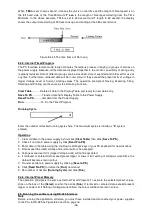
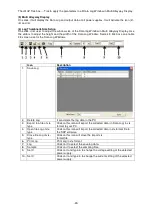
3. Click on the icon (circled in red in figure 8.5.1a), a
Multi Power Supply Connect Setup
(Figure
8.5.1b) will appear.
Figure 8.5.1b Multi Power Supply Connect Setup.
-47-


