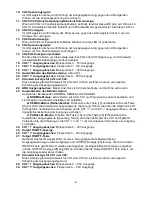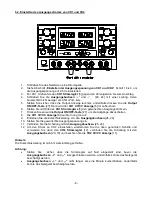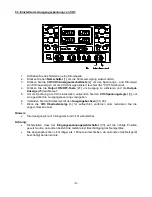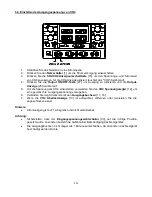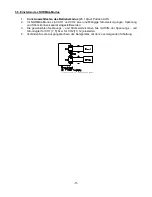
3. Controls and description
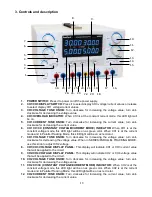
1.
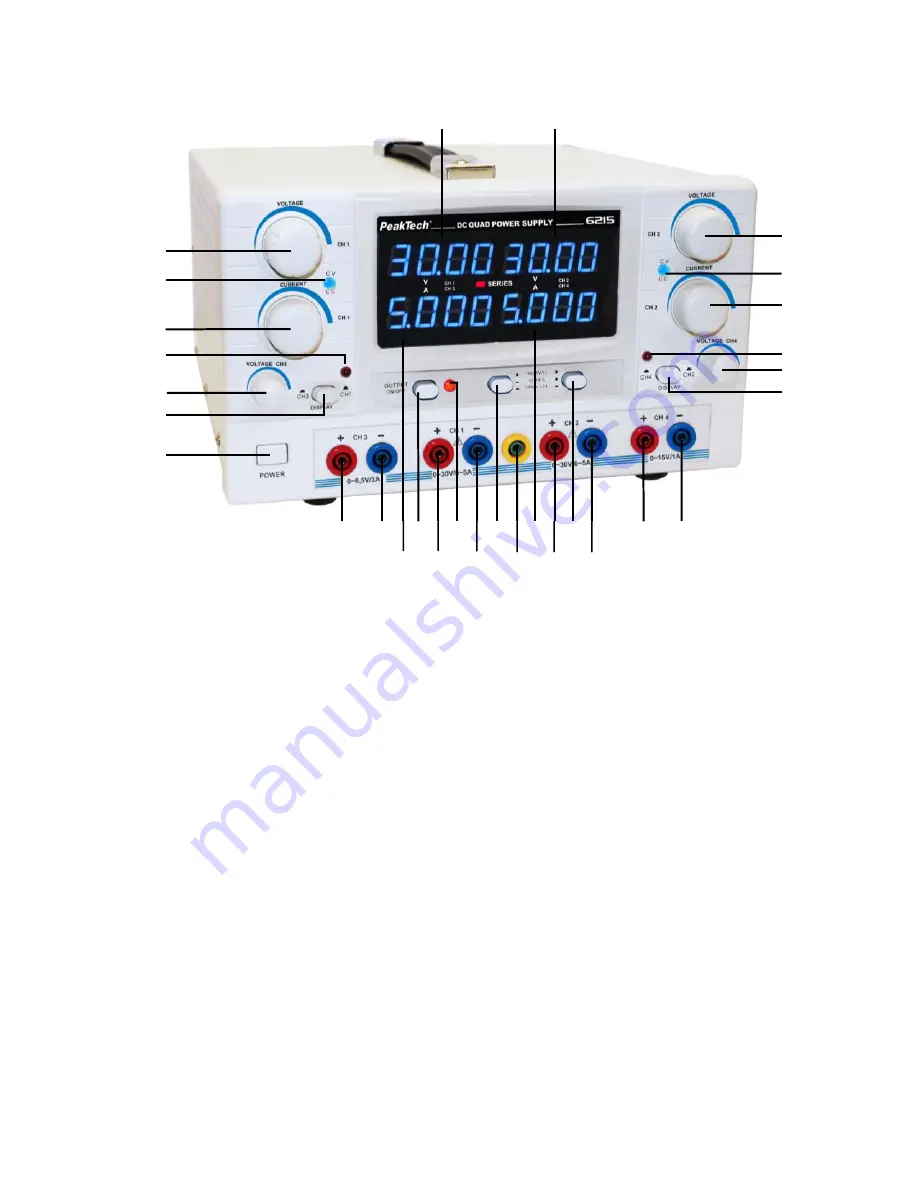
POWER SWITCH:
Press it to power on/off the power supply.
2.
CH1/CH3
DISPLAY SWITCH:
Press it to select display CH3 voltage/current values or release
to select display CH1 voltage/current values.
3.
CH3 VOLTAGE TUNE KNOB:
Turn clockwise for increasing the voltage value; turn anti-
clockwise for decreasing the voltage value.
4.
CH3 OVERLOAD INDICATOR:
When CH3 is at the constant current mode, this LED light will
be on.
5.
CH1 CURRENT TUNE KNOB:
Turn clockwise for increasing the current value; turn anti-
clockwise for decreasing the current value.
6.
CH1 CV/CC (CONSTANT VOLTAGE/CURRENT MODE) INDICATOR:
When CH1 is at the
constant voltage mode, this LED light will be on as green color. When CH1 is at the current
mode and in Parallel Tracking Mode, this LED light will be on as red color.
7.
CH1 VOLTAGE TUNE KNOB:
Turn clockwise for increasing the voltage value; turn anti-
clockwise for decreasing the voltage value. When in SERIES/PARALLEL TRACKING MODE,
use this knob to adjust CH2 voltage.
8.
CH1/CH3 VOLTAGE DISPLAY PANEL:
This display will indicate CH1 or CH3 current value
that will be applied to the circuit.
9.
CH2/CH4 VOLTAGE DISPLAY PANEL:
This display will indicate CH2 or CH4 voltage value
that will be applied to the circuit.
10. CH2 VOLTAGE TUNE KNOB:
Turn clockwise for increasing the voltage value; turn anti-
clockwise for decreasing the voltage value.
11. CH2 CV/CC (CONSTANT VOLTAGE/CURRENT MODE) INDICATOR:
When CH2 is at the
constant voltage mode, this LED light will be on as green color. When CH2 is at the current
mode and in Parallel Tracking Mode, this LED light will be on as red color.
12. CH2 CURRENT TUNE KNOB:
Turn clockwise for increasing the current value; turn anti-
clockwise for decreasing the current value.
-17-
26.
27.
8.
7.
6.
5.
4.
3.
2.
1.
9.
10.
11.
12.
13.
14.
15.
16.
17.
18.
19.
20.
21.
22.
23.
24.
25.
28.
29.
30.


