11
SETUP
MOUNTING MIMIC ON THE STAND
Carefully turn Mimic upside down, ensuring that Mimic Pro’s display and Data Wheel are protected. Once
turned over, screw the mounting plate to Mimic Pro’s base. Do not overtighten, use gentle force only. If the
screw is not threading properly, then there may be a problem with the screw (too long, or too big). Use ONLY
the screws that come with the mount to prevent damage to internal components. Use only Pearl’s RDMM
Module Mount. After the mount is attached to Mimic Pro you can attach the module to a stand using a
suitable all-purpose clamp.
CONNECTING THE PADS
Mimic Pro supports all popular electronic drum pads and cymbals from different manufacturers. In most
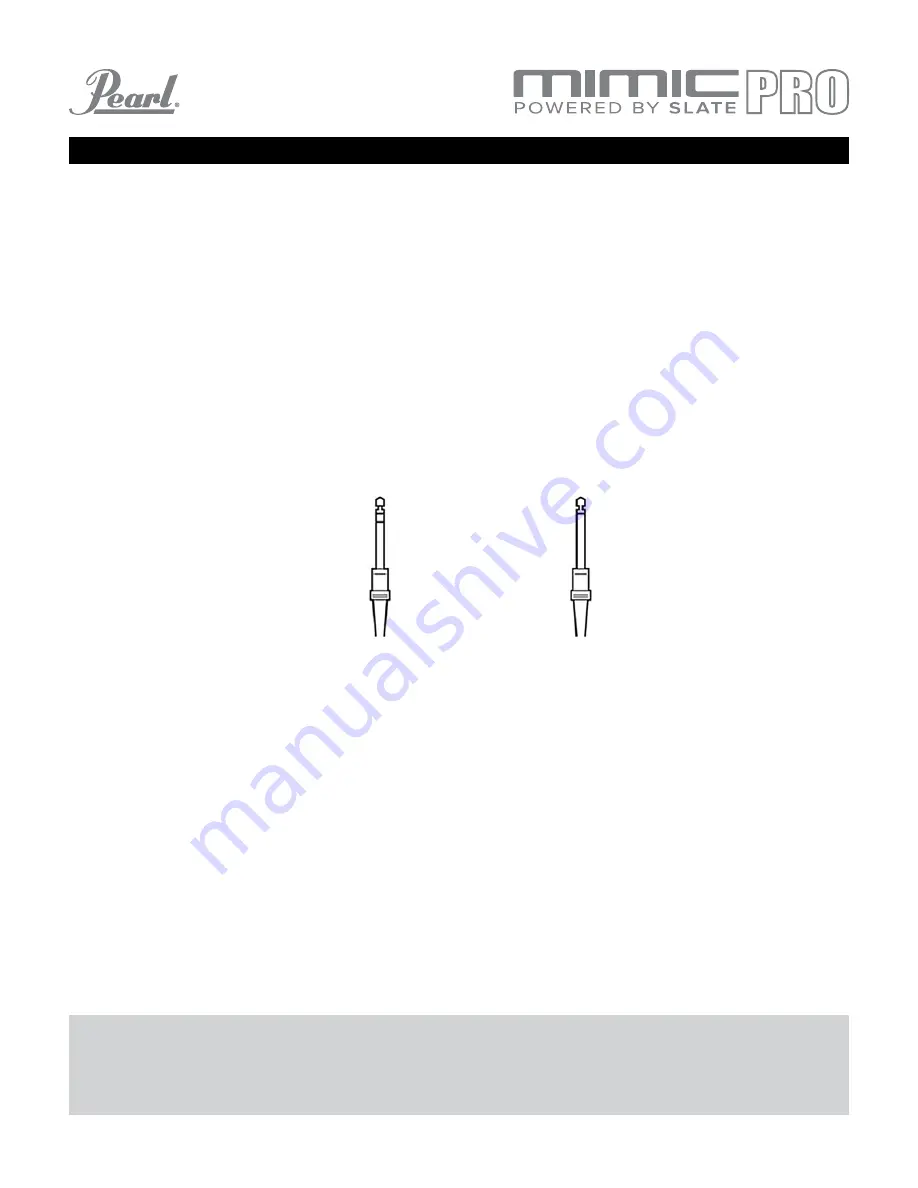
cases, pads must be connected to Mimic using 1/4” (6.3 mm) TRS (Tip Ring Sleeve), balanced/stereo cables.
There are also unbalanced/mono cables which are the same size, called TR (Tip Ring) - these are not
recommended for use with Mimic Pro. It is recommended to always use balanced/stereo connectors for
pads that you are connecting to Mimic Pro.
Pic 7: Connectors Example
Most drum pads and cymbals connect via a single TRS cable except Hi-Hat and many Ride cymbals (there
are some ride cymbals on the market that use single cable connection). Hi-Hat uses two cables, because it
has a pad jack and controller (device which reads Hi-Hat pedal movement) jack. Ride cymbals use two cables
to send to Mimic Pro signals from Bow/Edge zone and from bell zone separately.
Connect pads to corresponding Mimic Pro input jacks. The names of each input is printed on the back panel.
MAKE SURE MIMIC PRO IS TURNED OFF BEFORE CONNECTING COMPONENTS. After all components are
connected, turn Mimic Pro ON. Make sure you have headphones plugged into the HP output, or a PA system
plugged into outputs 1 and 2 to be able to hear sound when testing.
Since Mimic Pro is designed to work with many different brands of pads, it is recommended that when you
first turn it on you should choose between pad presets and set the triggering sensitivity. This is the most
important step in getting the best triggering and dynamic response.
Visit the next sections, “Example Setups” and “Getting Started” for Quick Start instructions.
Visit the “Detailed Instructions” section for more information on how to tweak the advanced triggering
and mixing options featured inside Mimic Pro.
•
•
TRS
Balanced
TR
Unbalanced


