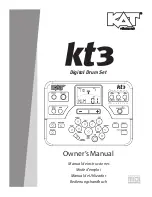
14
HOME SCREEN
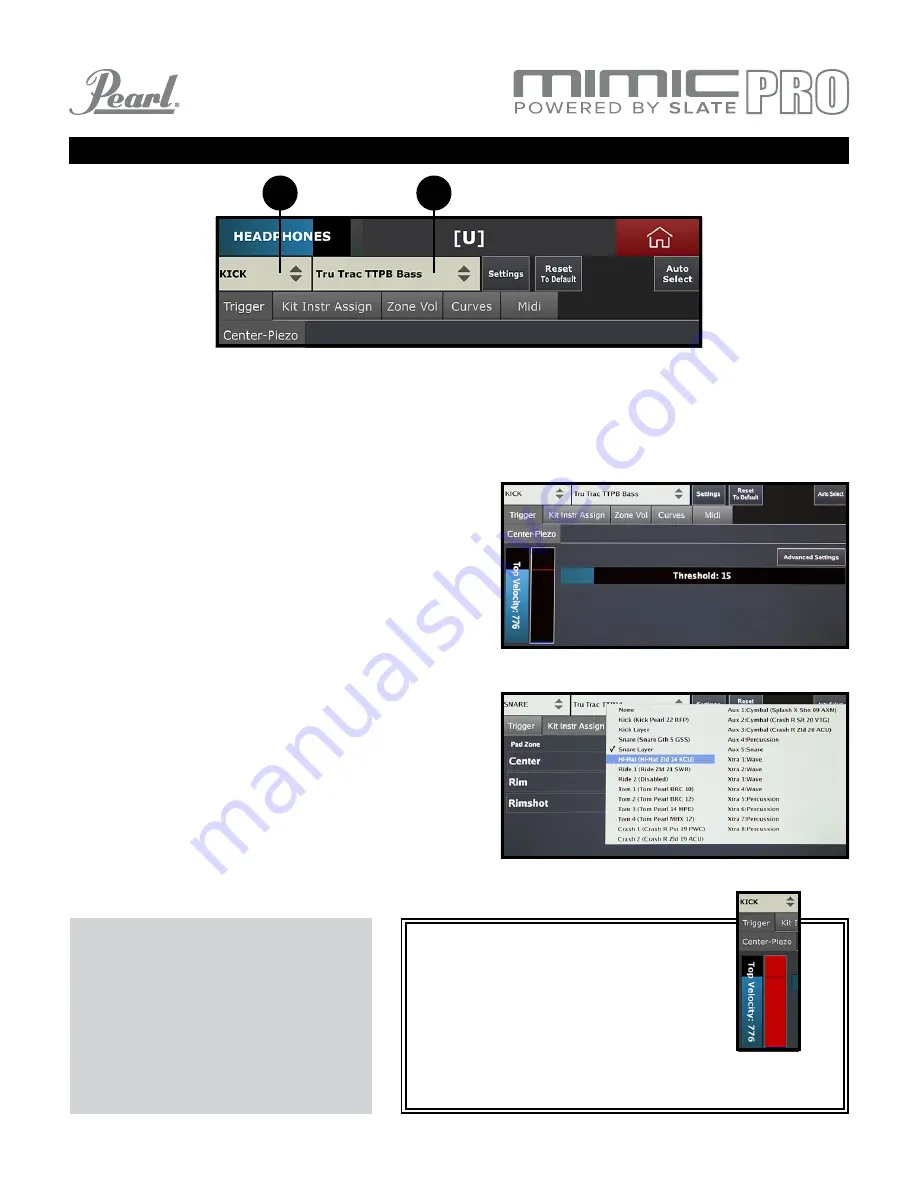
This is the
Trigger Input Channel that is currently
being adjusted. Tap on the menu and choose the
desired input channel to adjust. You can choose it by
tapping on any position in the menu, or by turning
the Data Wheel and pushing it to select.
This is the
Trigger Pad Preset Selector for the selected
Trigger Input Channel, which contains presets for
most pad models by major manufacturers.
To start setting up the triggering, choose your
Trigger
Input Channel and see if the pad connected to that
trigger input is in the
Trigger Pad Preset Selector
list. If it’s not in the preset list, select the closest pad
to your pad (judging by the used technology and
materials). If your pads are in the list and they are
all in good condition, then you’re almost set after
selecting the right pad presets. The only things left
to do after setting the pad presets are calibrating the
Hi-Hat pad, and adjusting dynamics to your taste.
Pic 11: Triggering Settings
Understanding this screen is the most important part of getting Mimic Pro to trigger drums
correctly with your playing style. On the picture, there are two menus (numbered 1 and 2 in Pic 11).
Pic 14: Trigger
Input Overload
1.
2.
2
1
Note:
If your pad is not in the preset
list (or if your pad is in the preset
list, but dynamic response is off and
can’t be adjusted with Top Velocity
as described below) go to the section
Advanced Triggering Settings.
Note:
The trigger input meter should
never go red as seen here (Pic 14). If
it’s going red during normal playing,
then you need to lower sensitivity
and/or amplification settings. Read
about that below in the section
Advanced Triggering Settings.
Pic 12: Trigger Input Channel
Pic 13: Trigger Pad Preset


